


Details

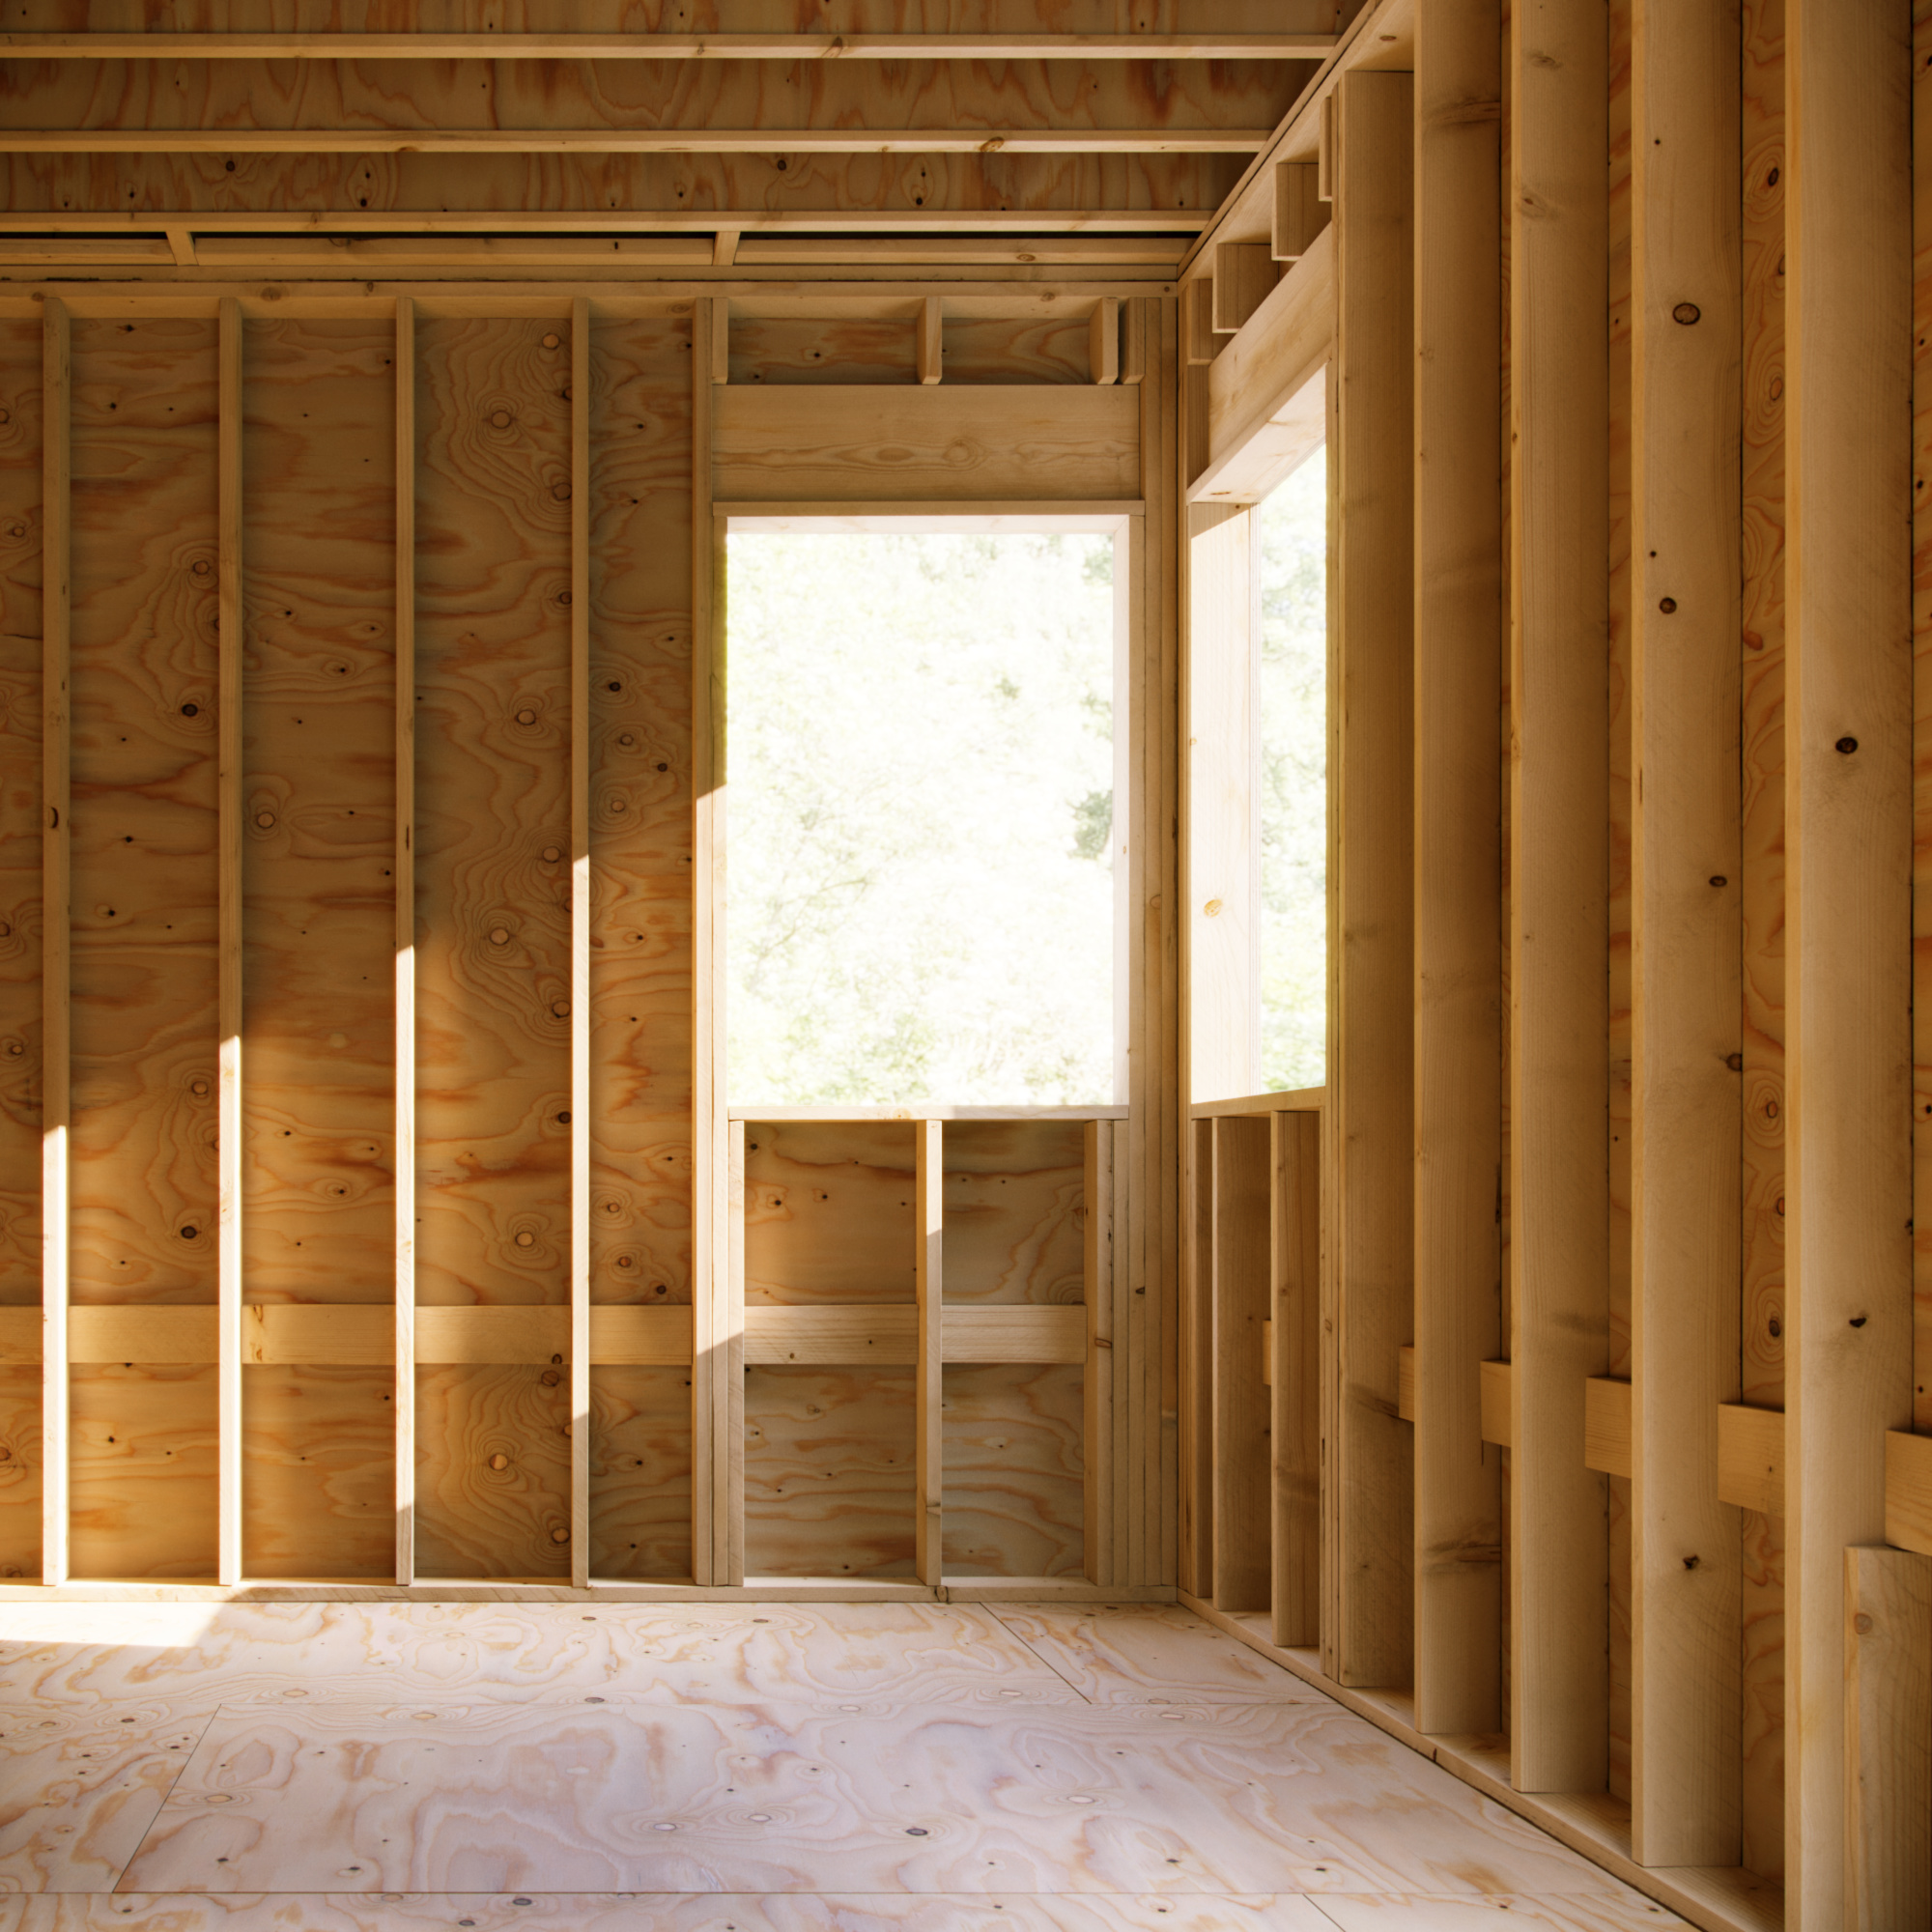
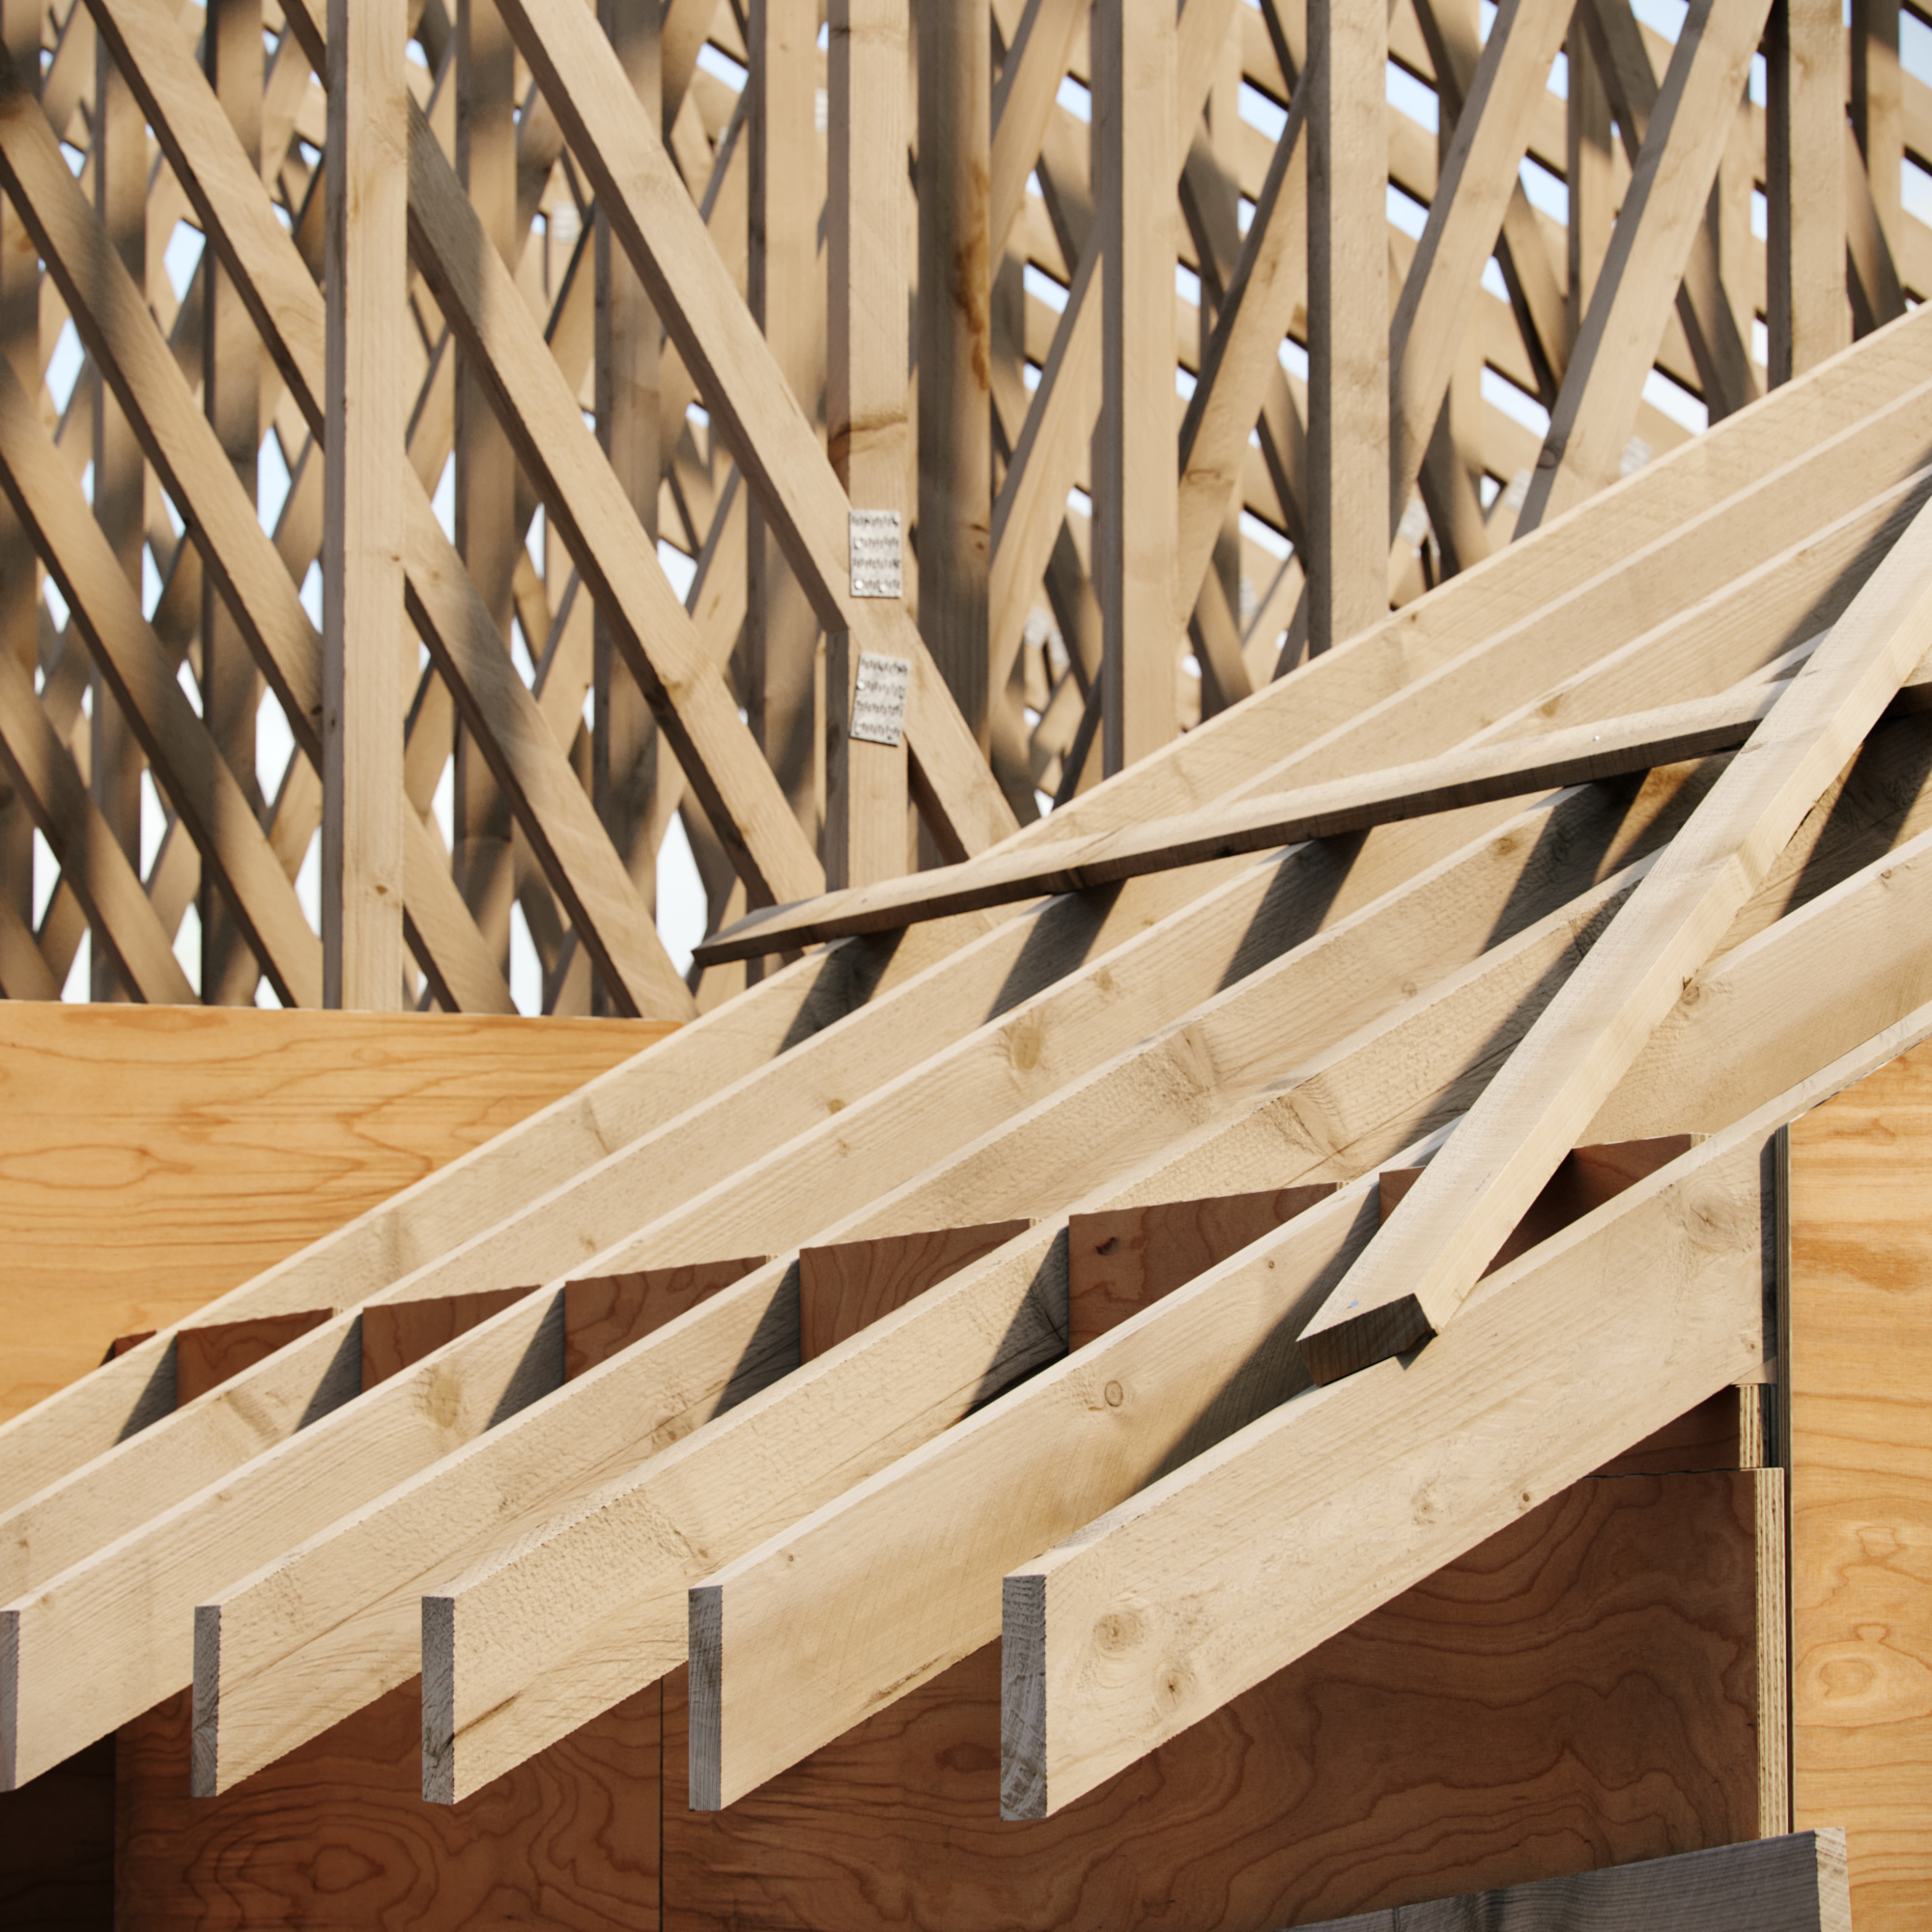
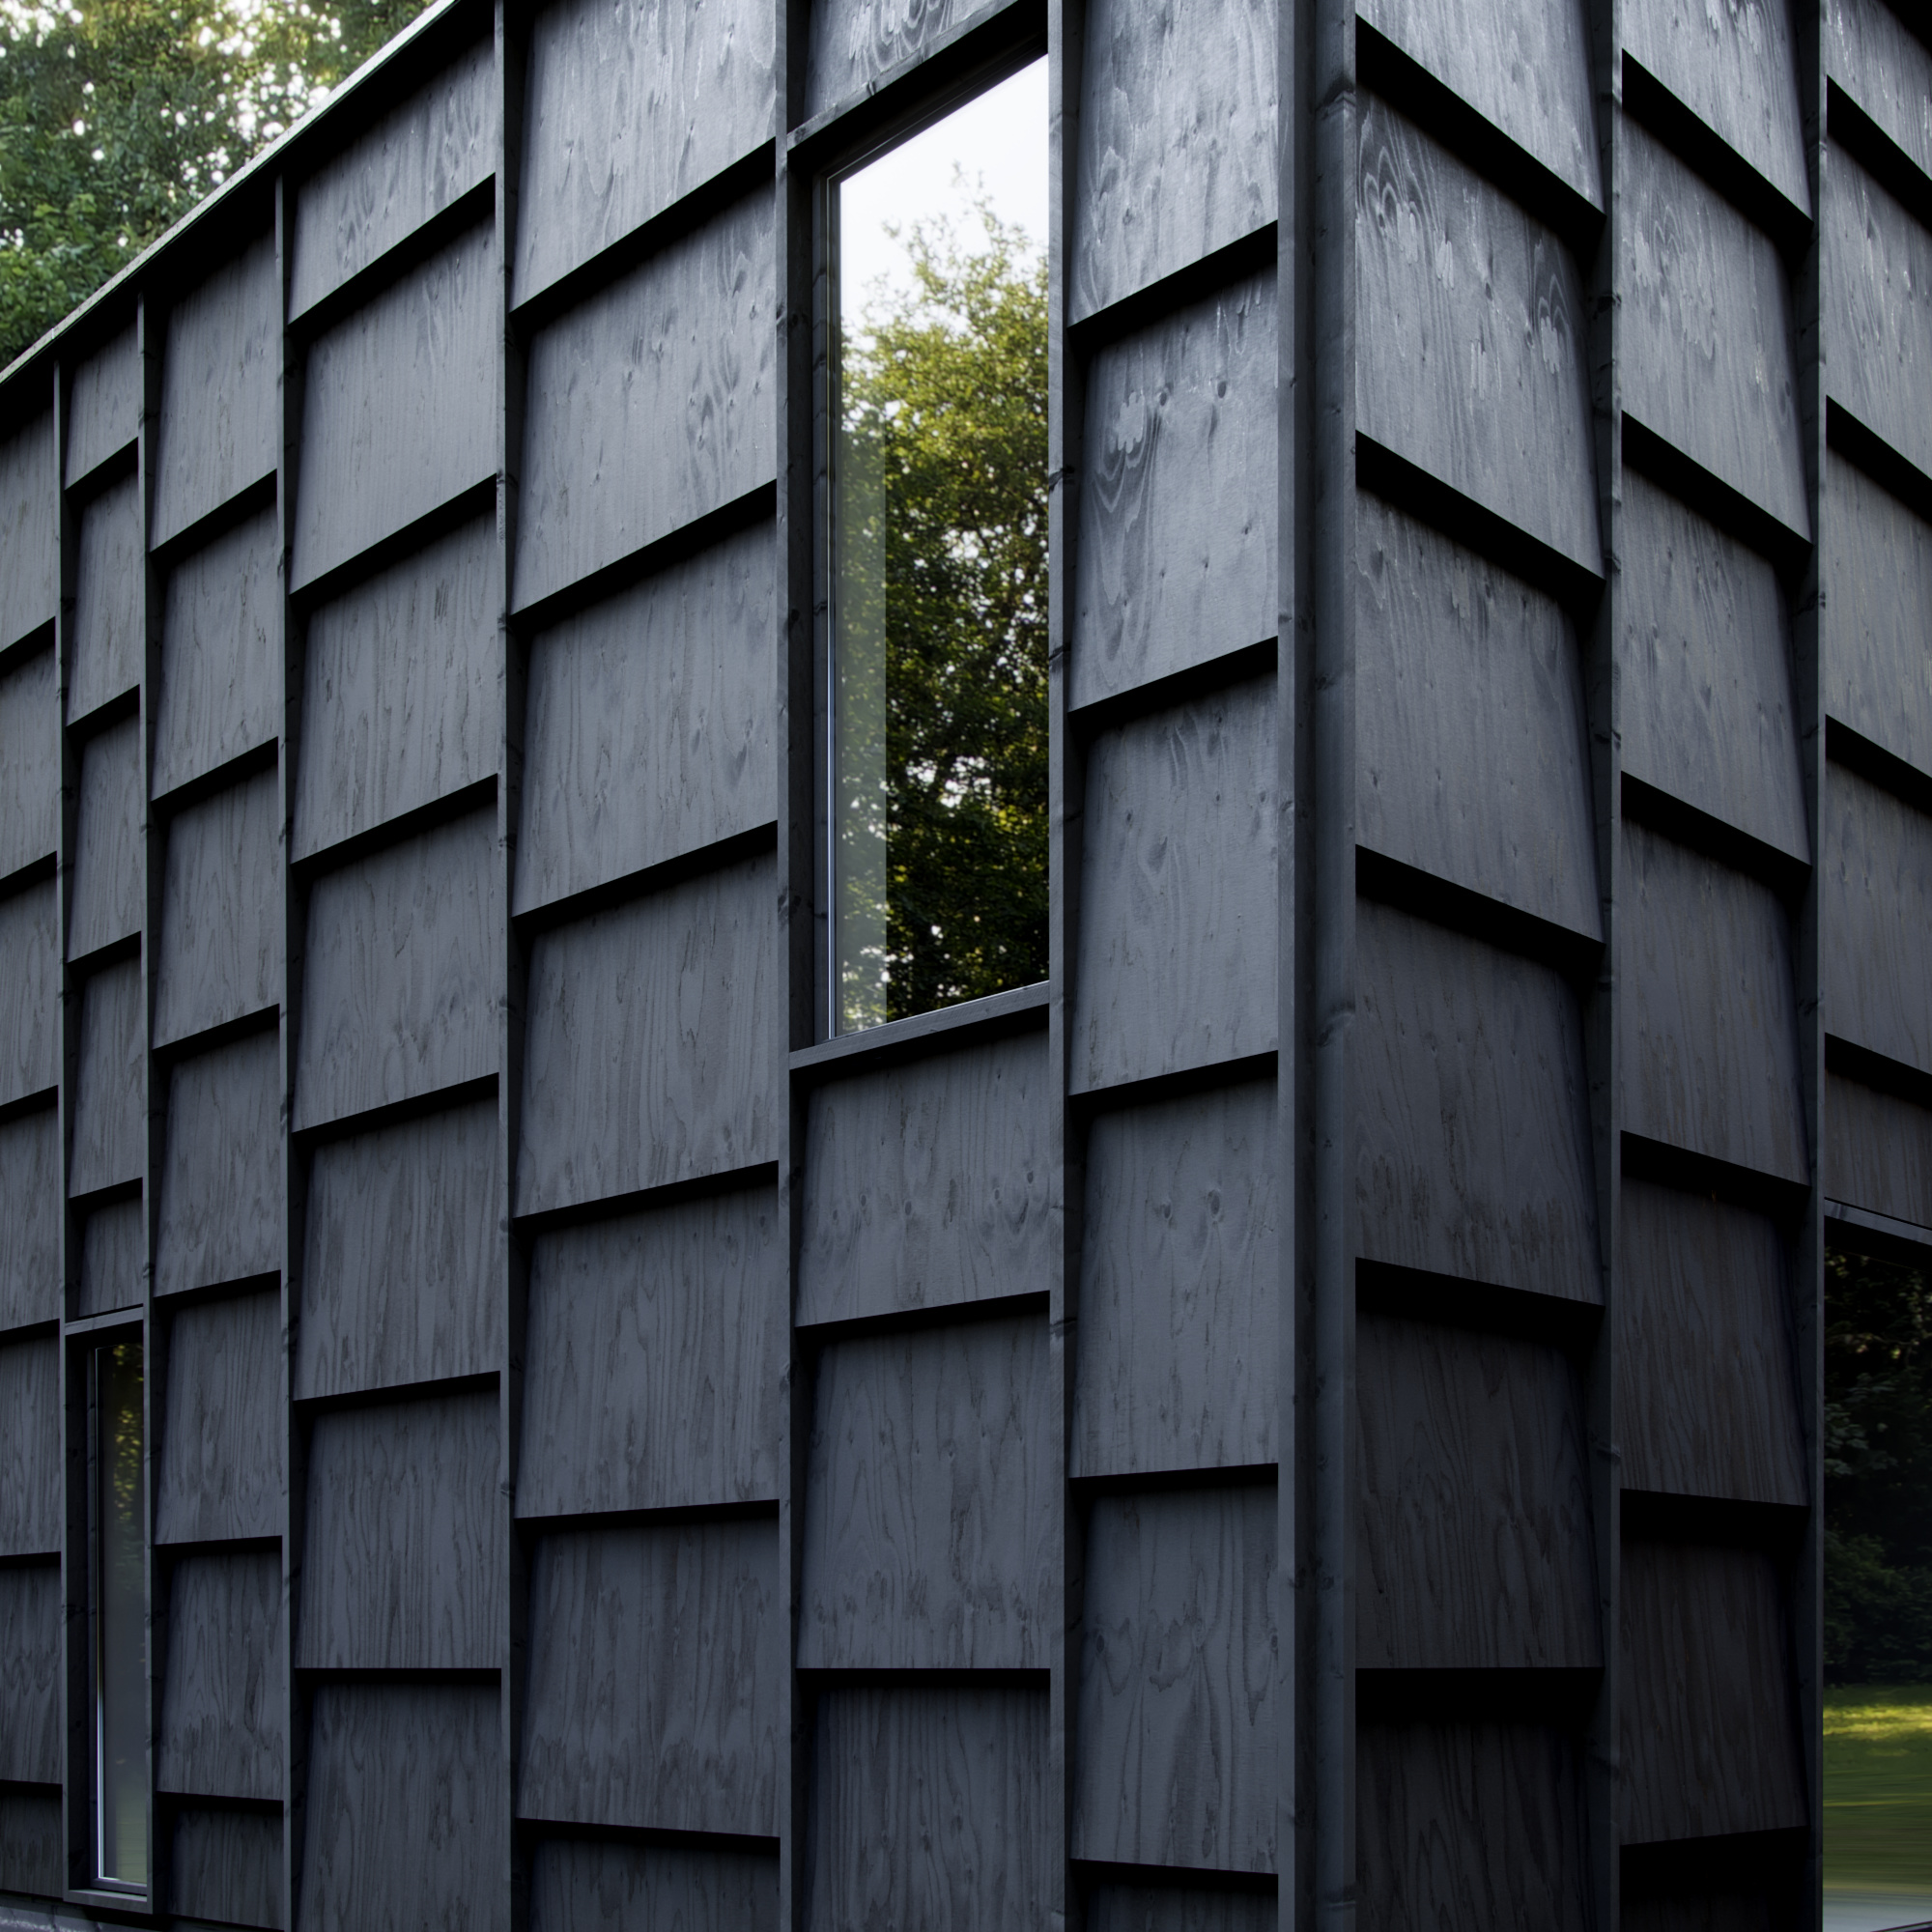
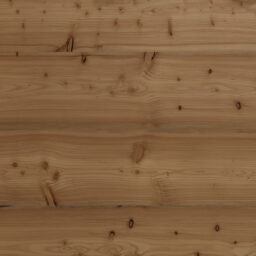
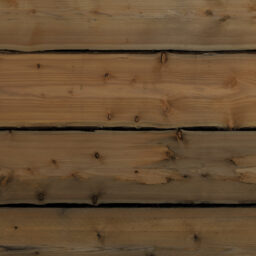
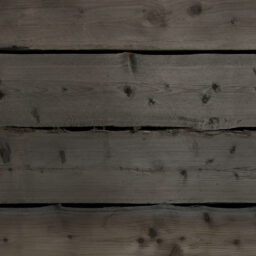
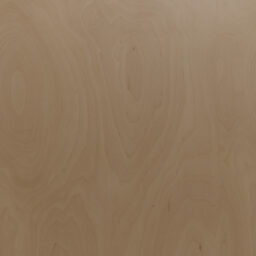
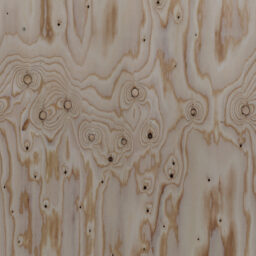
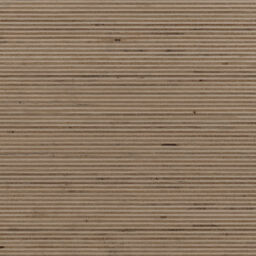
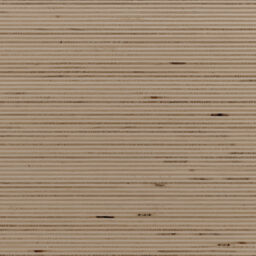
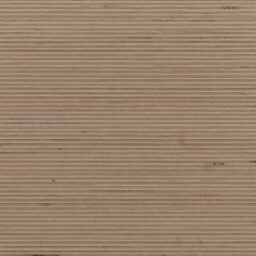
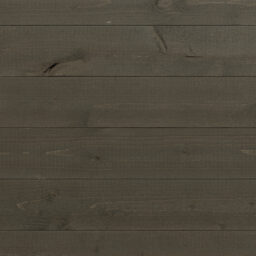
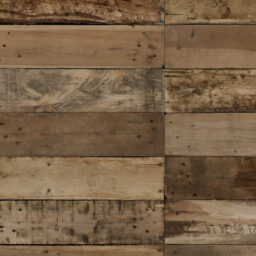
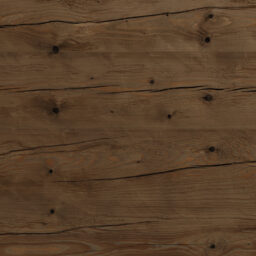
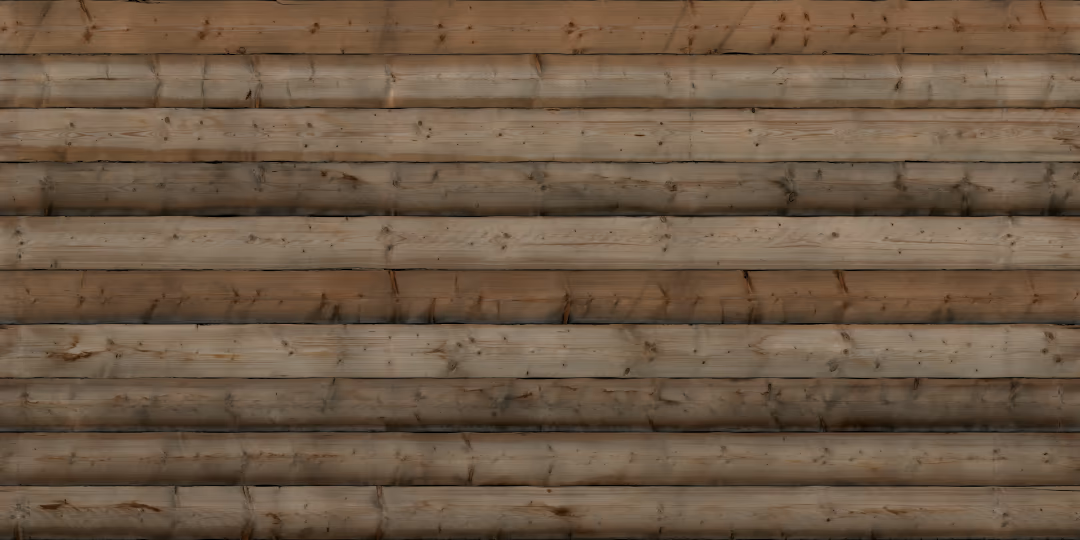
Construction Timber
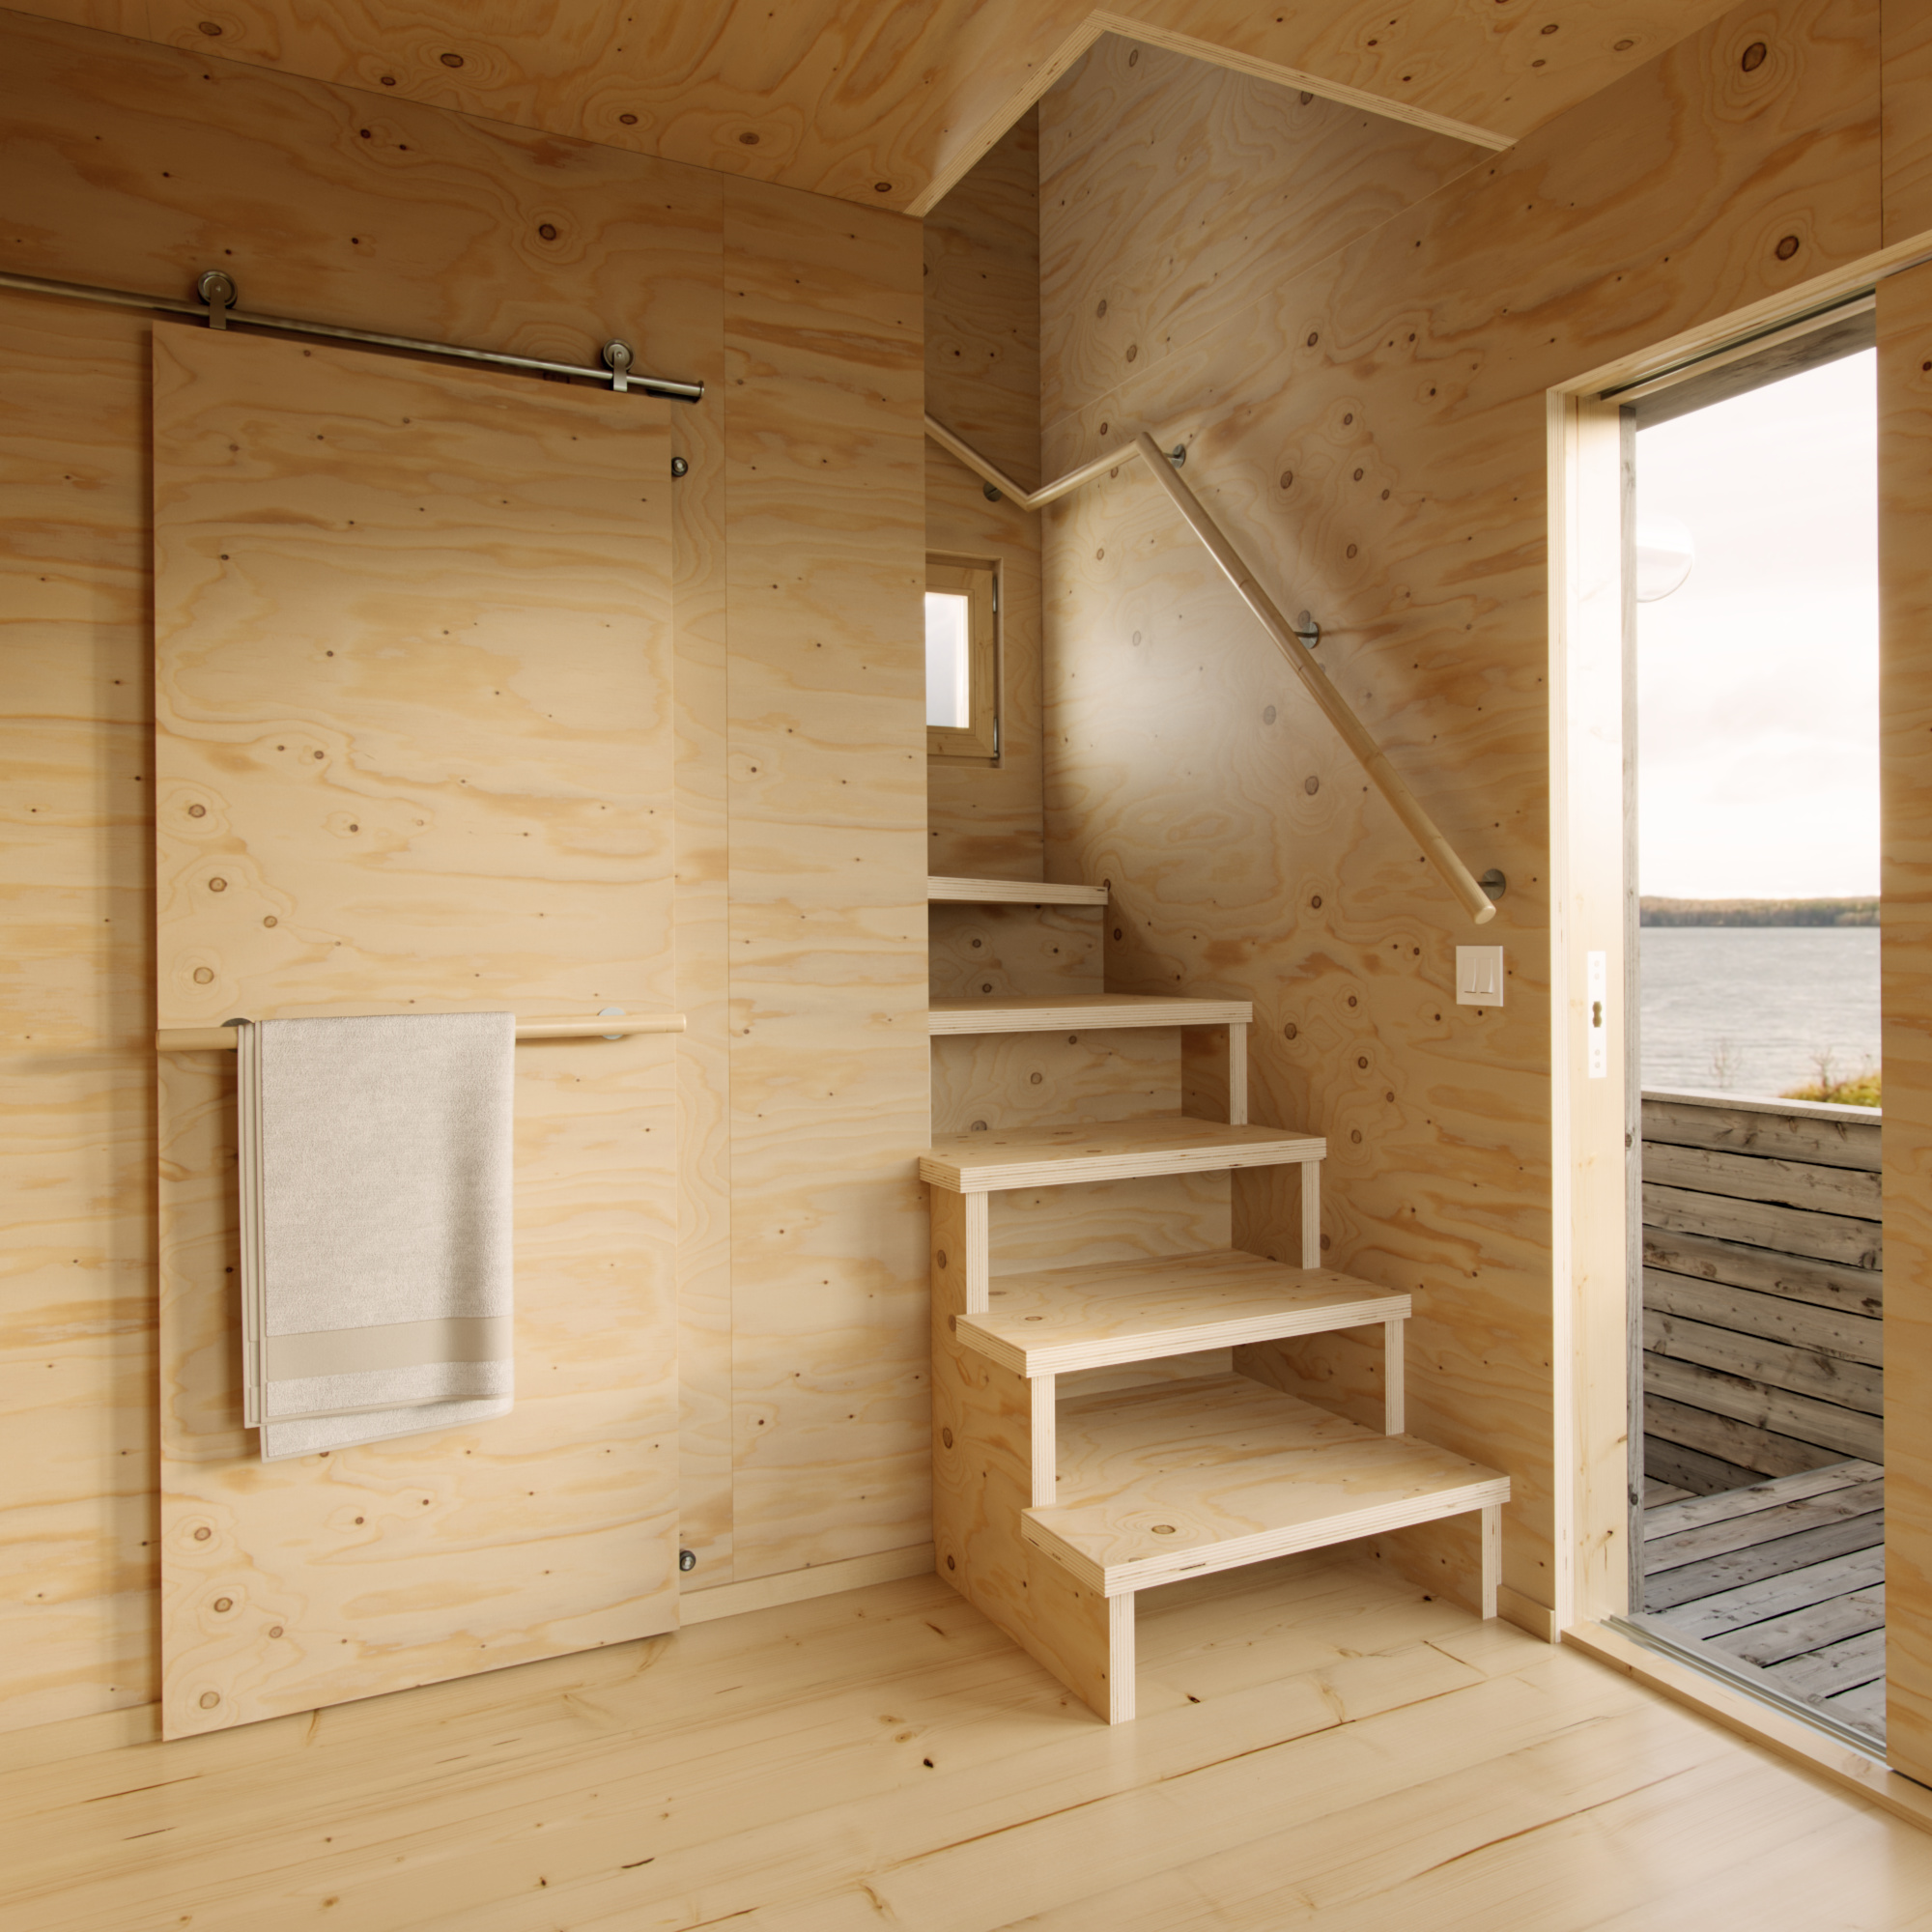
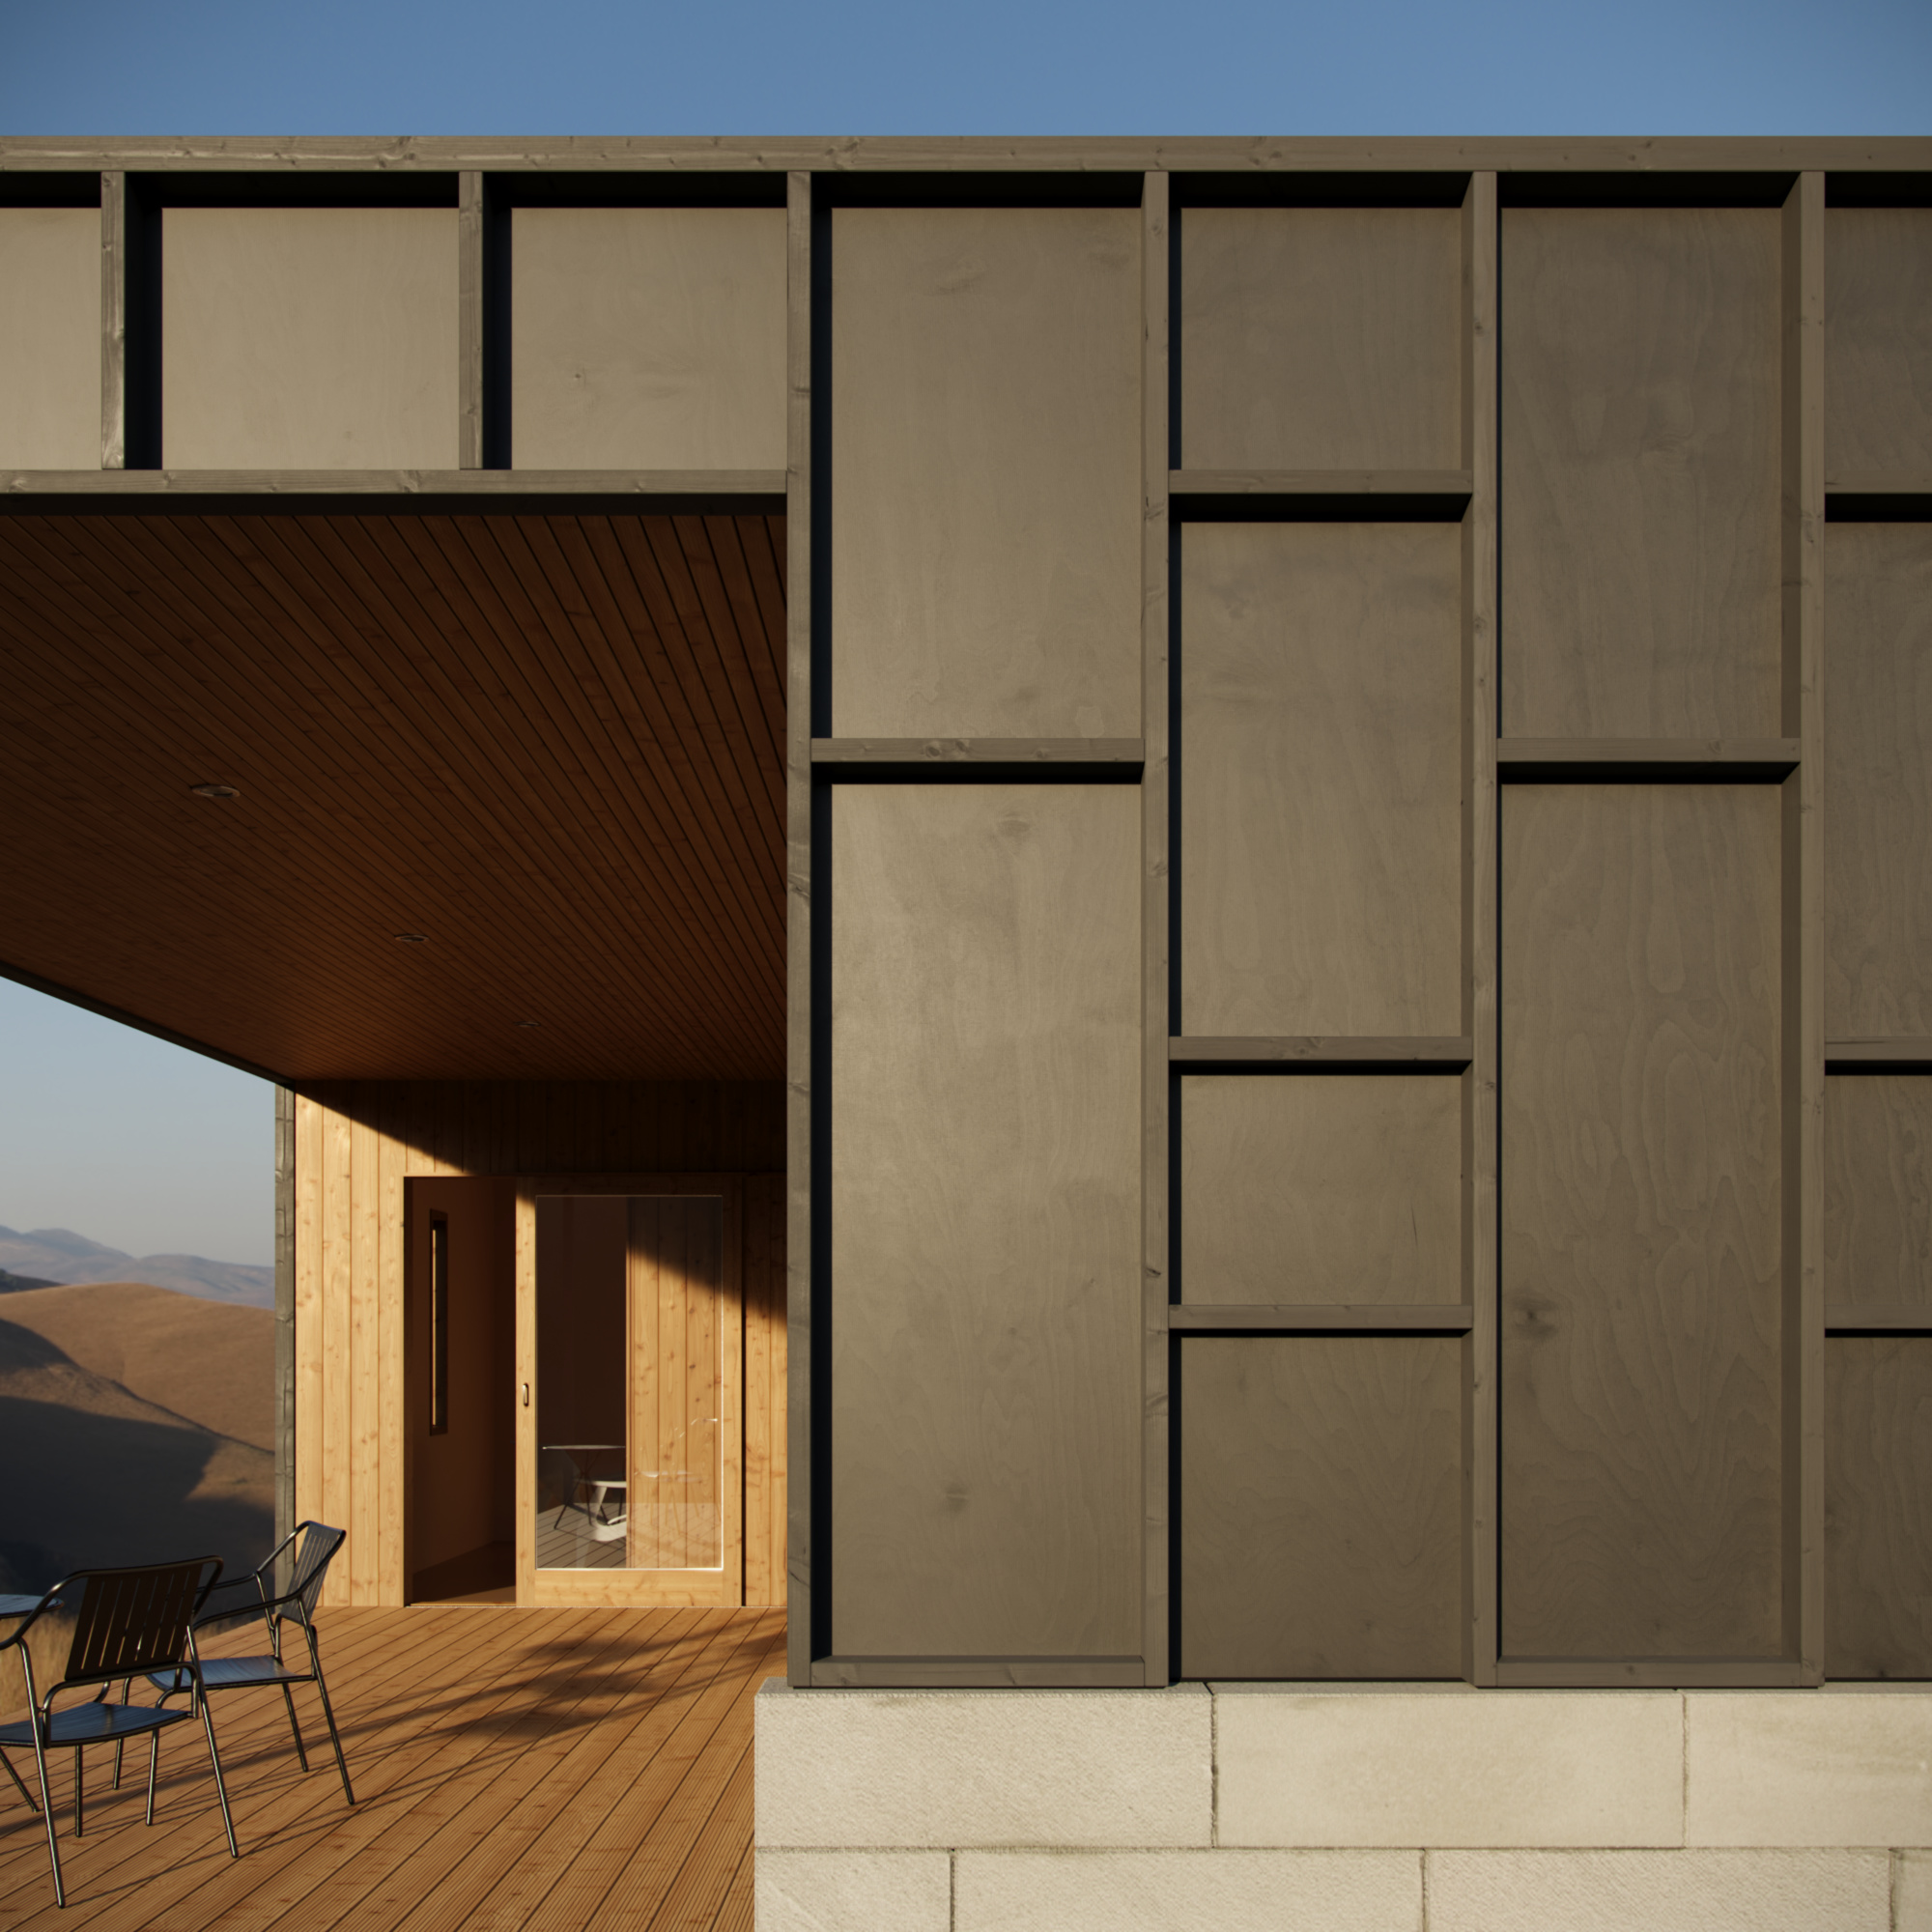
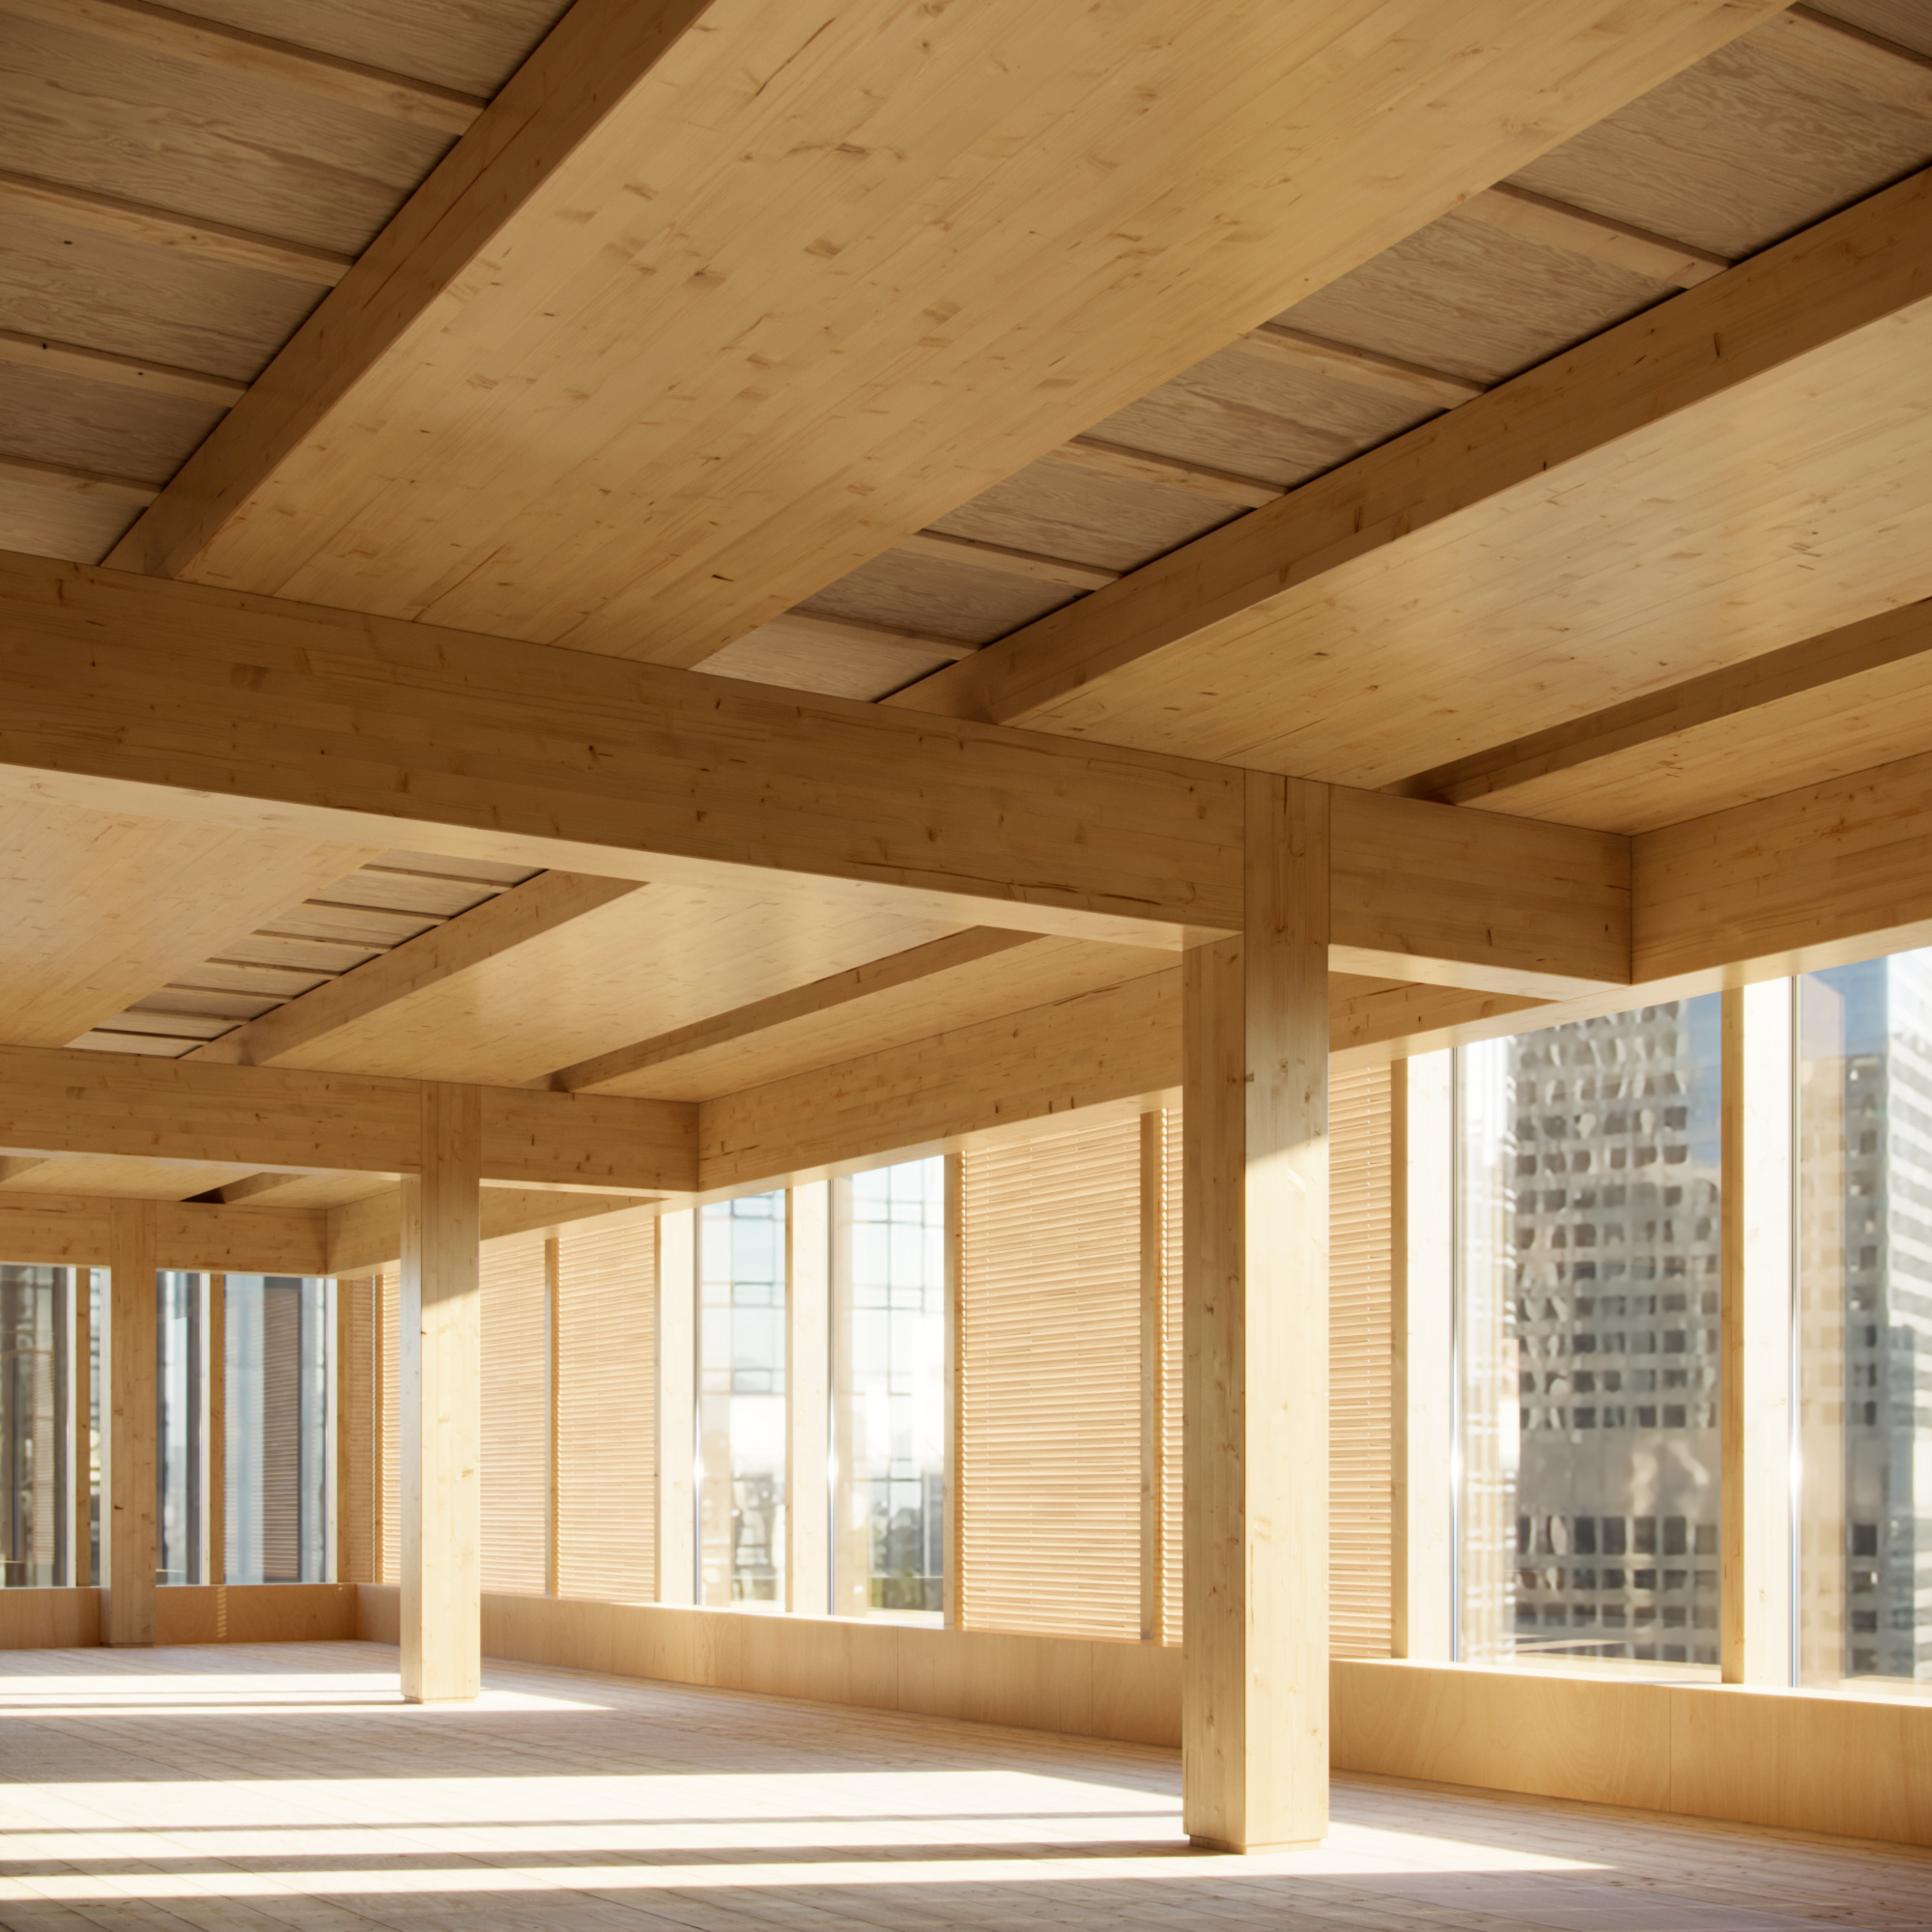
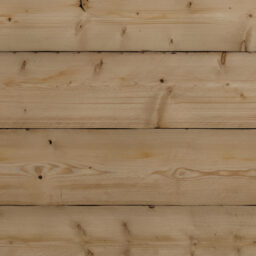
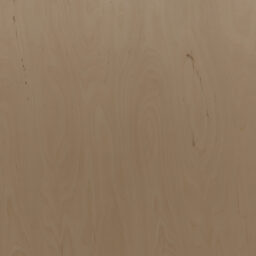
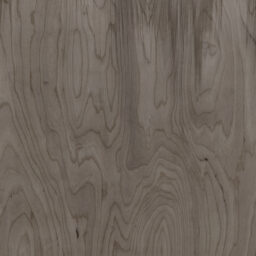
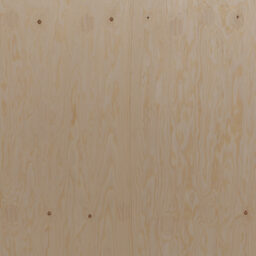
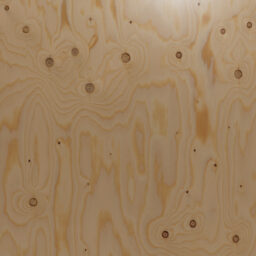
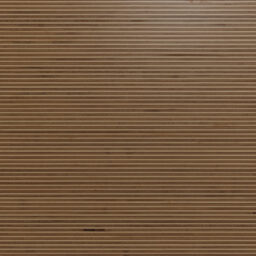
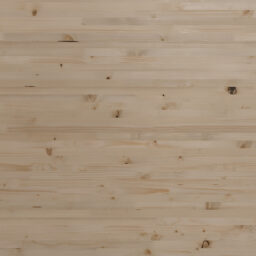
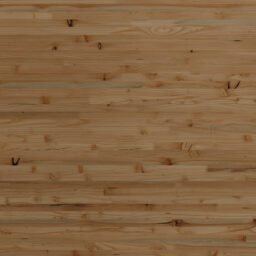
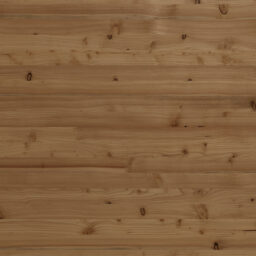
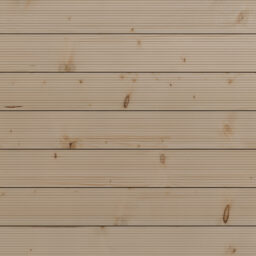
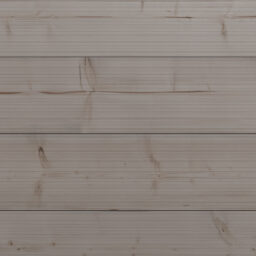
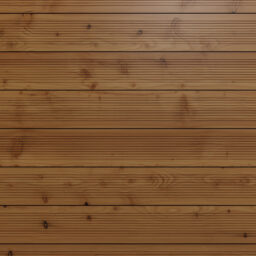
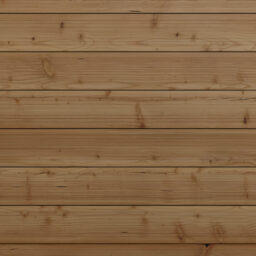
This collection contains 45 different timber/lumber/wood textures, covering various species, styles, and treatments. Planks, Beams, Plywood, Laminated Timber and more – all with matching end grain and edge textures.

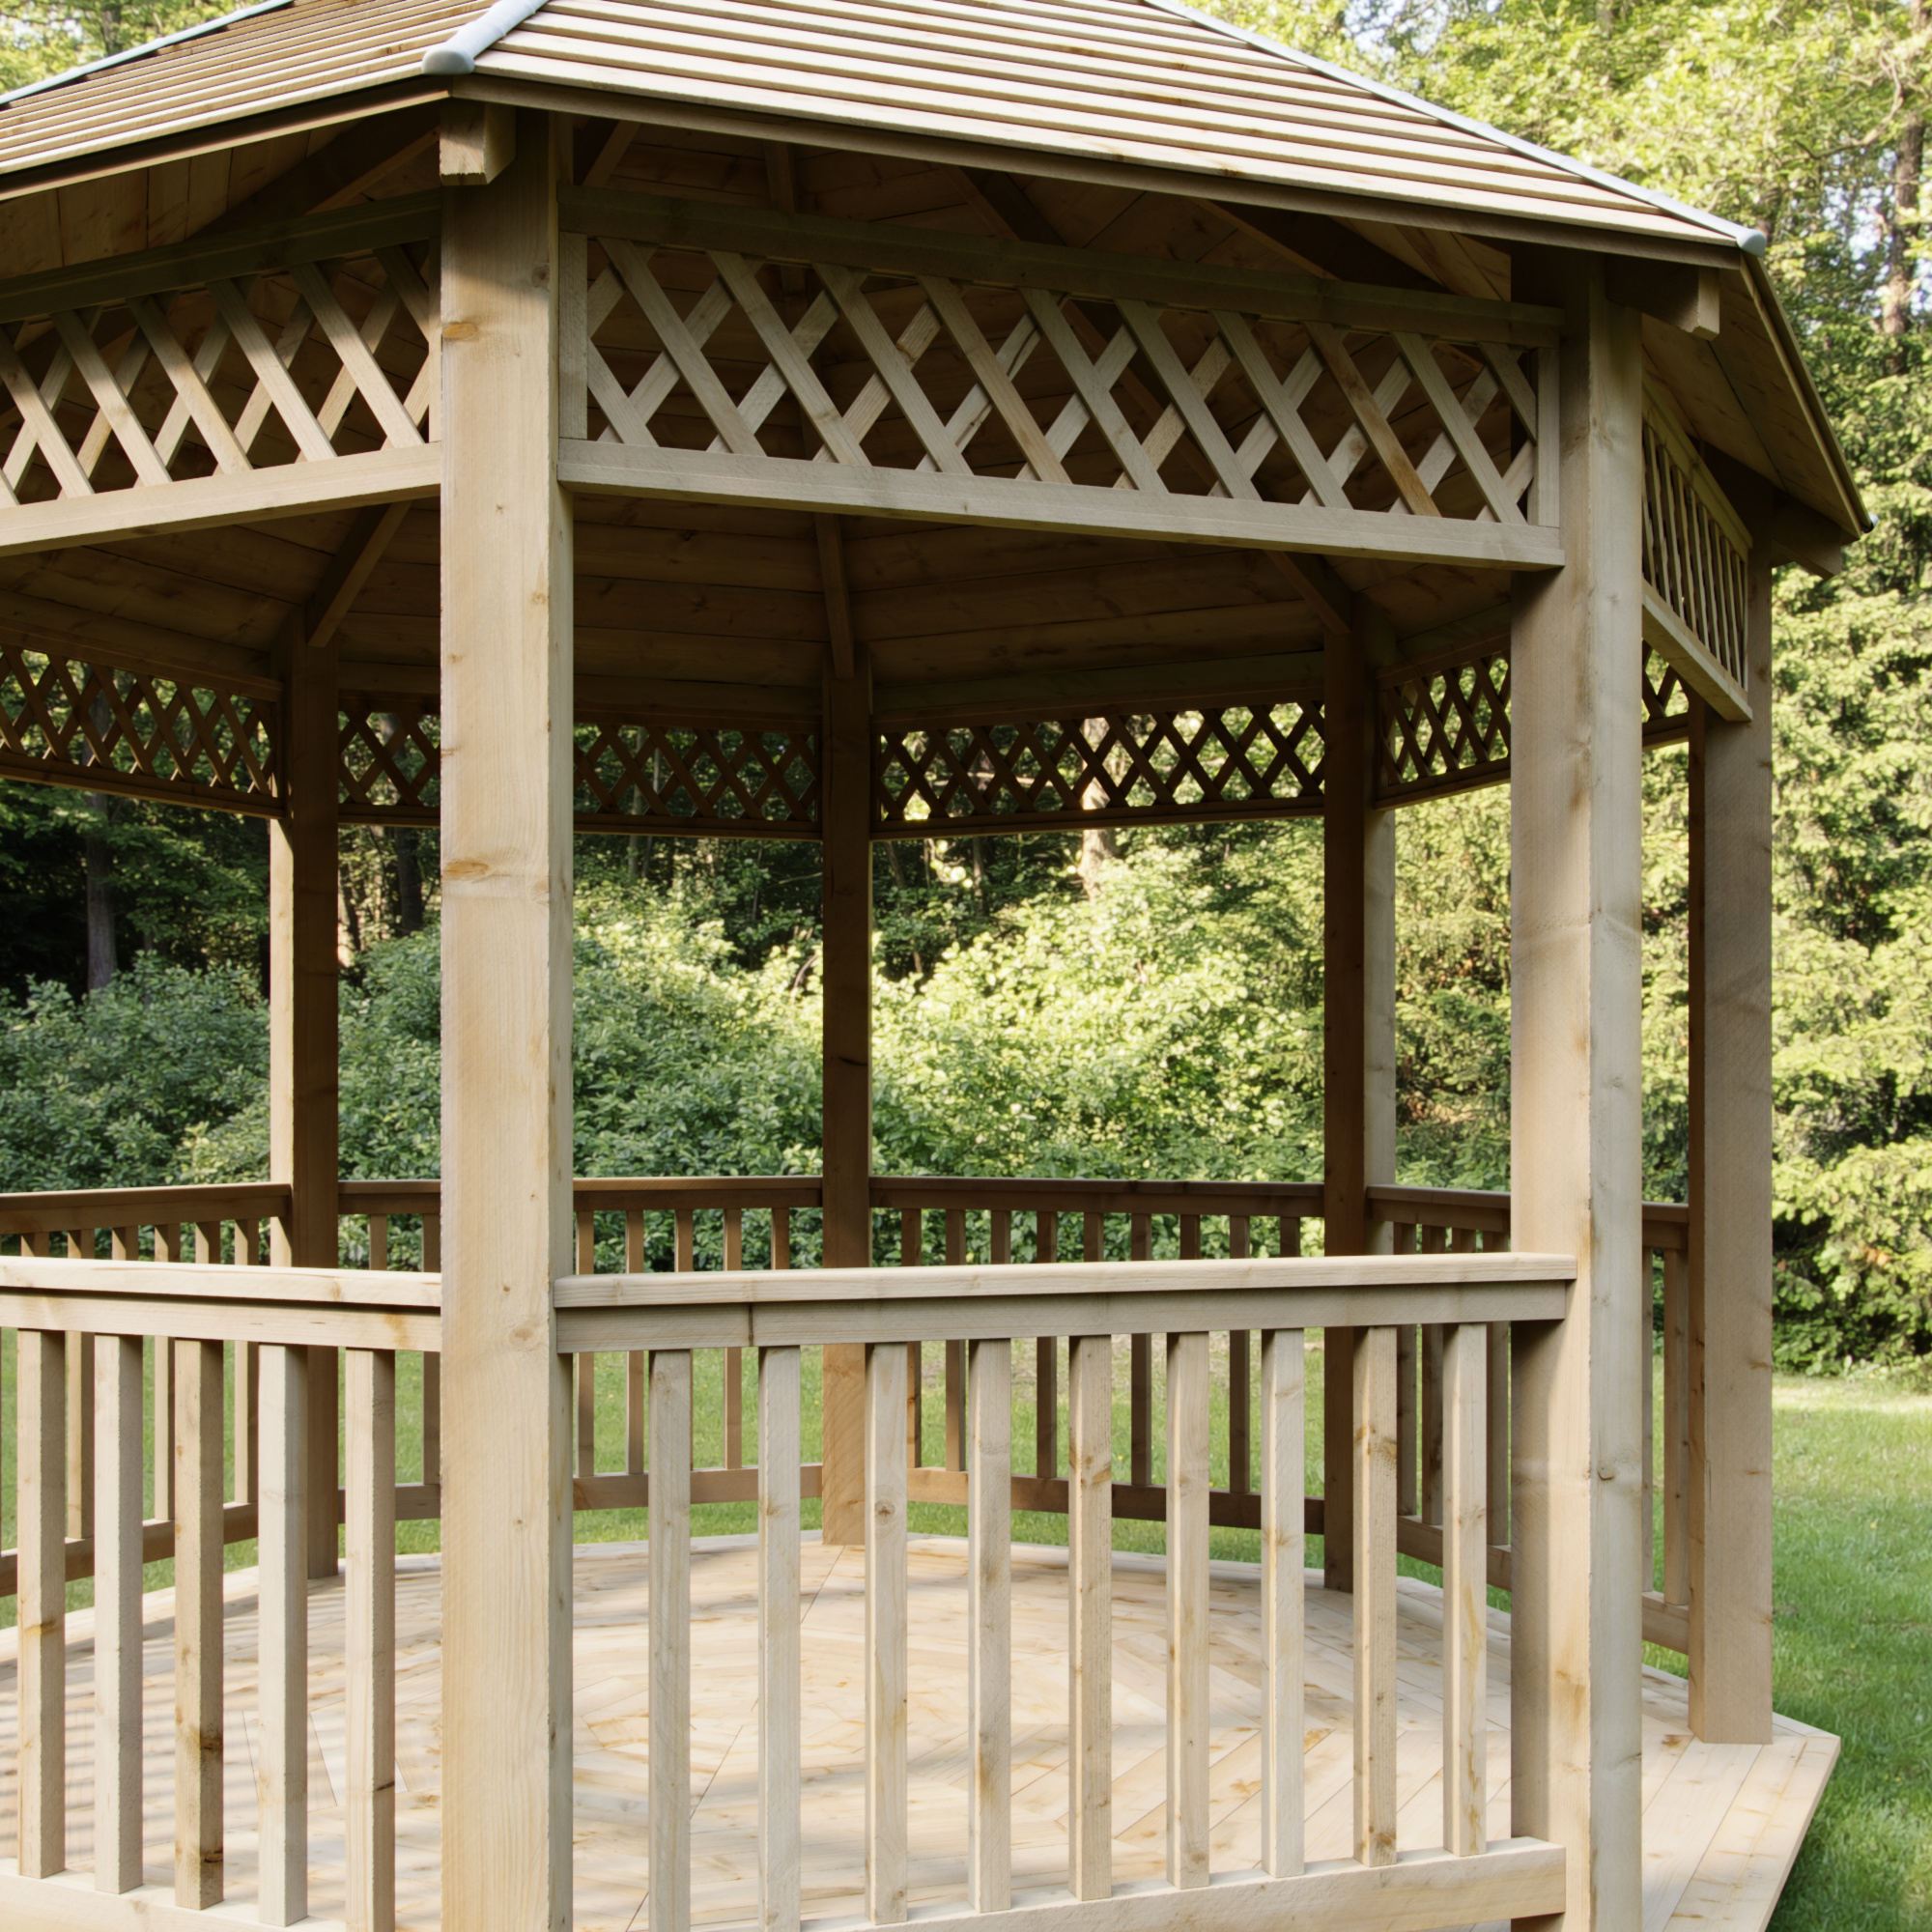
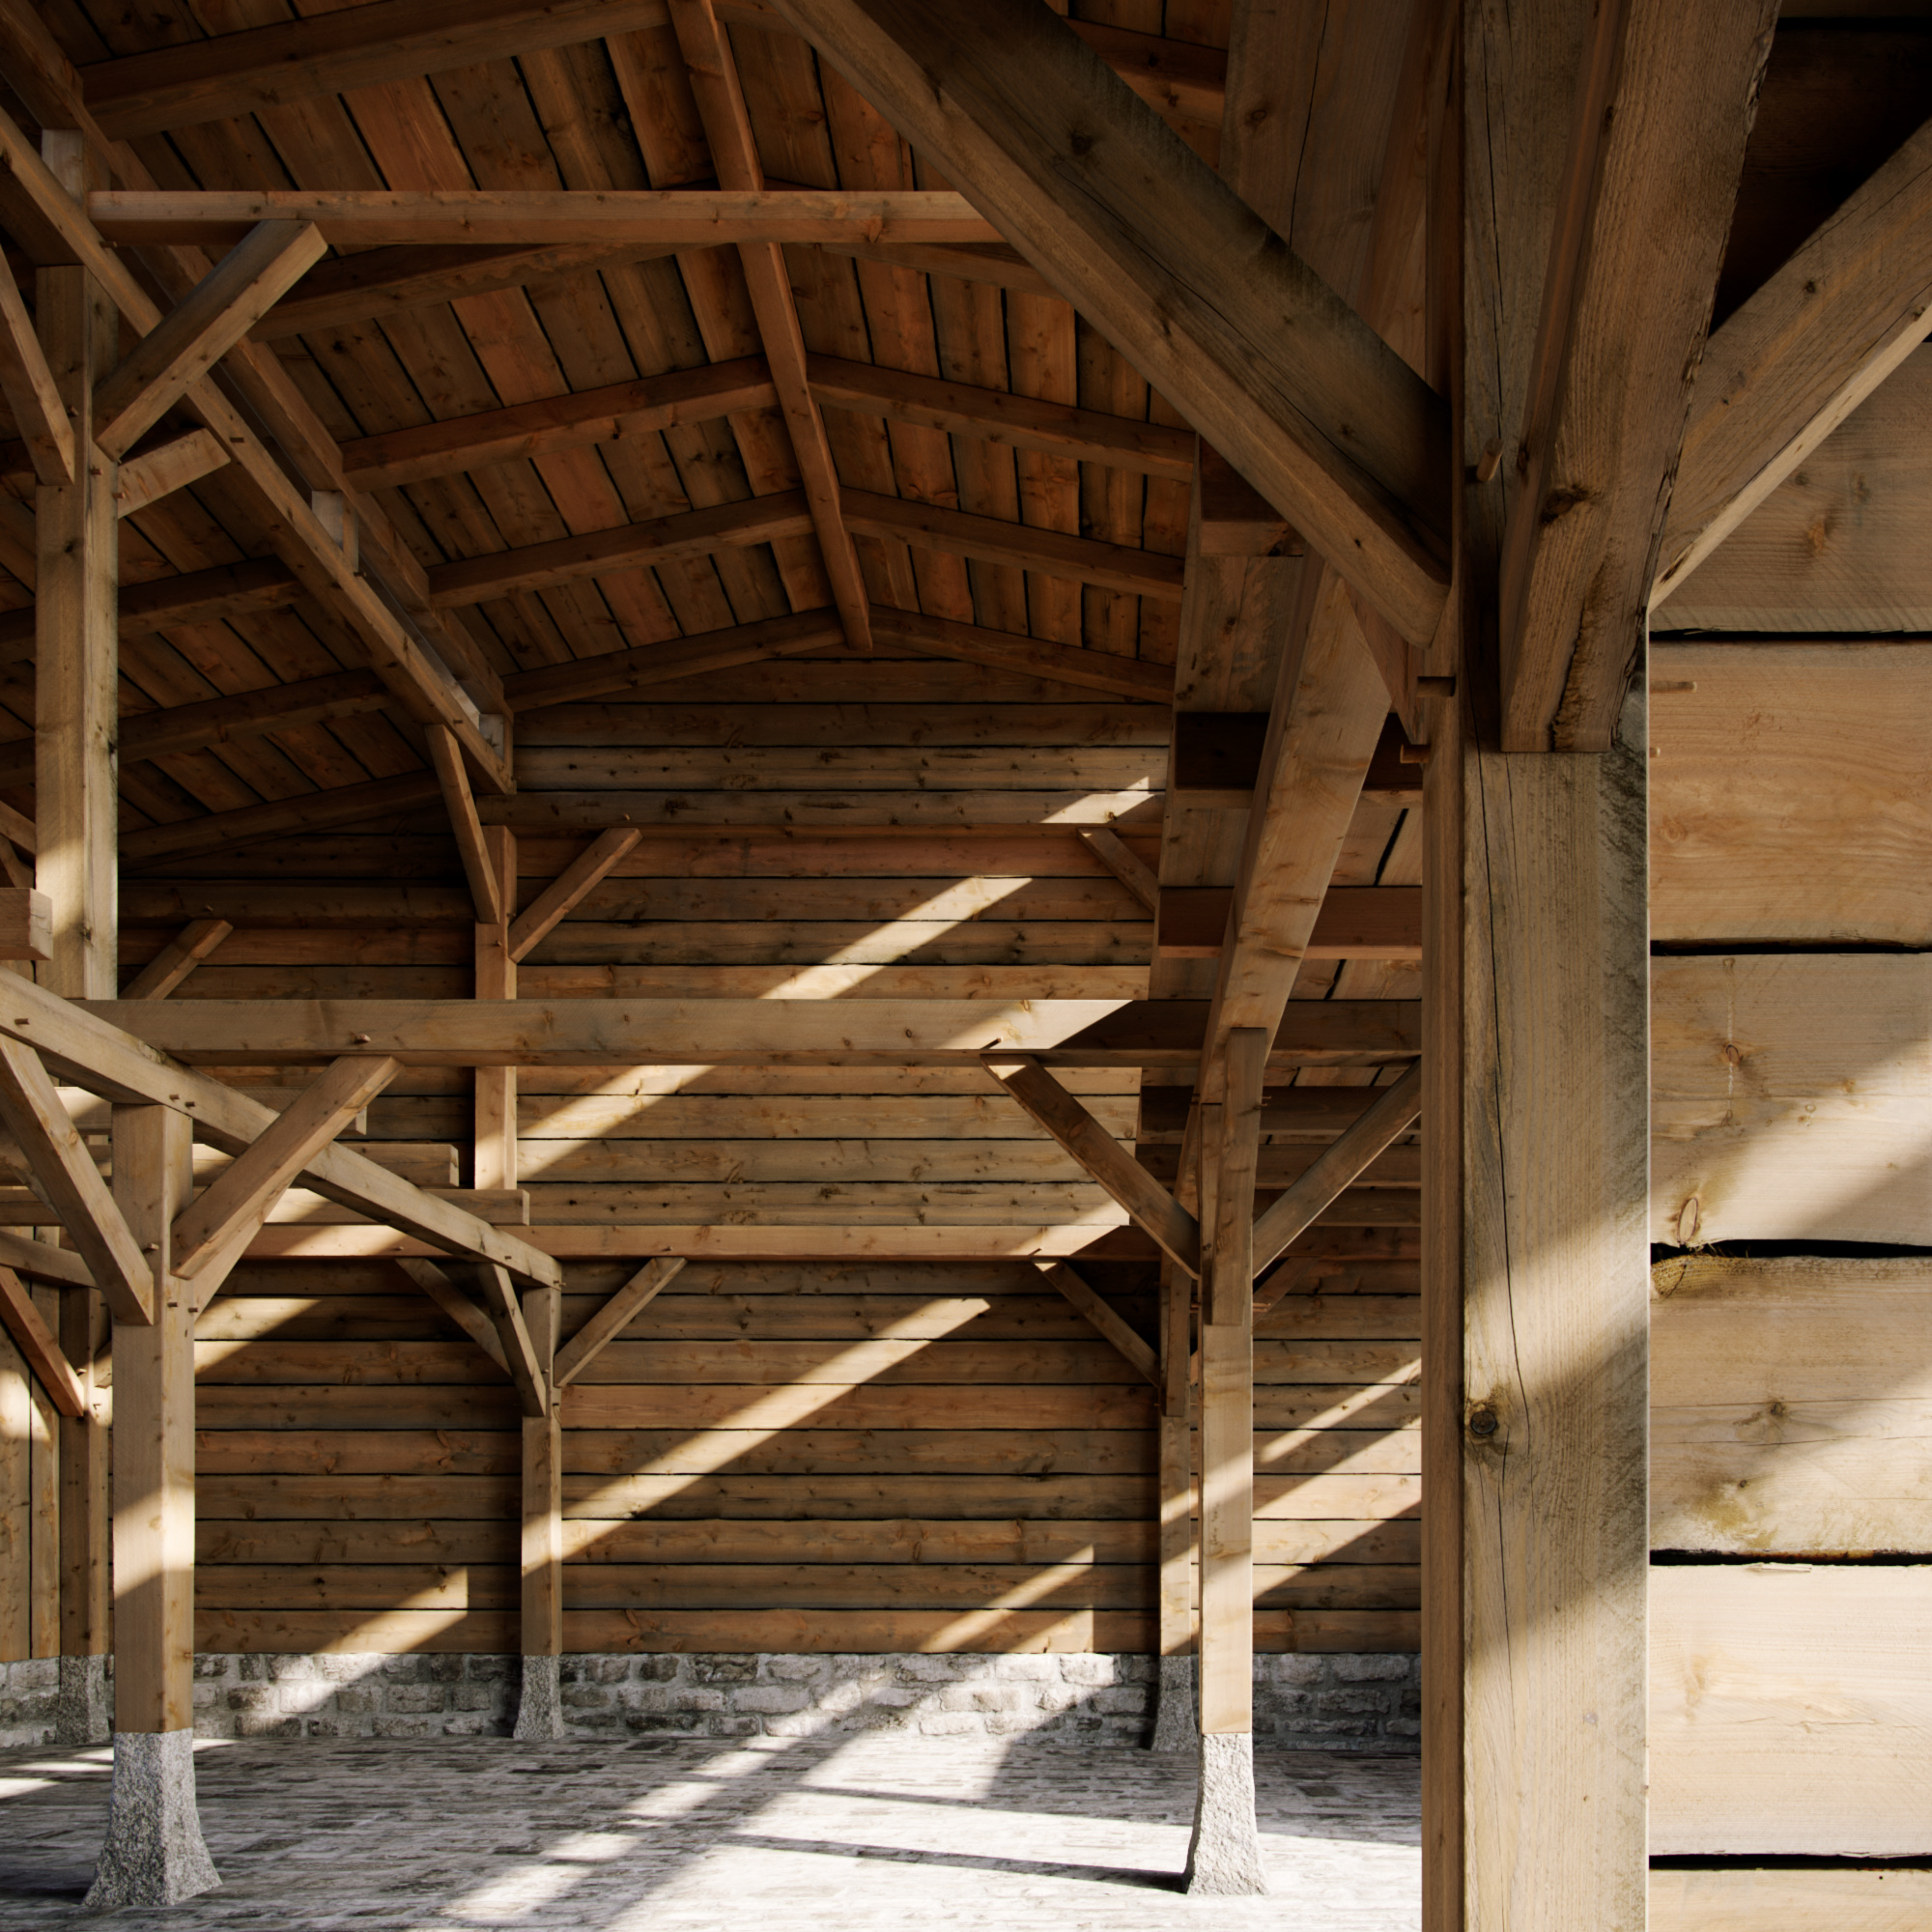
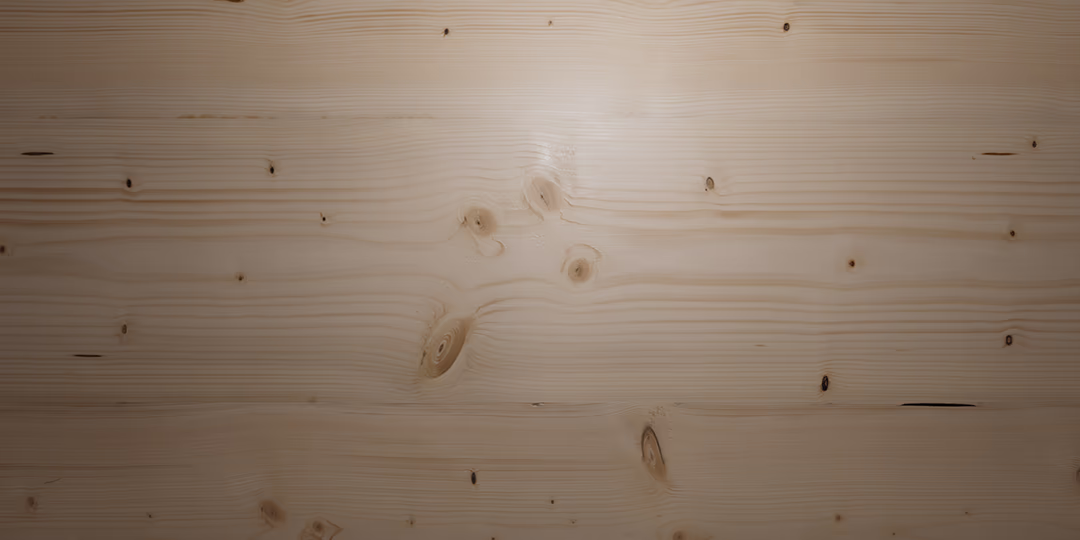
3D Scanned
Our tried and tested scanning process captures every aspect that gives wood its characteristic appearance. Accurate normal, bump, reflectivity and anisotropy maps are essential to achieve truly photo-real and authentic render results.

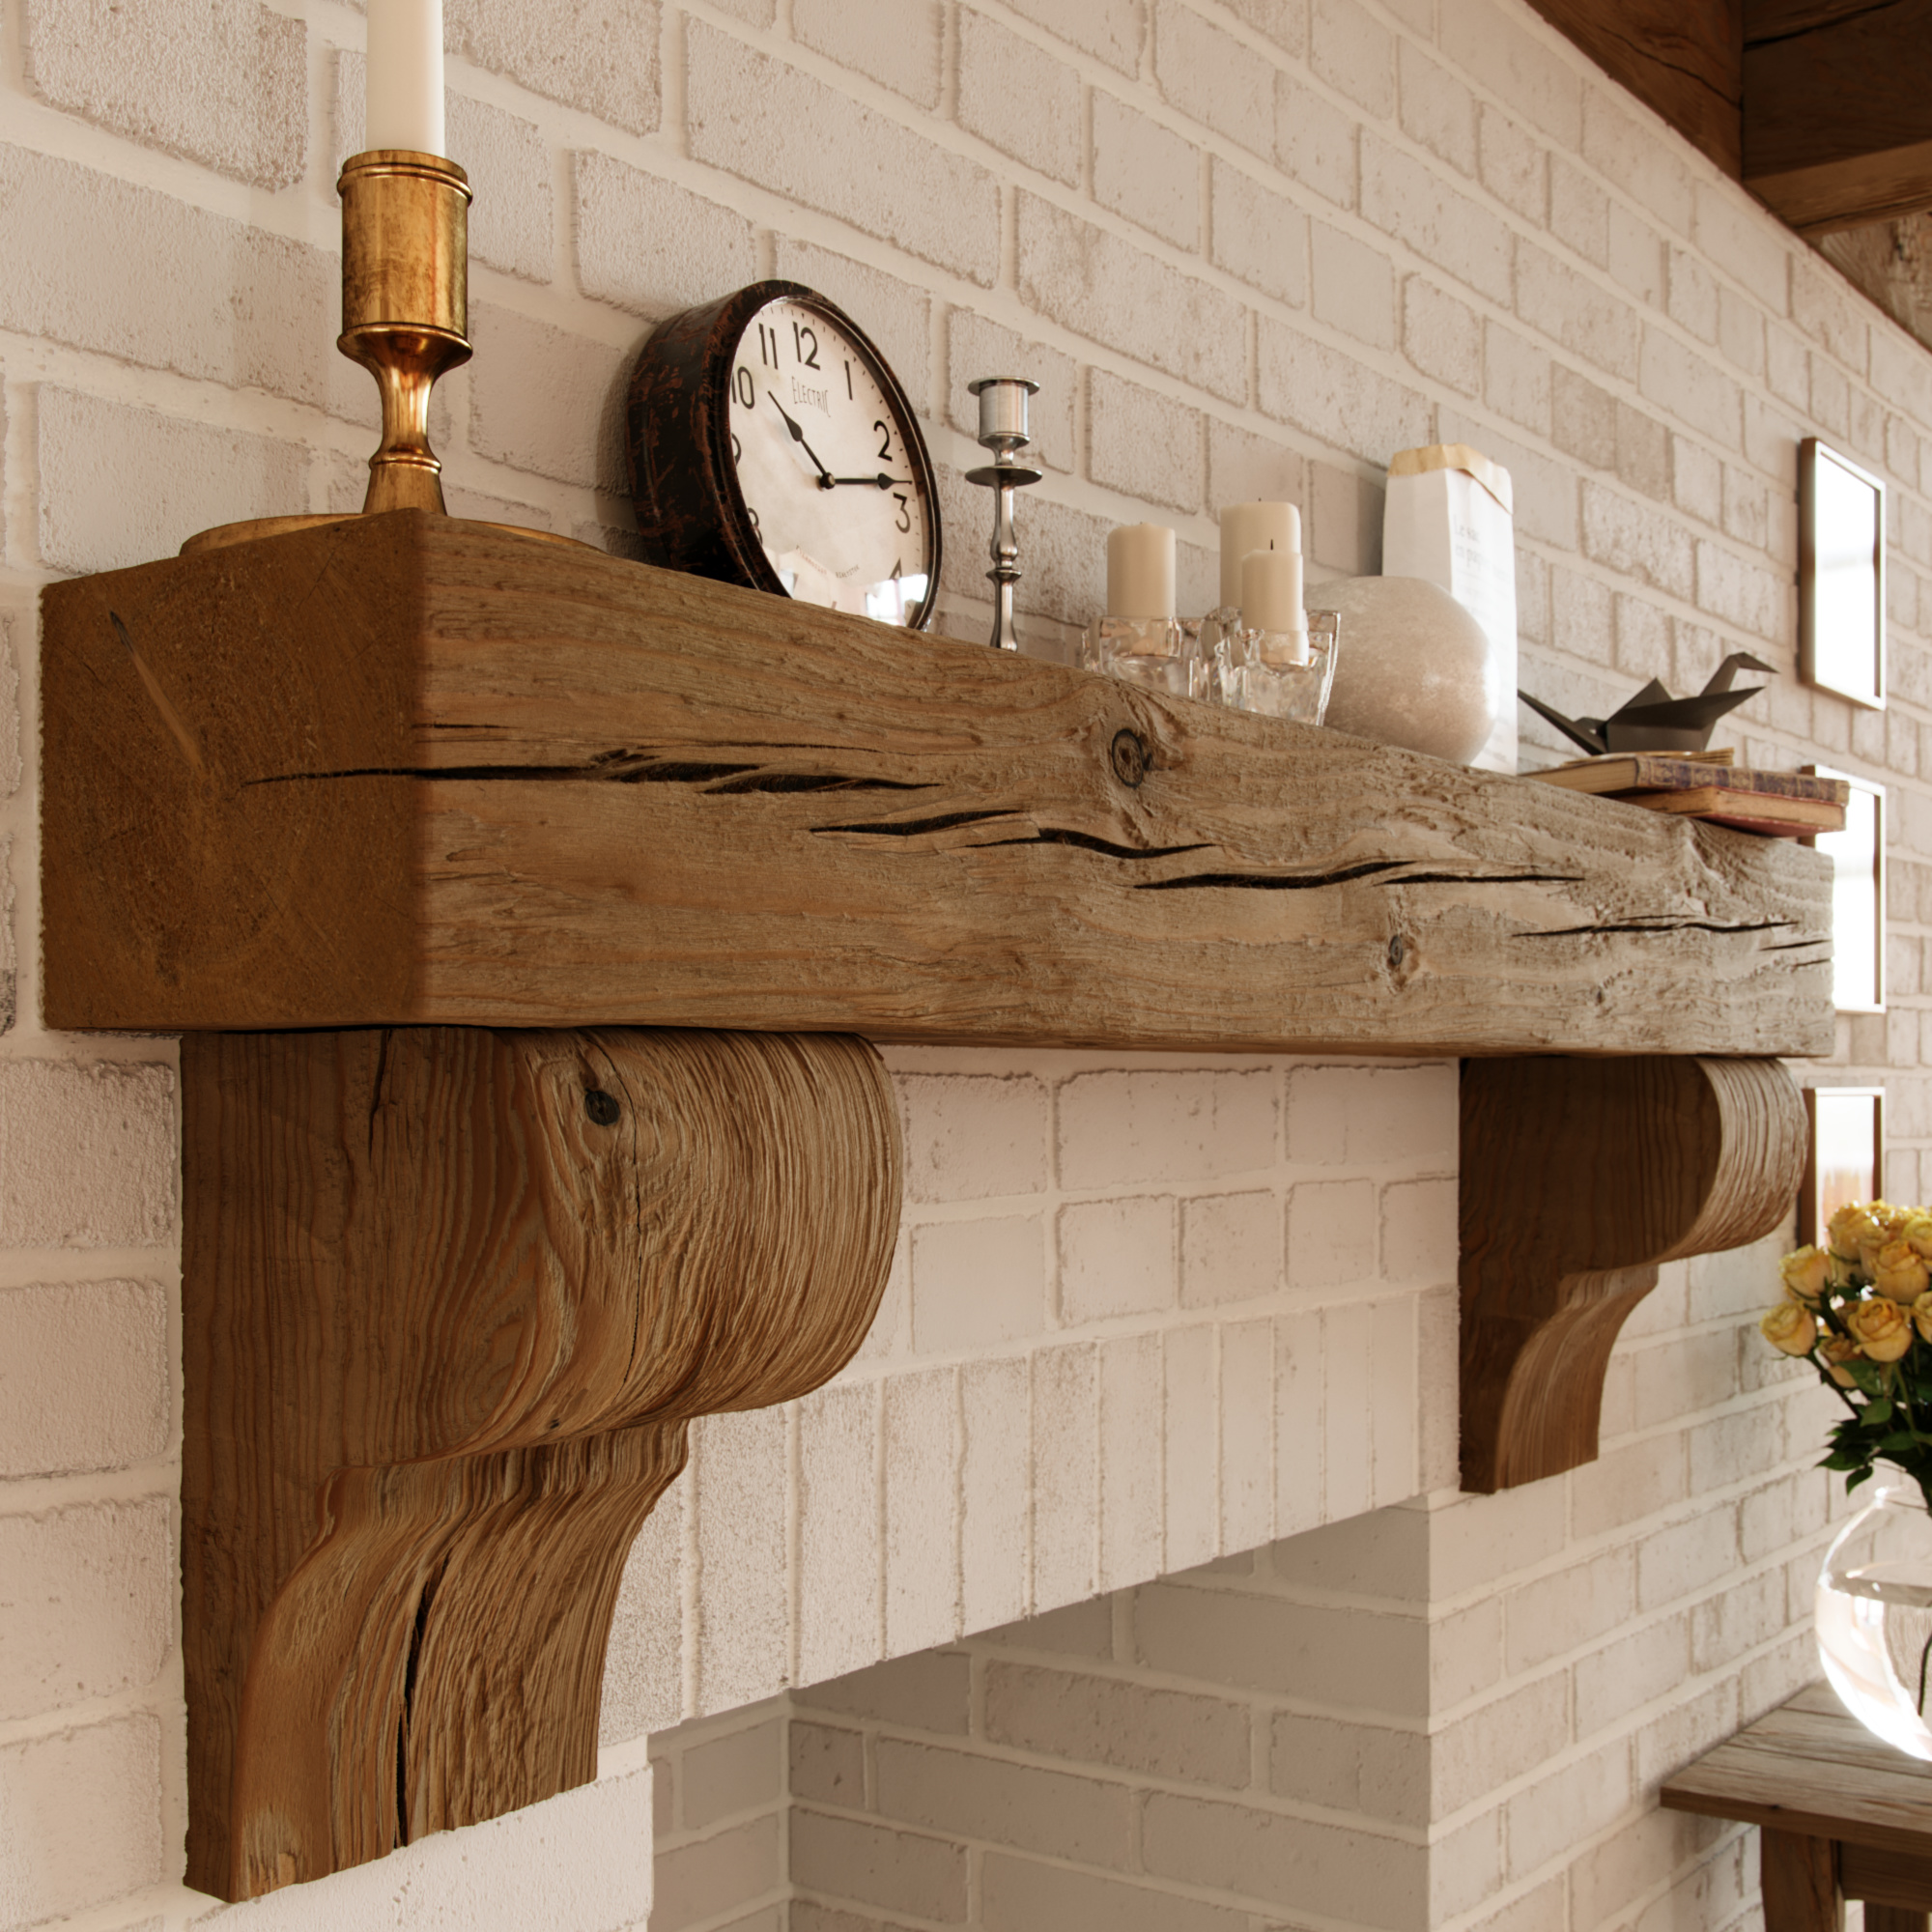
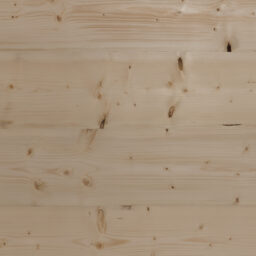
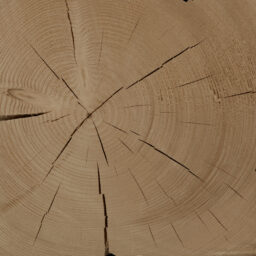
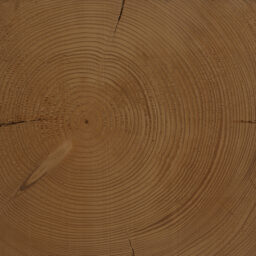
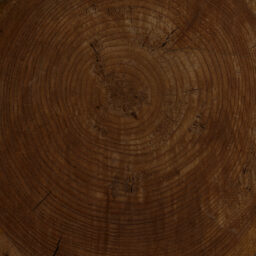
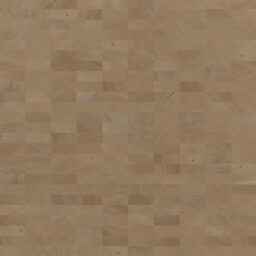
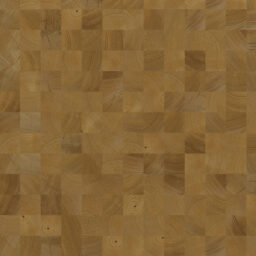
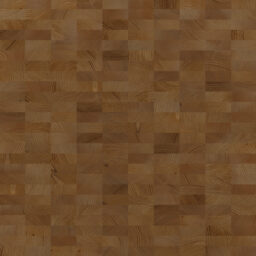
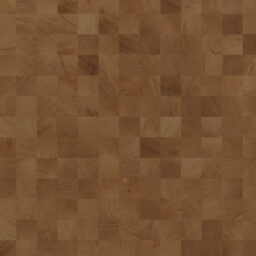
End grain and Edge Textures
We took great care to include end grain and edge textures that match all the various wood species, treatments, and weathering conditions.

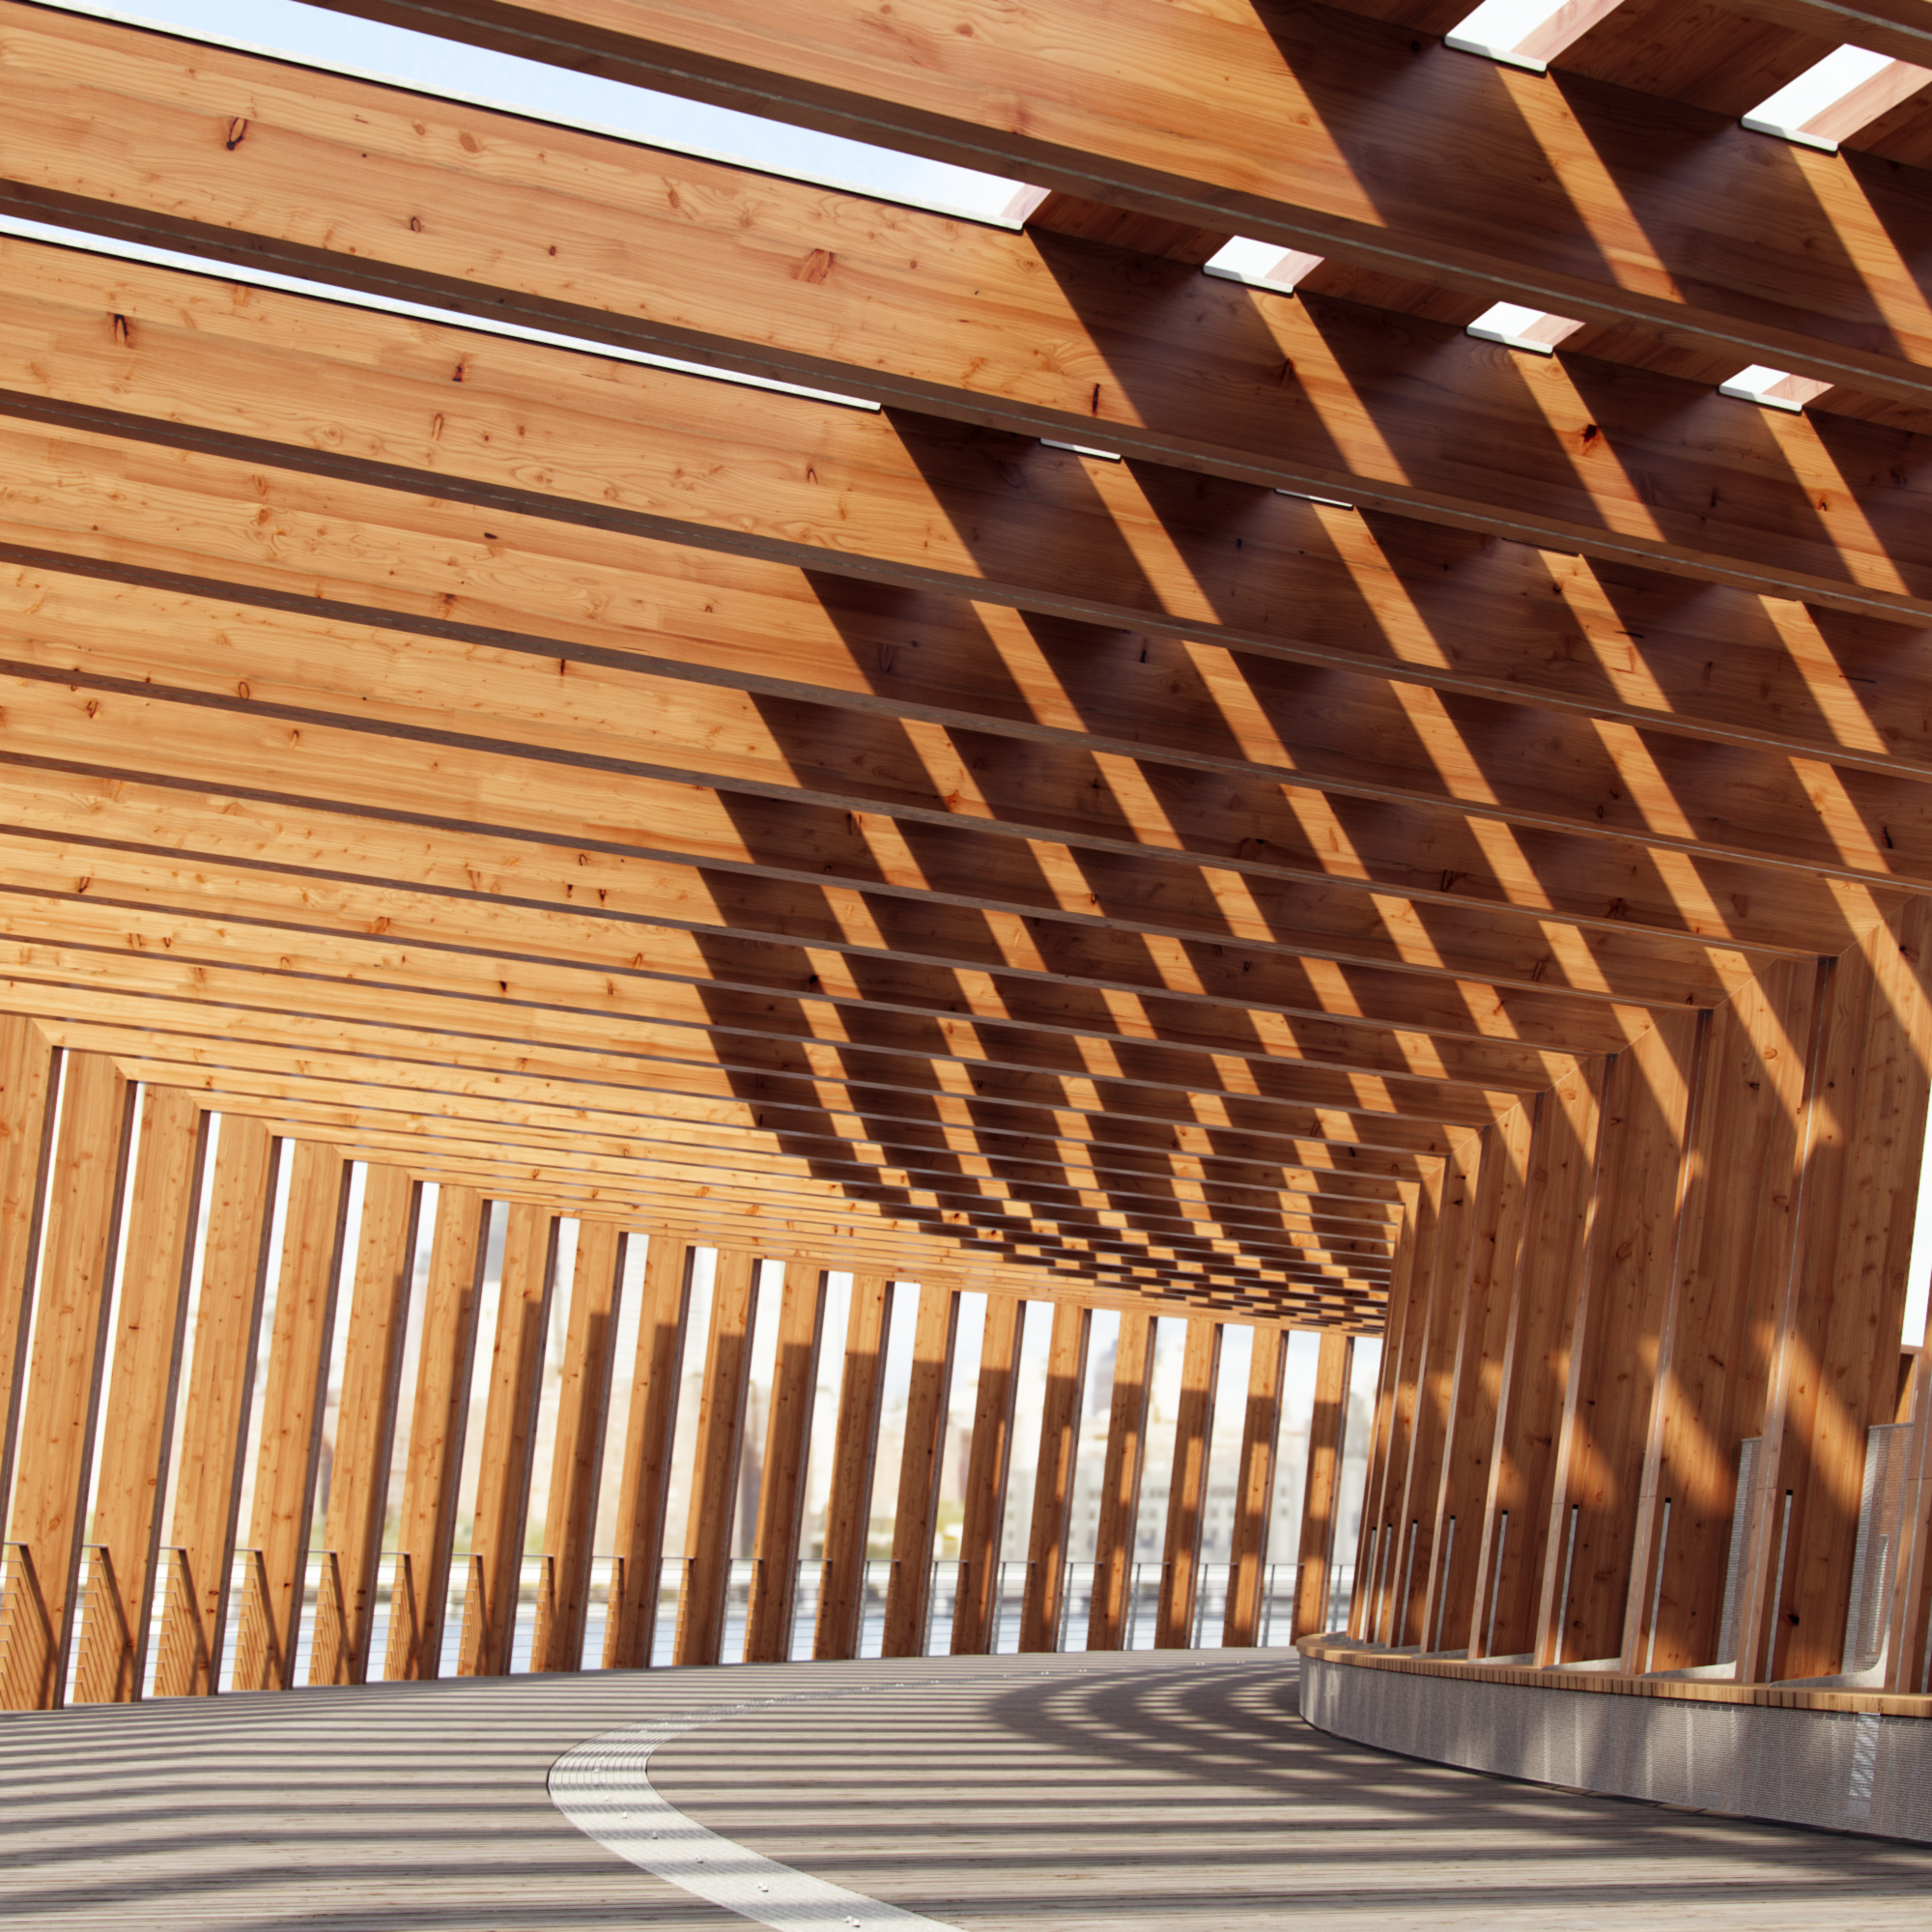
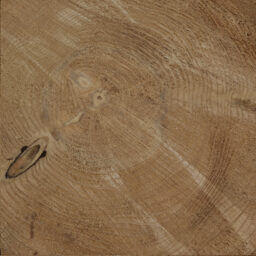
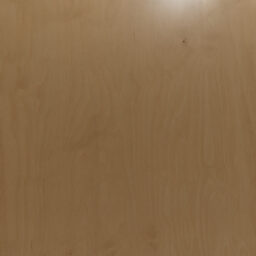
Anisotropy Maps
Cut wood often shows strongly anisotropic specular reflections. We’ve therefore included proper anisotropy angle maps wherever needed. A subtle effect, yet it makes all the difference.

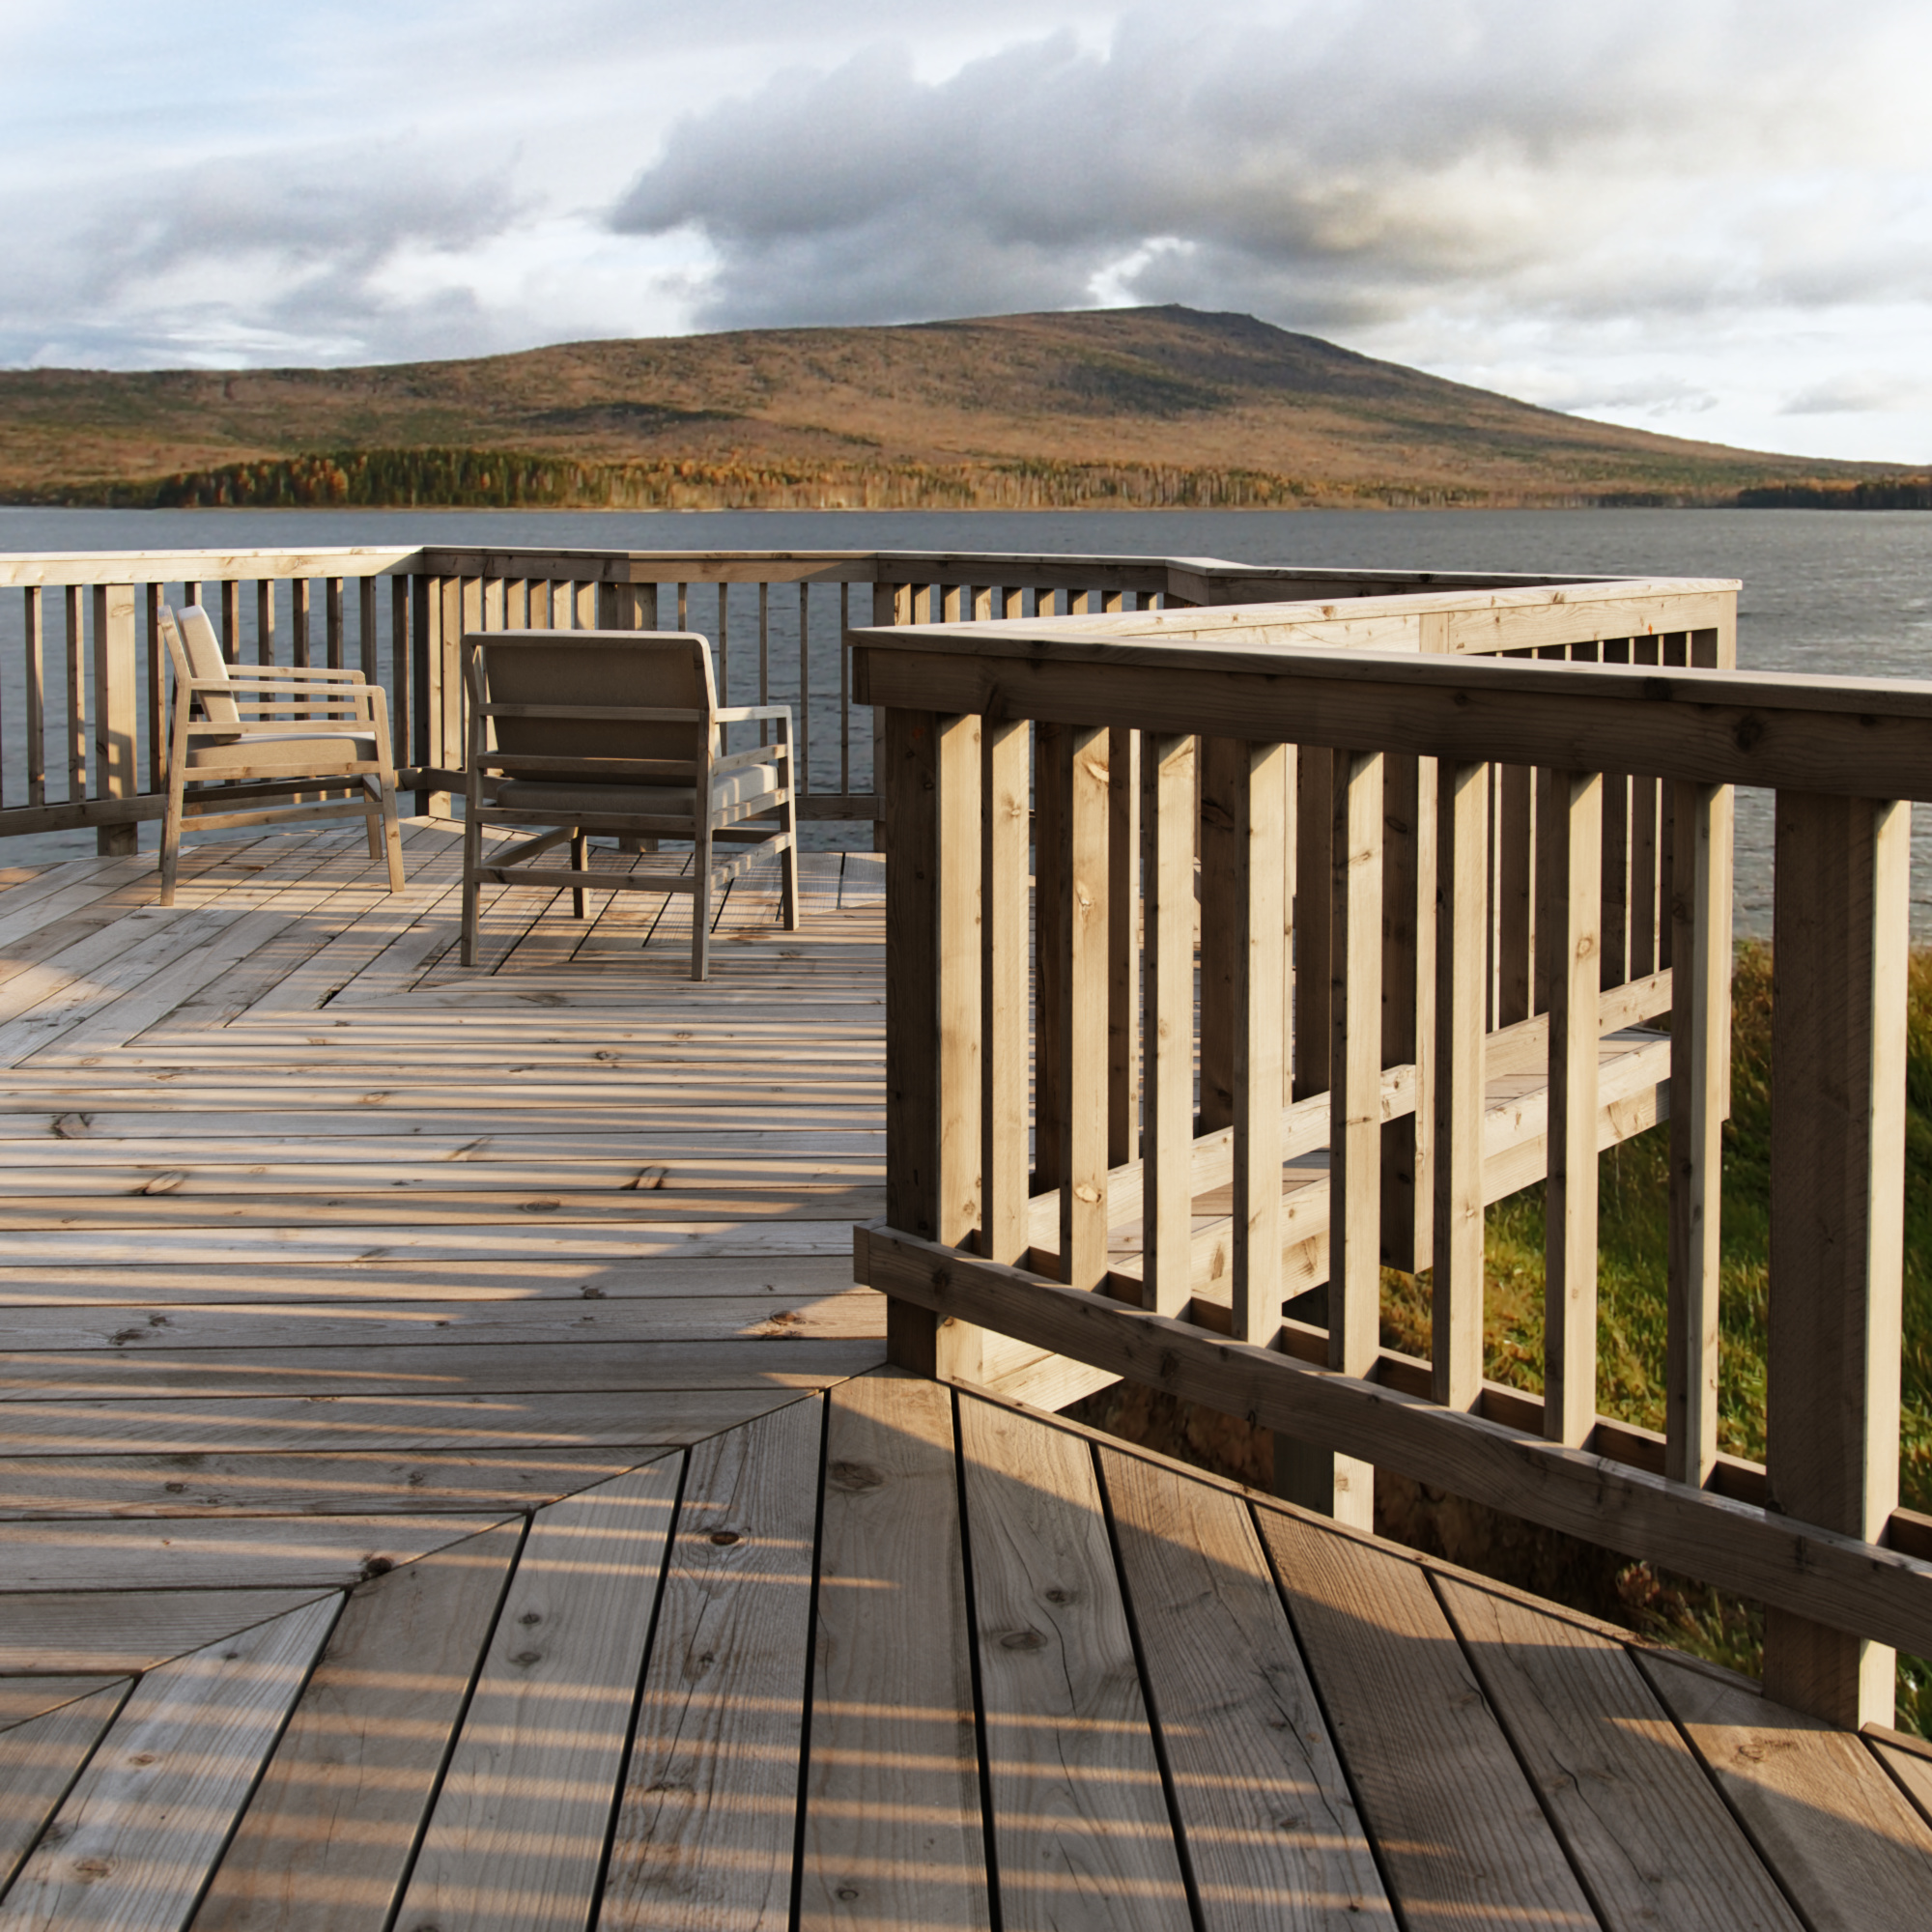
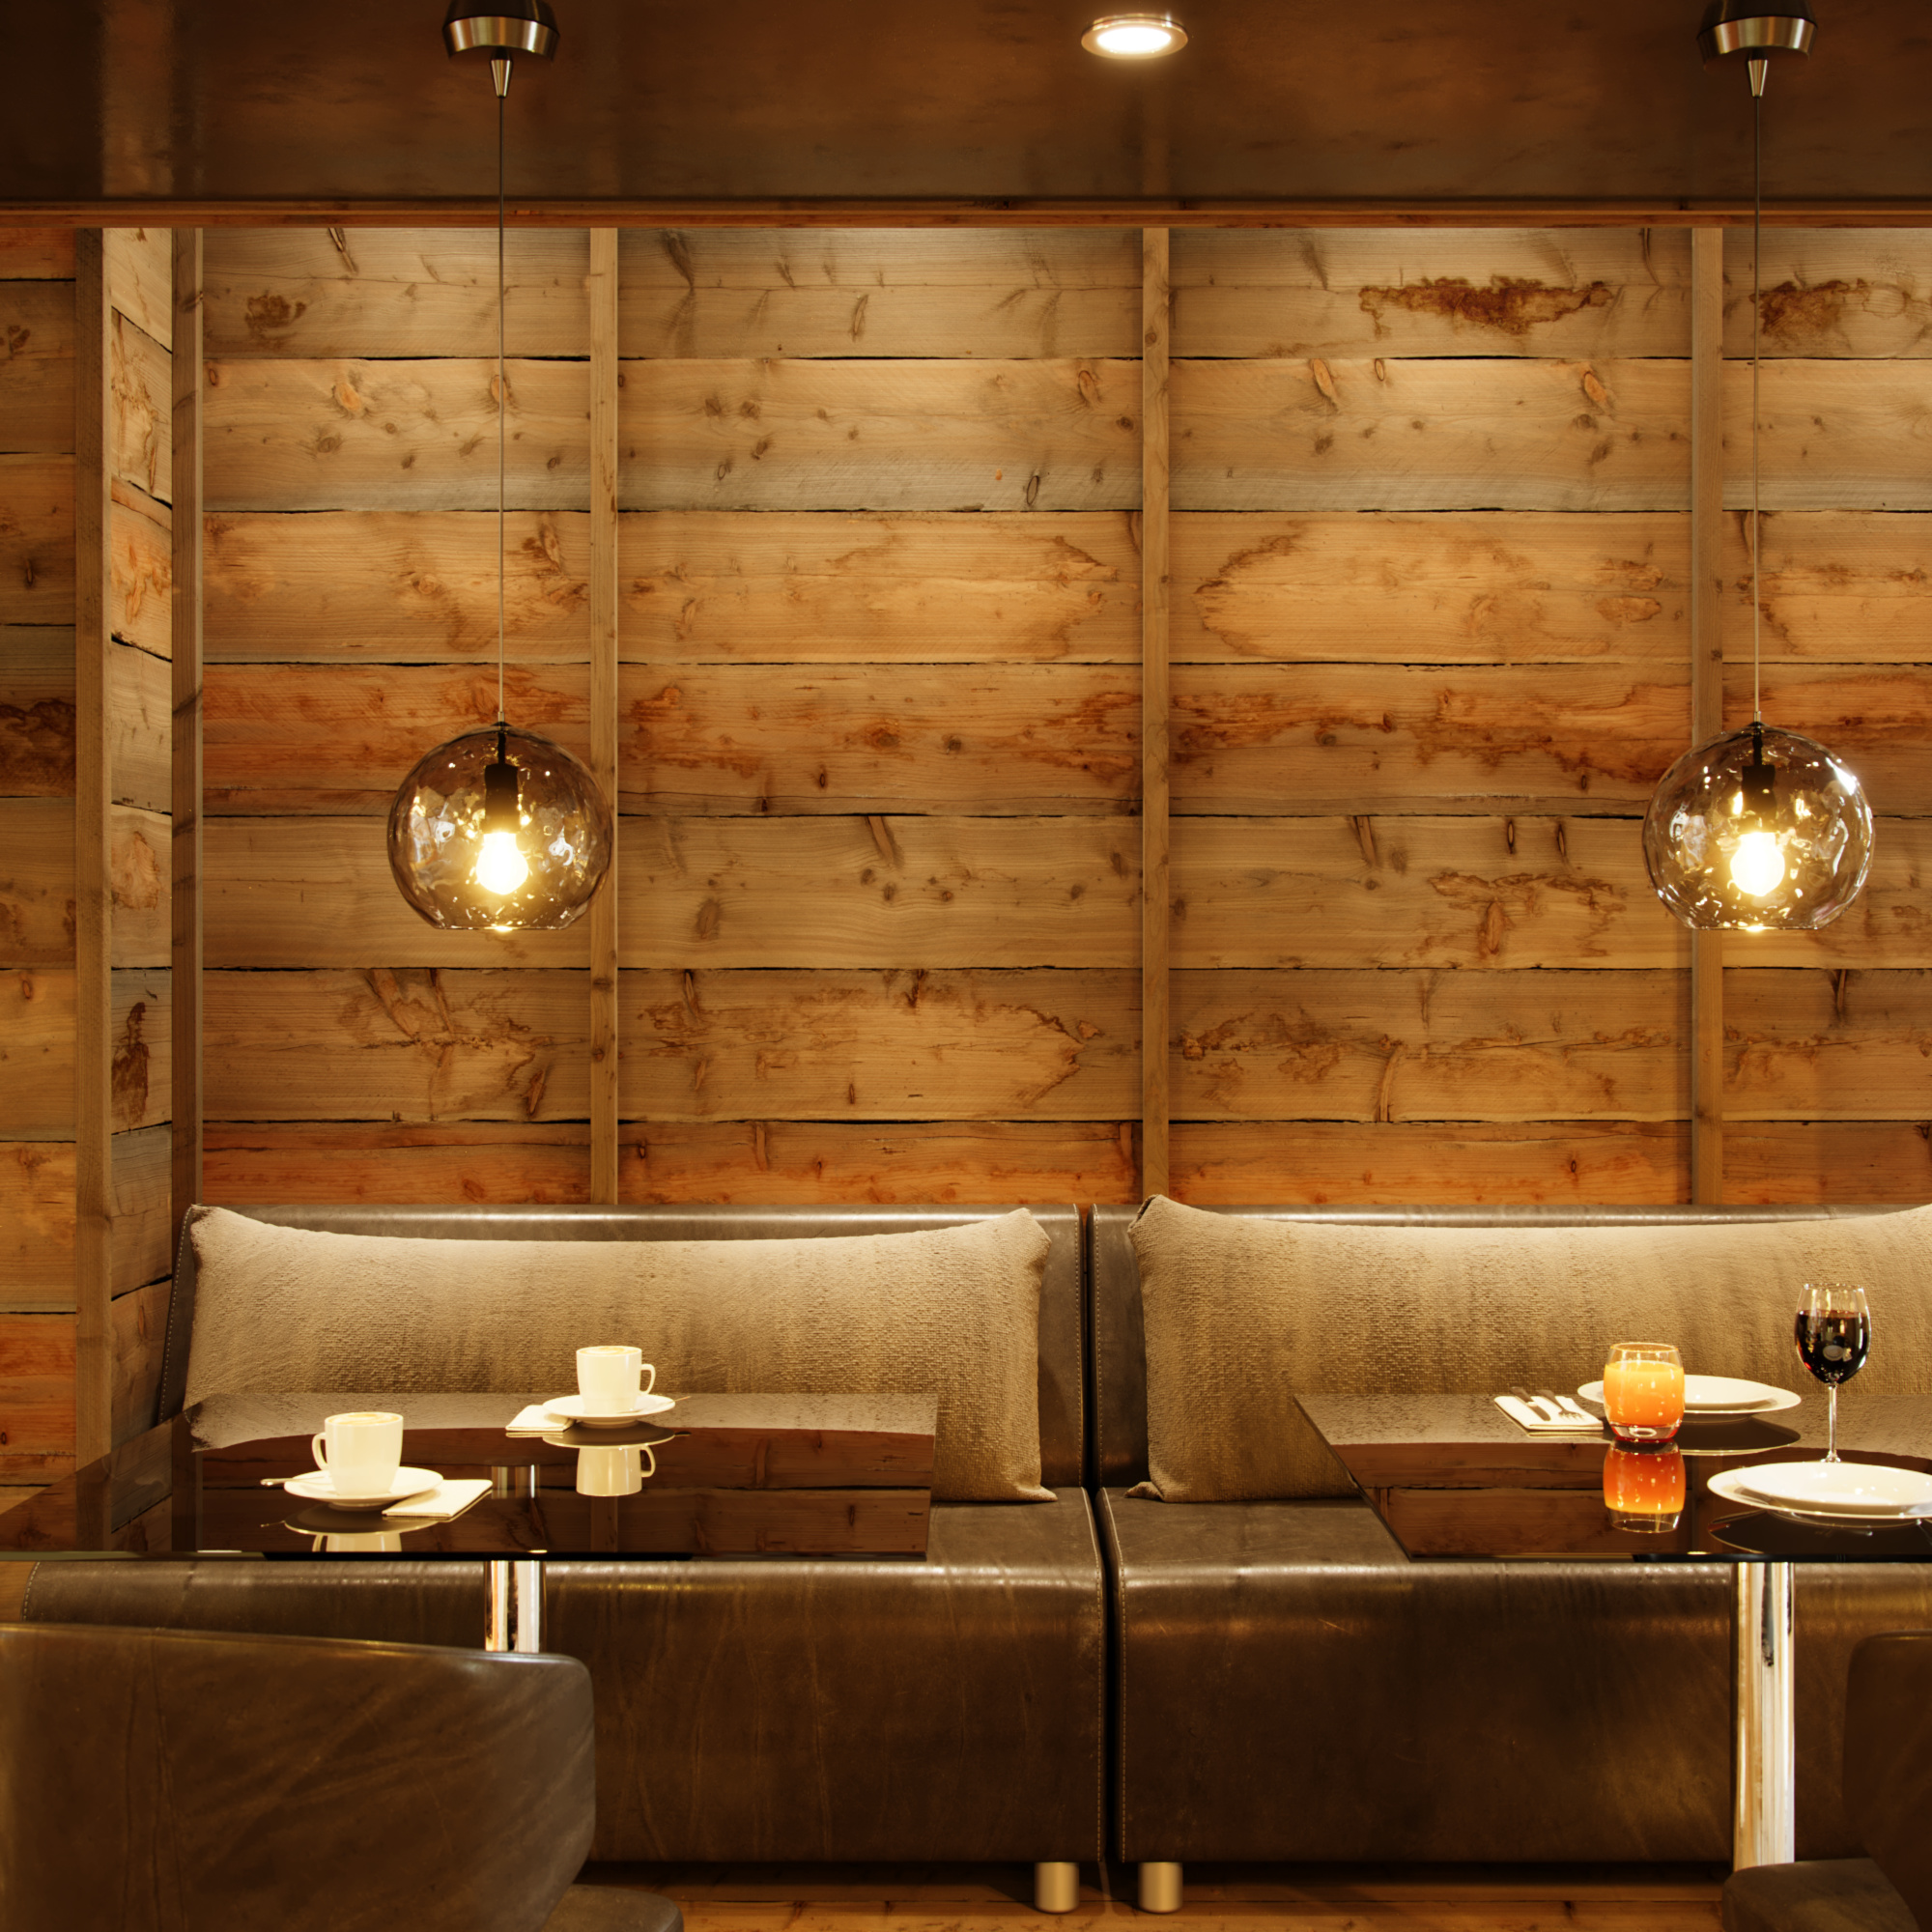
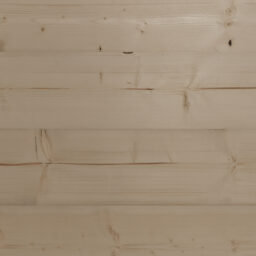
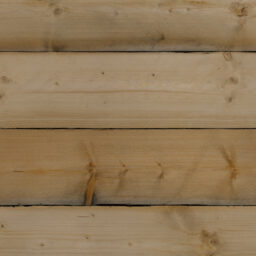
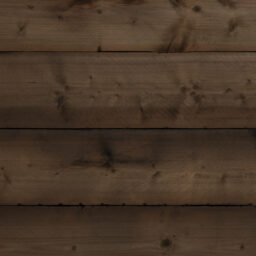
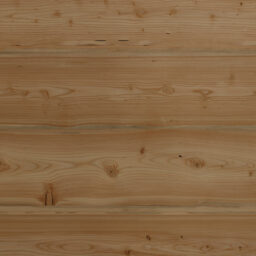
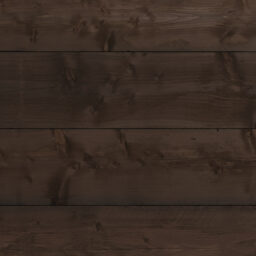
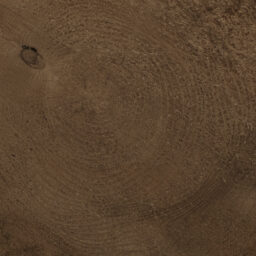
Color Variations
Every texture comes with five or more color variations – 267 in total. To achieve authentic results, we employed various kinds of post-processing to match photographic reference as closely as possible.
Map Types
Beside several color variations, each texture consists of maps containing information to surface normals, surface height, reflectivity, and anisotropy – all essential for realistic rendering results.

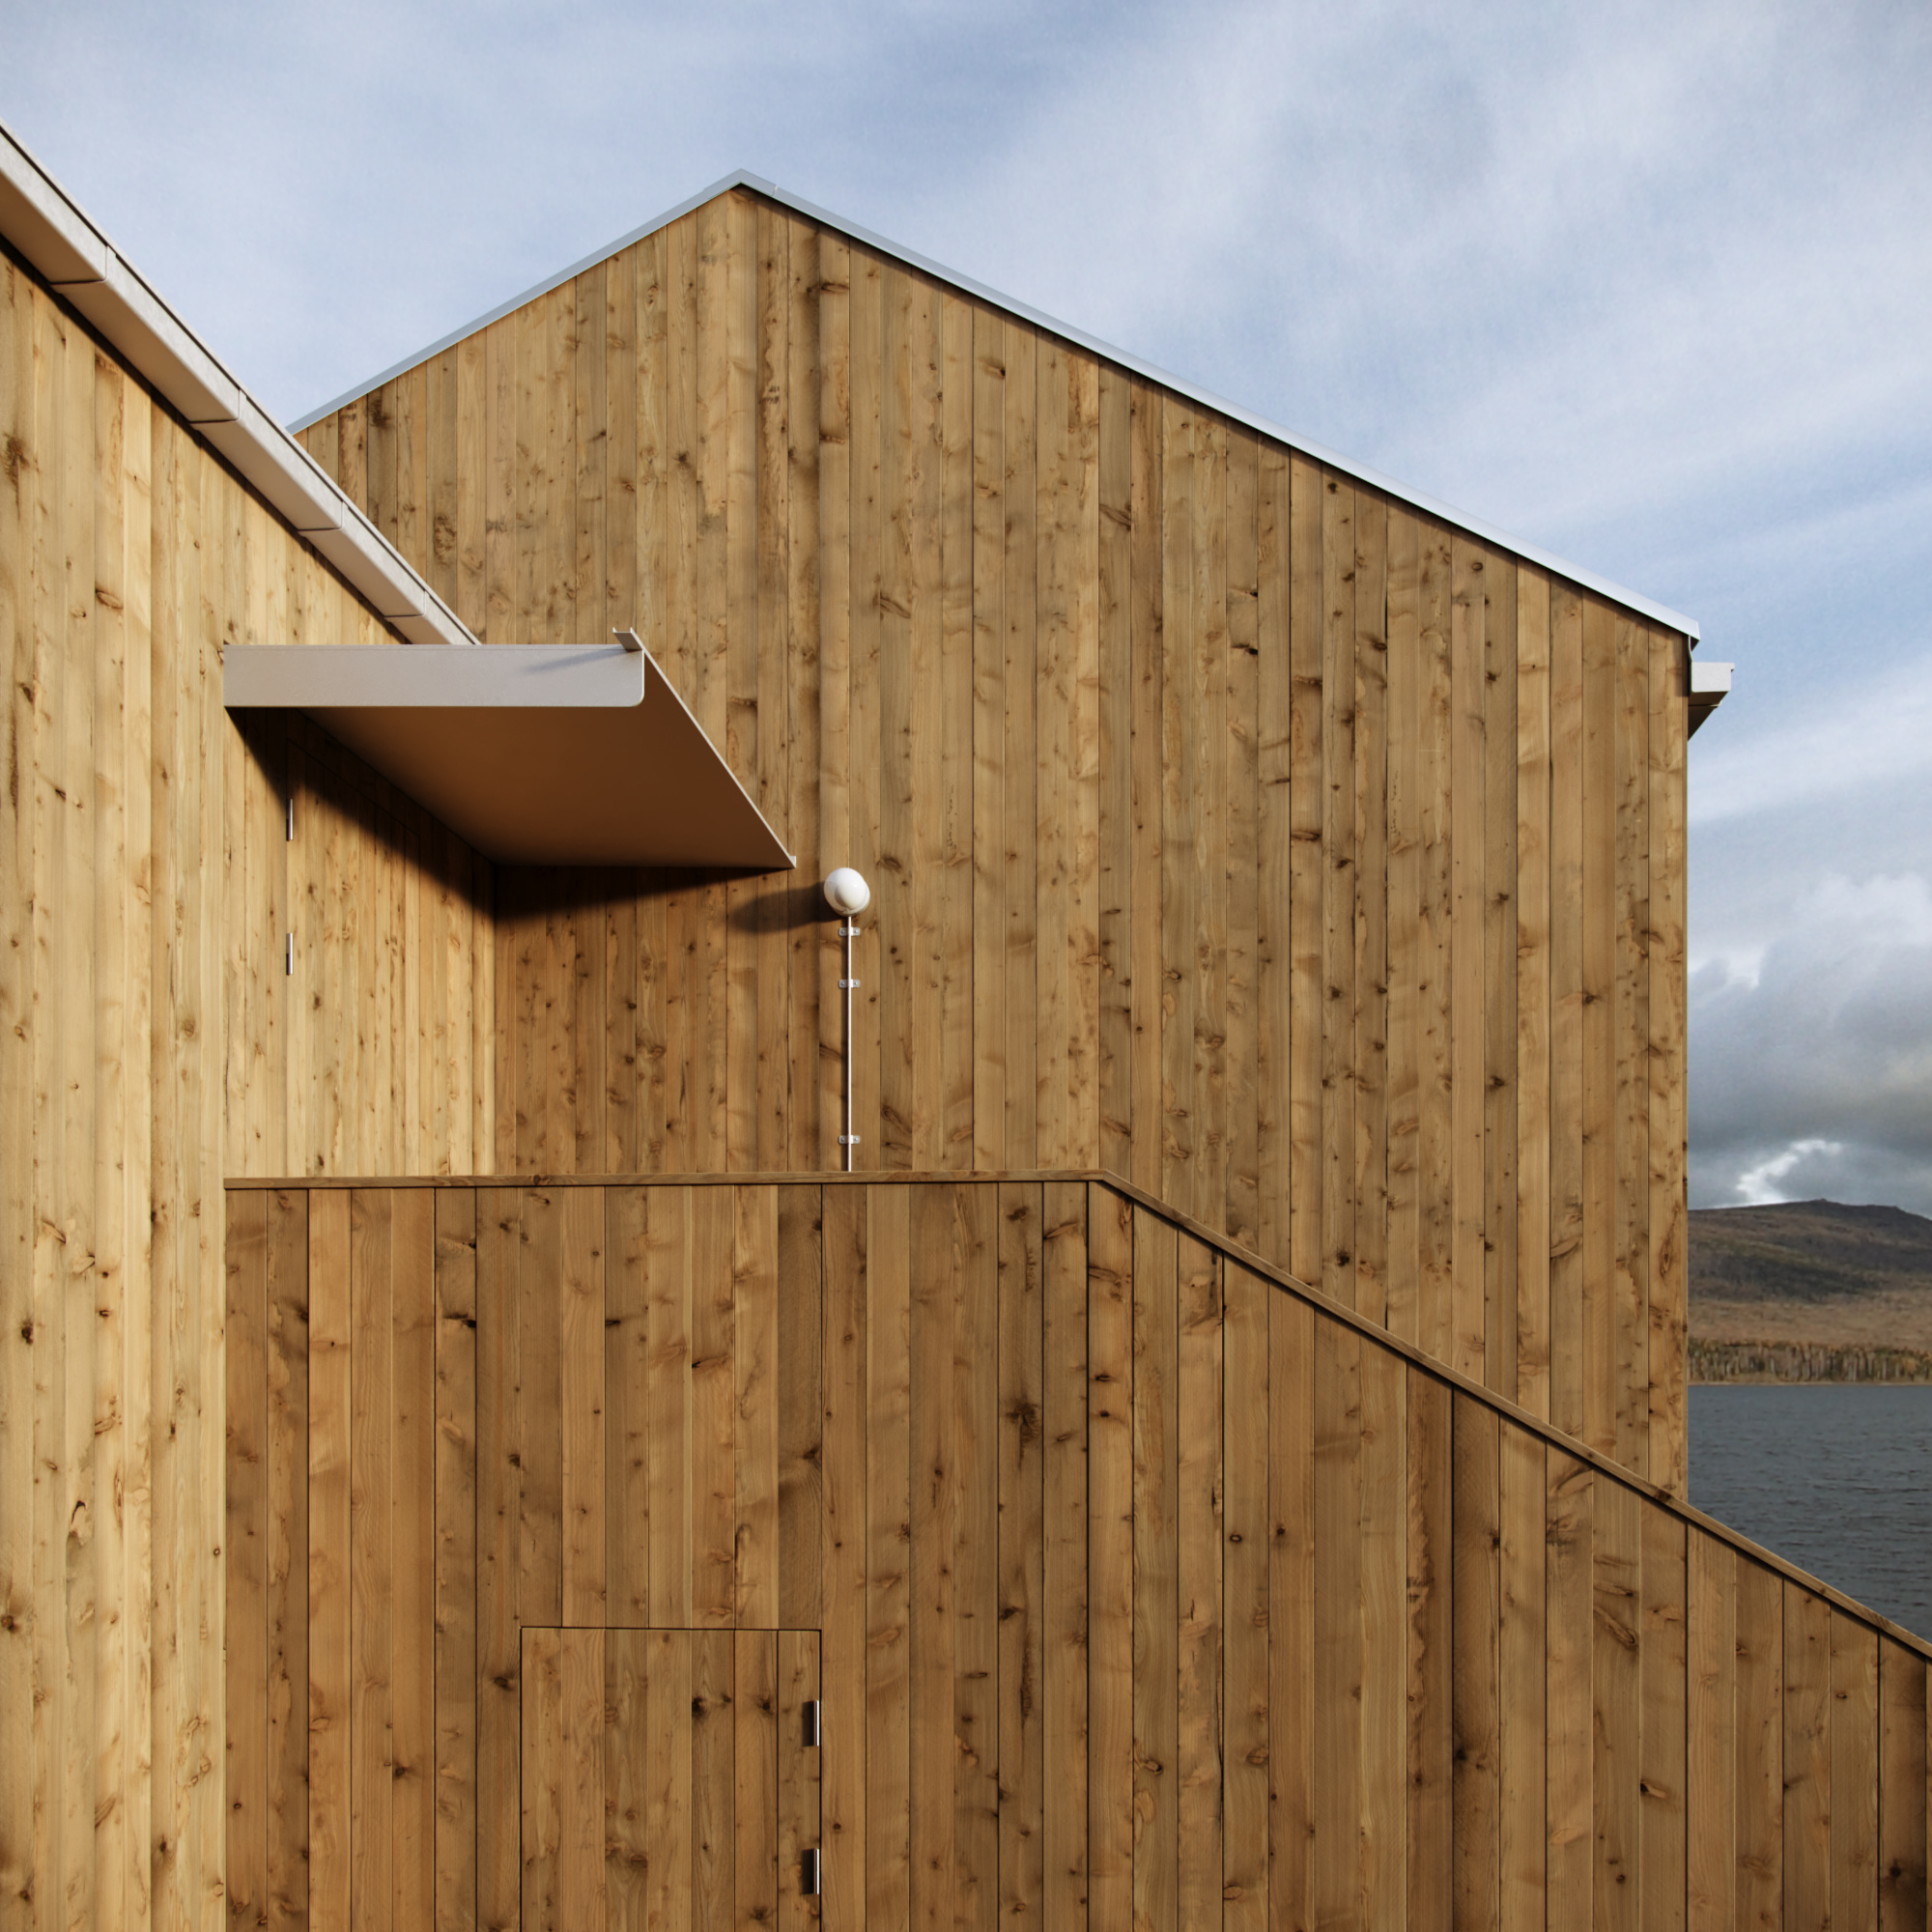
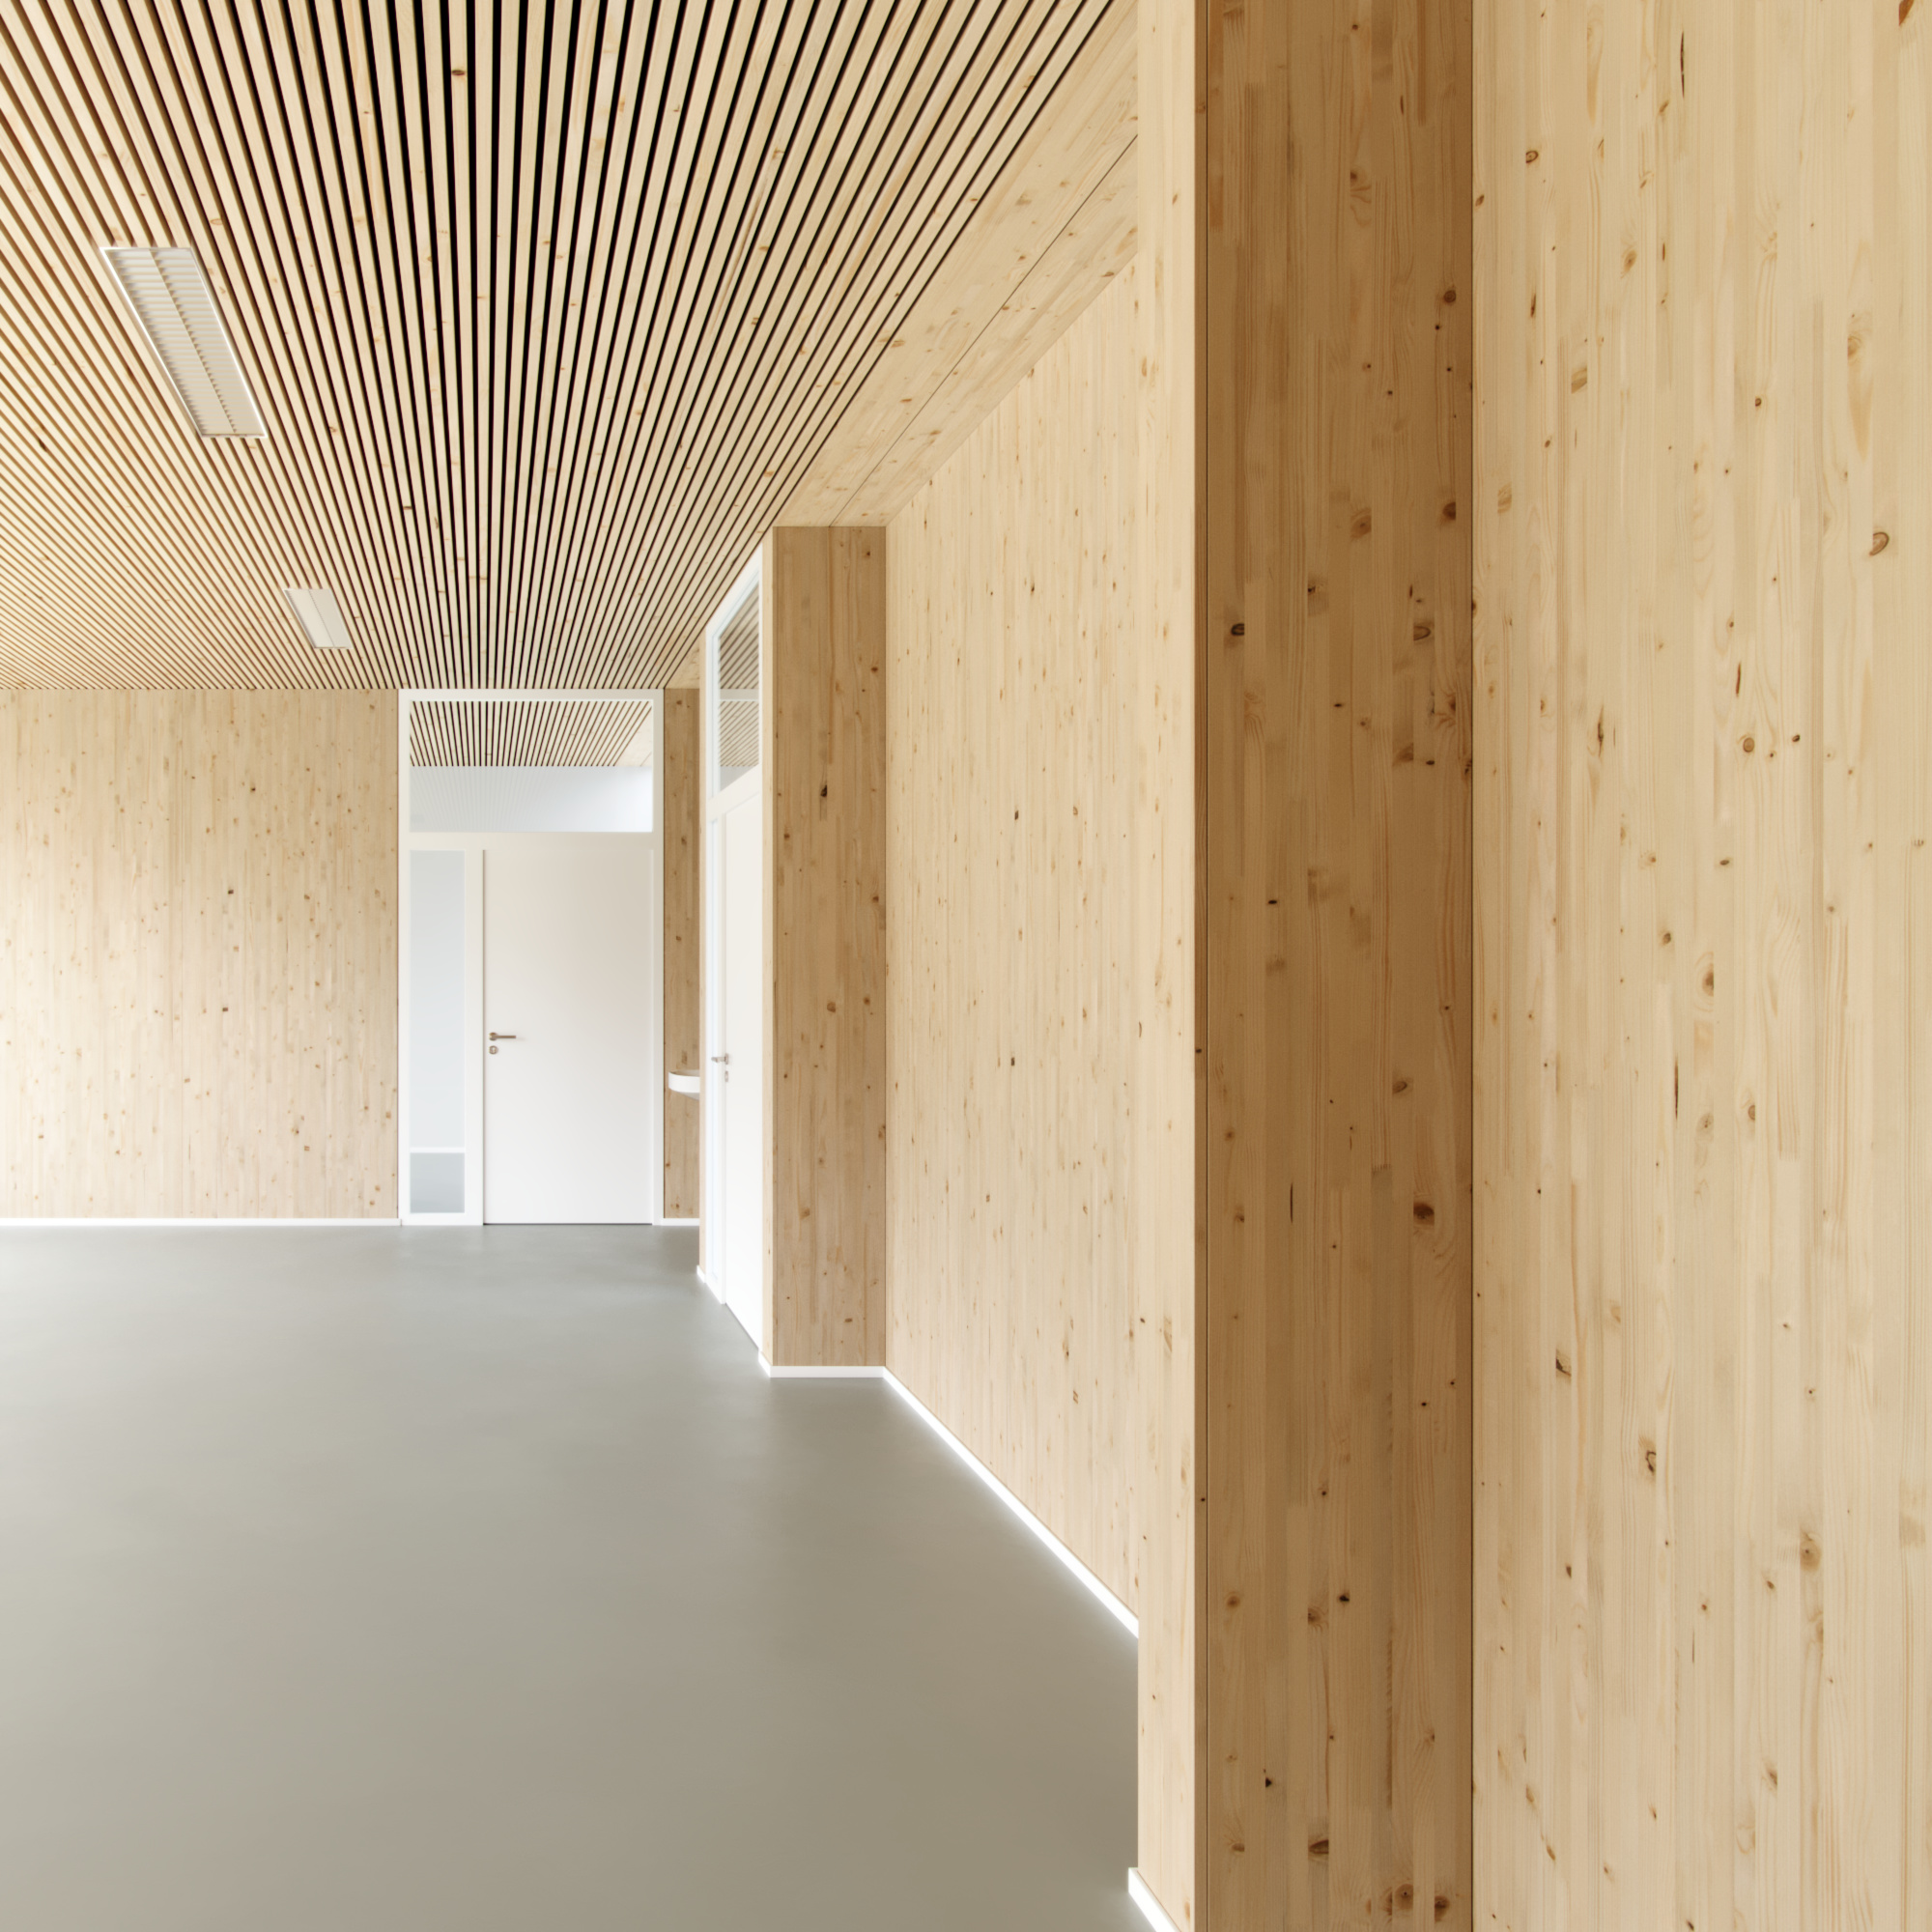
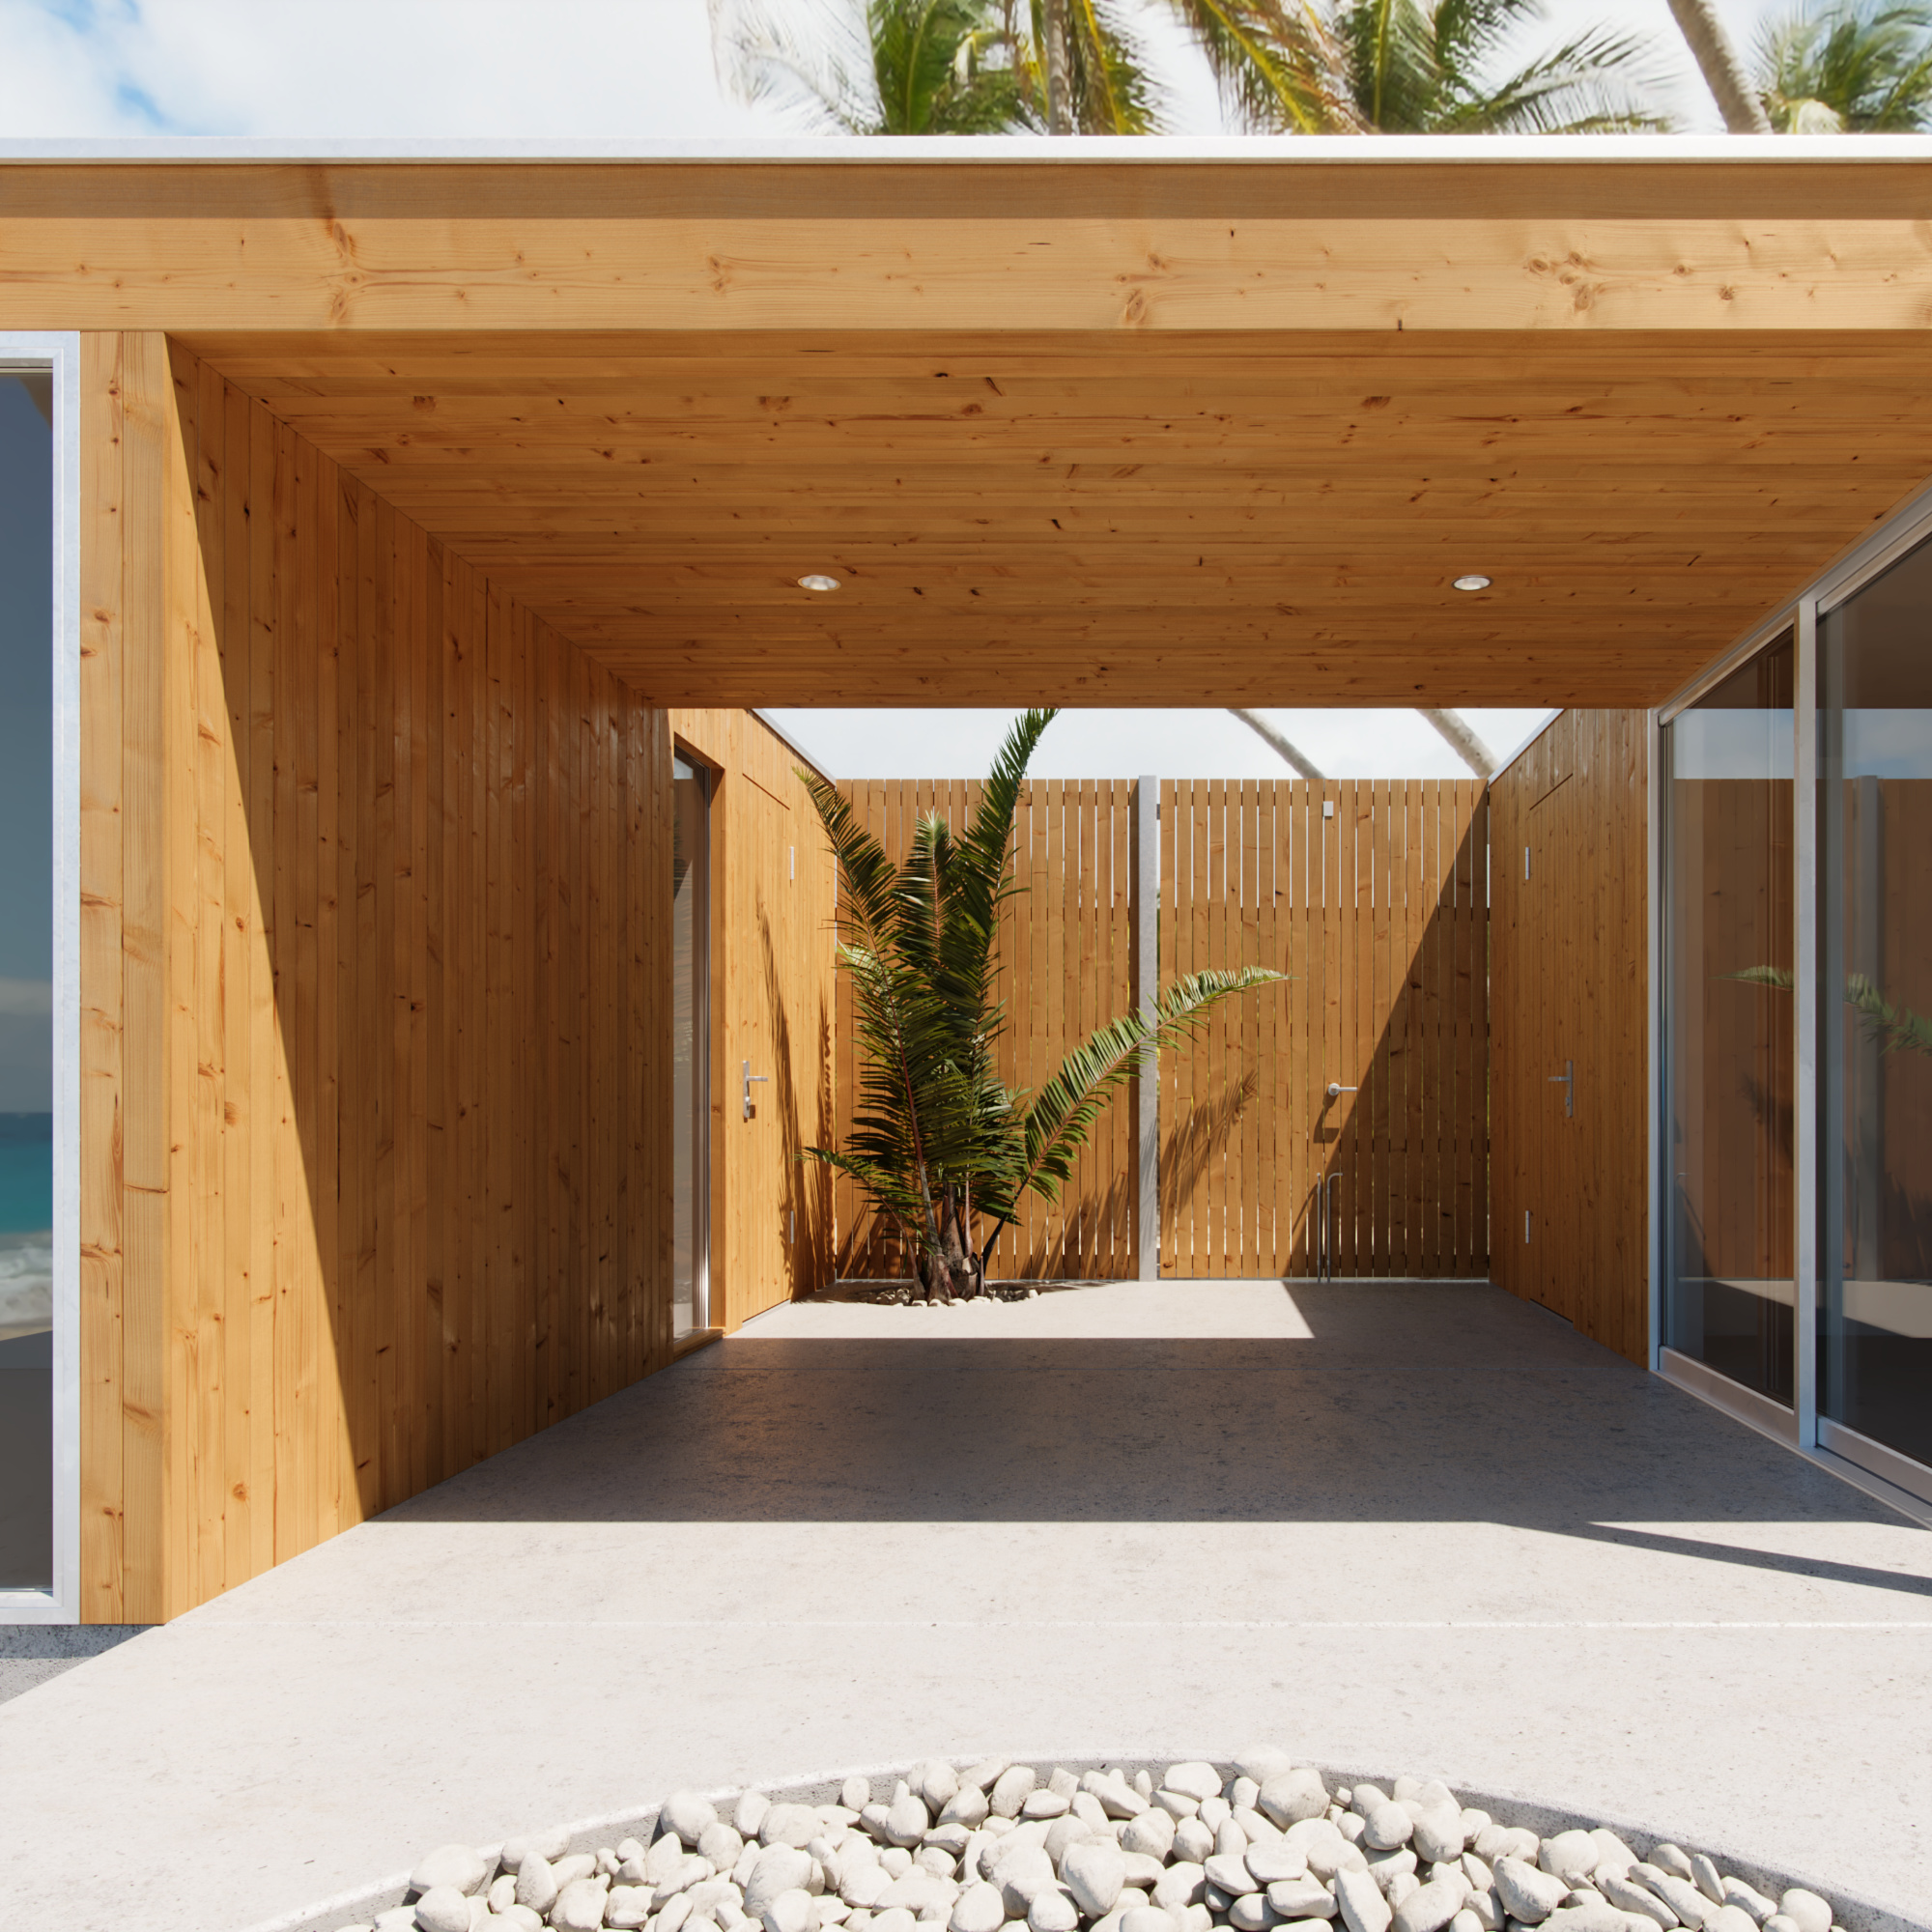
Large Area, High Resolution
Most textures come in different size/resolution variants, reaching from covering large areas at a lower resolution, to covering a smaller area at much higher resolution. This allows for both, large-scale applications (e.g., on walls, floors), as well as smaller-scale applications in close-up.

Ready-to-use Materials
We have included ready-to-use material setups for
- Corona™ (for 3ds Max™ 2017+ and Cinema 4D™)
- VRay (for 3ds Max™ 2017+)
- Blender 5 (compatible with Cycles and EEVEE)
Materials setups for other software following soon! Let us know below which we should prioritize.
Need more resolution?
You wish to use these textures for printing or have some other use in mind that needs a greater resolution? Most textures contained in this collection are separately available for purchase in even higher resolution. Get in touch to learn more.
How to use
While our textures generally do not need any special treatment or workflow, nevertheless here some basic pointers on how to use this product effectively.
Texture file management
Best practice is to copy all texture files to a local hard drive to have them at the ready. Use an SSD for faster access speeds. Put map files into appropriate sub-folders, e.g., ‘maps\wood’.
Tell your rendering software where to look for texture maps. Most offer a configuration dialog where you can add new folders.
Resolution management
Most of the textures contained in this product come in a native resolution of 100 megapixels. Depending on the needs of your scene, it might not be necessary, or, depending on the hardware specs of your computer, not feasible to use these textures in their full resolution all the time.
Use the included low-res versions (approx. 6 megapixels) to do your scene setup and test rendering, and then only switch to the full resolution where beneficial.
Custom color variations
We provide uncompressed versions of the diffuse maps in PNG format as an optional download. You may use these to create your own texture variations without having to worry about compression artifacts and the reduced color fidelity of JPEG files.
Normal maps vs. bump maps
The normal maps included in this product also encode anisotropic information to some extent, in addition to the actual surface normal. While this greatly enhances the look of the bare wood, it also means that these maps, in most cases, might not be suitable for the coating layer of a material setup.
This is where the also included bump map comes in handy, as it only contains the pure height information.
Anisotropy maps
Unfortunatelly, there is no established standard for the endcoding of this map type, and different renderers tend to handle them in different ways. We have encoded the included anisotropy angle maps according to the following specs:
0.0 / 0.5 / 1.0 = 0°, clockwise ascending to 0.25 / 0.75 = 90°
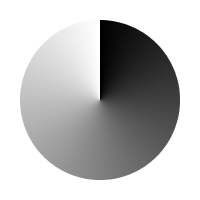
If your software uses a different encoding, the map will need to be adjusted accordingly (color-scaled/color-shifted/inverted). We appreciate that all this might seem a bit cryptic. Feel free to get in touch in case you have questions or need further assistance.
Correct gamma settings for maps
When adding texture maps to a material, the correct gamma setting for the map should be set. Please consult the documentation of your rendering software to learn how this is done.
| Map type | Color space / Gamma setting |
| Diffuse (_d), Specularity (_s), Metalness (_m) | sRGB / Gamma 2.2 (Default Gamma) |
| Normals (_n), Bump (_b) , Anisotropy Angle (_aa) | Linear / Gamma 1.0 (No Gamma) |