


Details

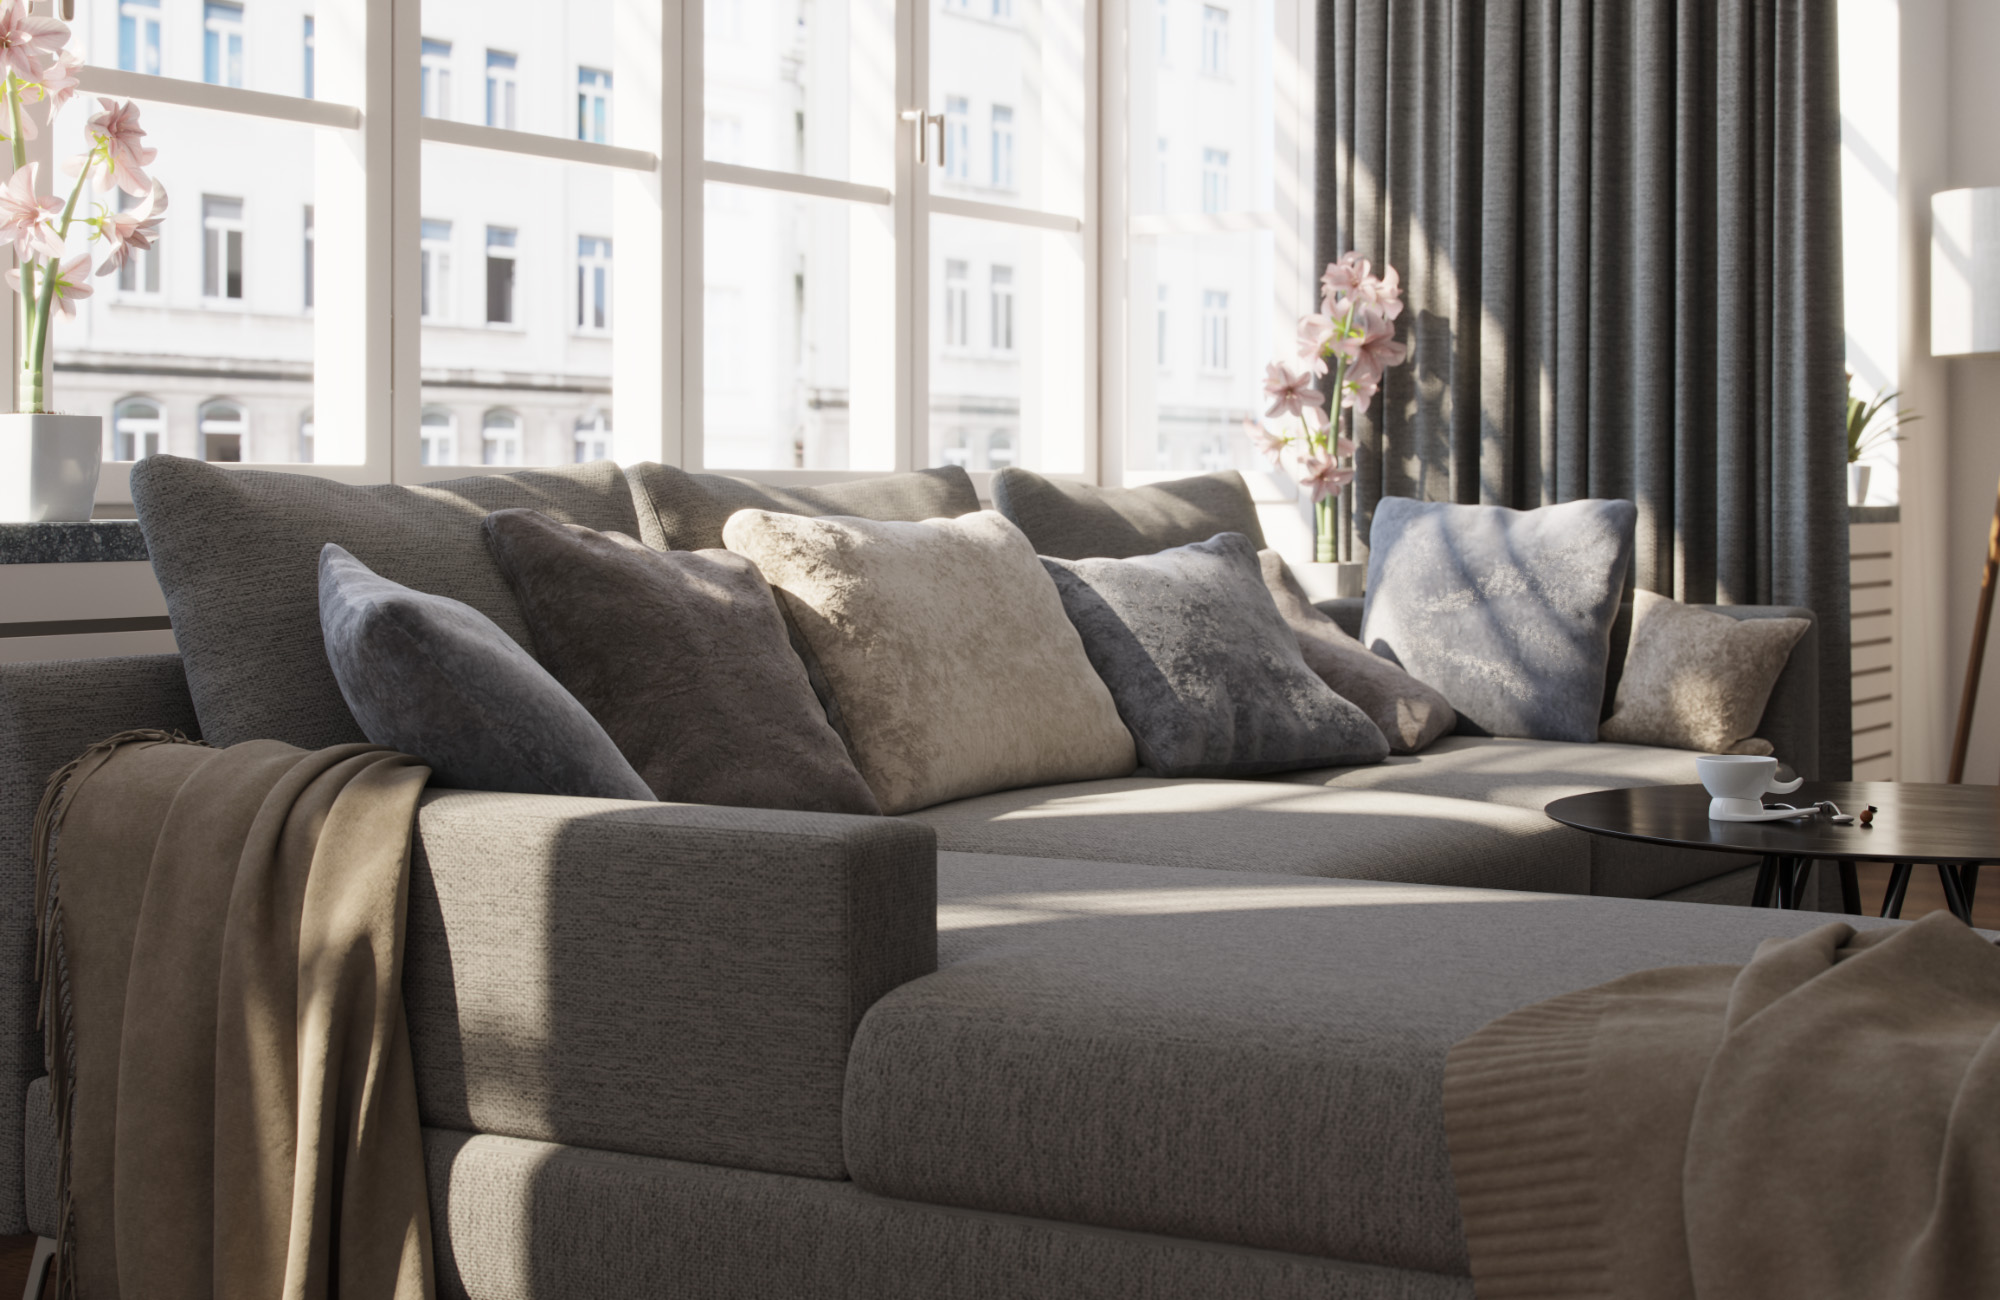
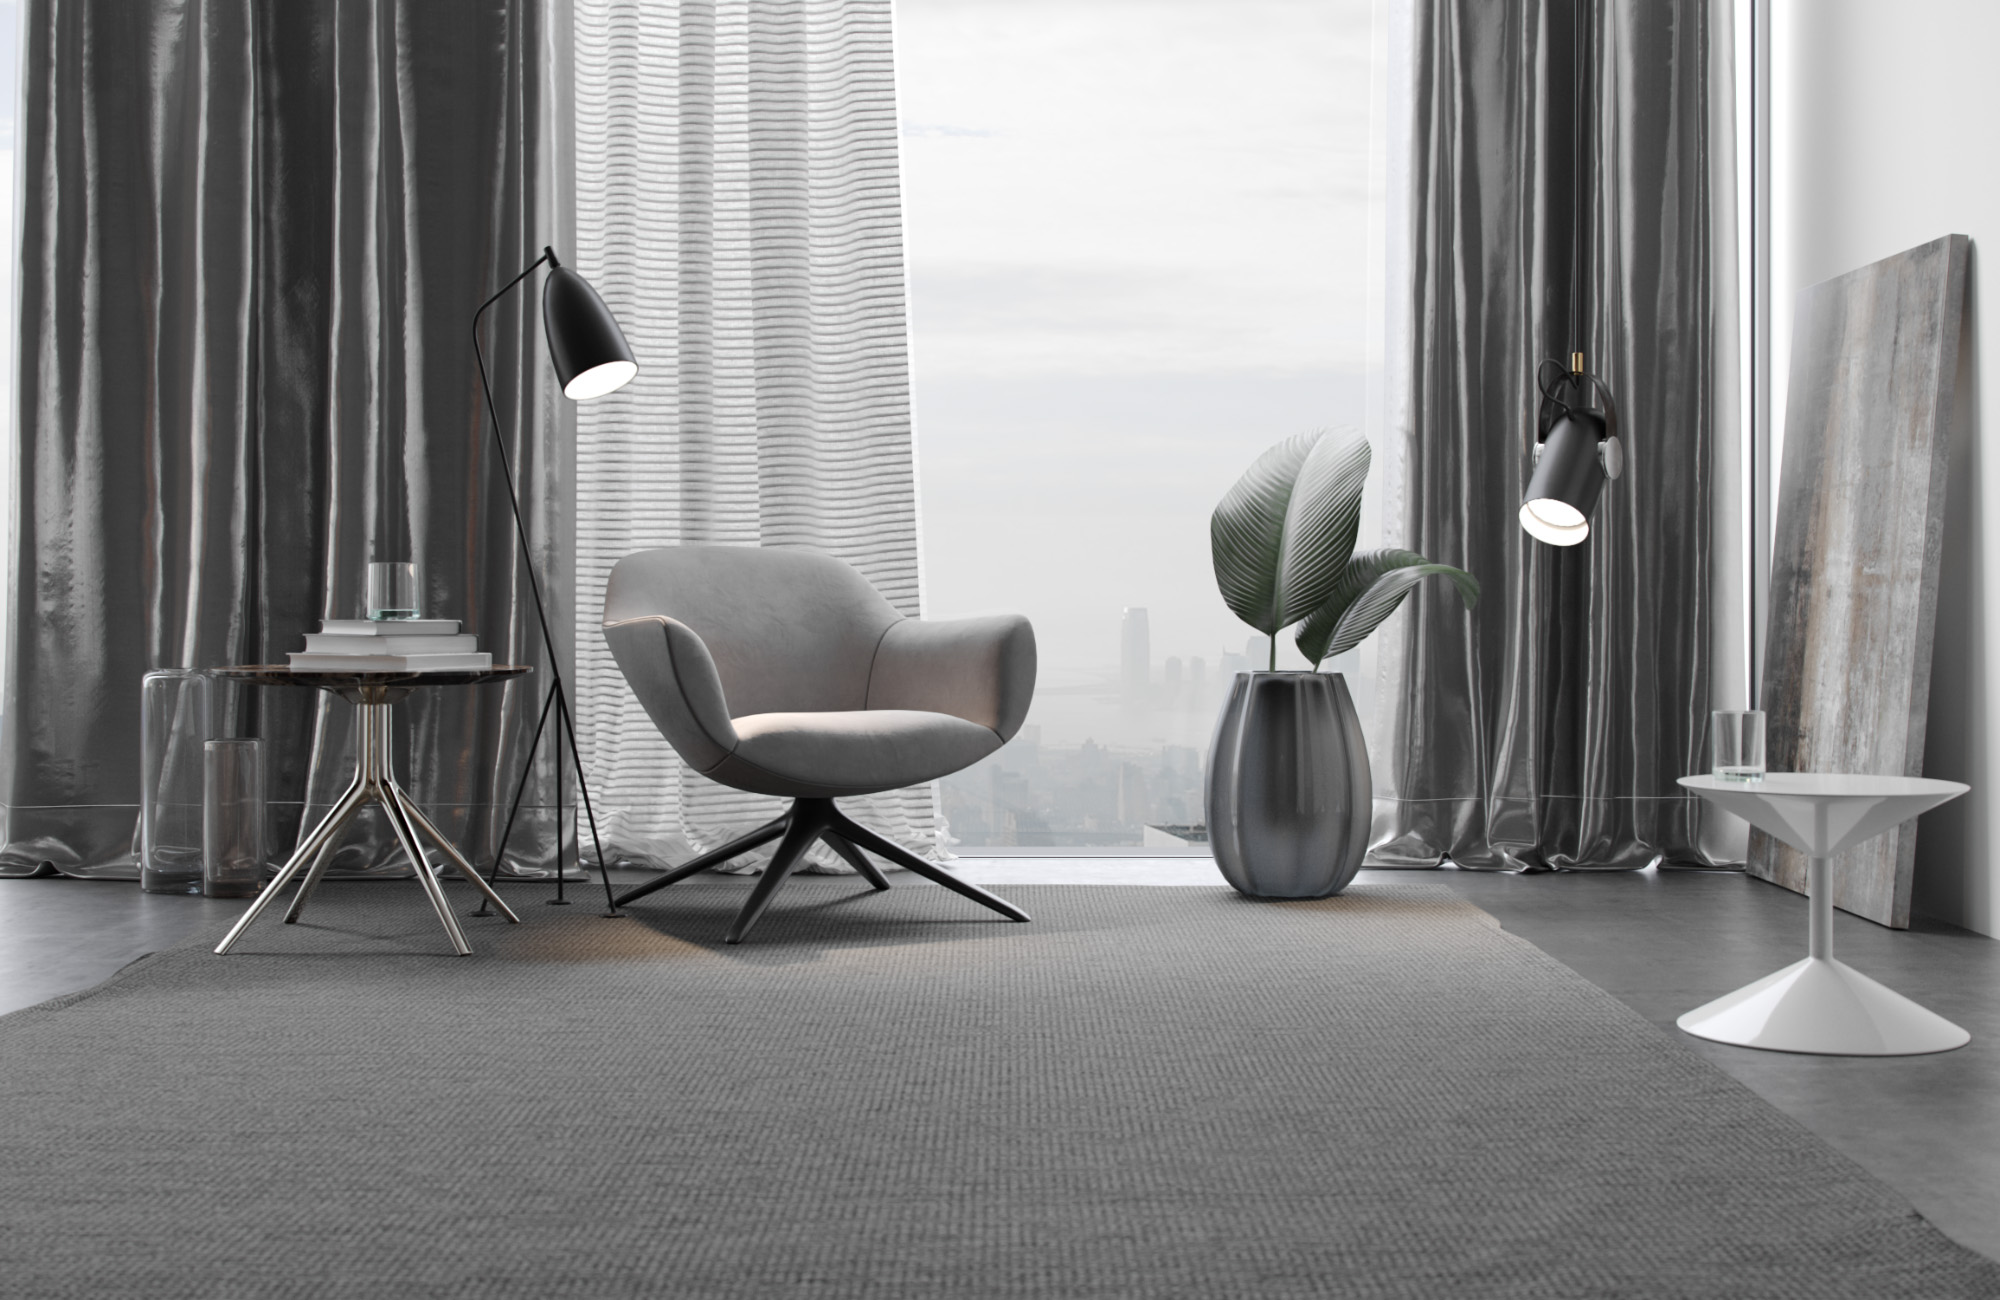
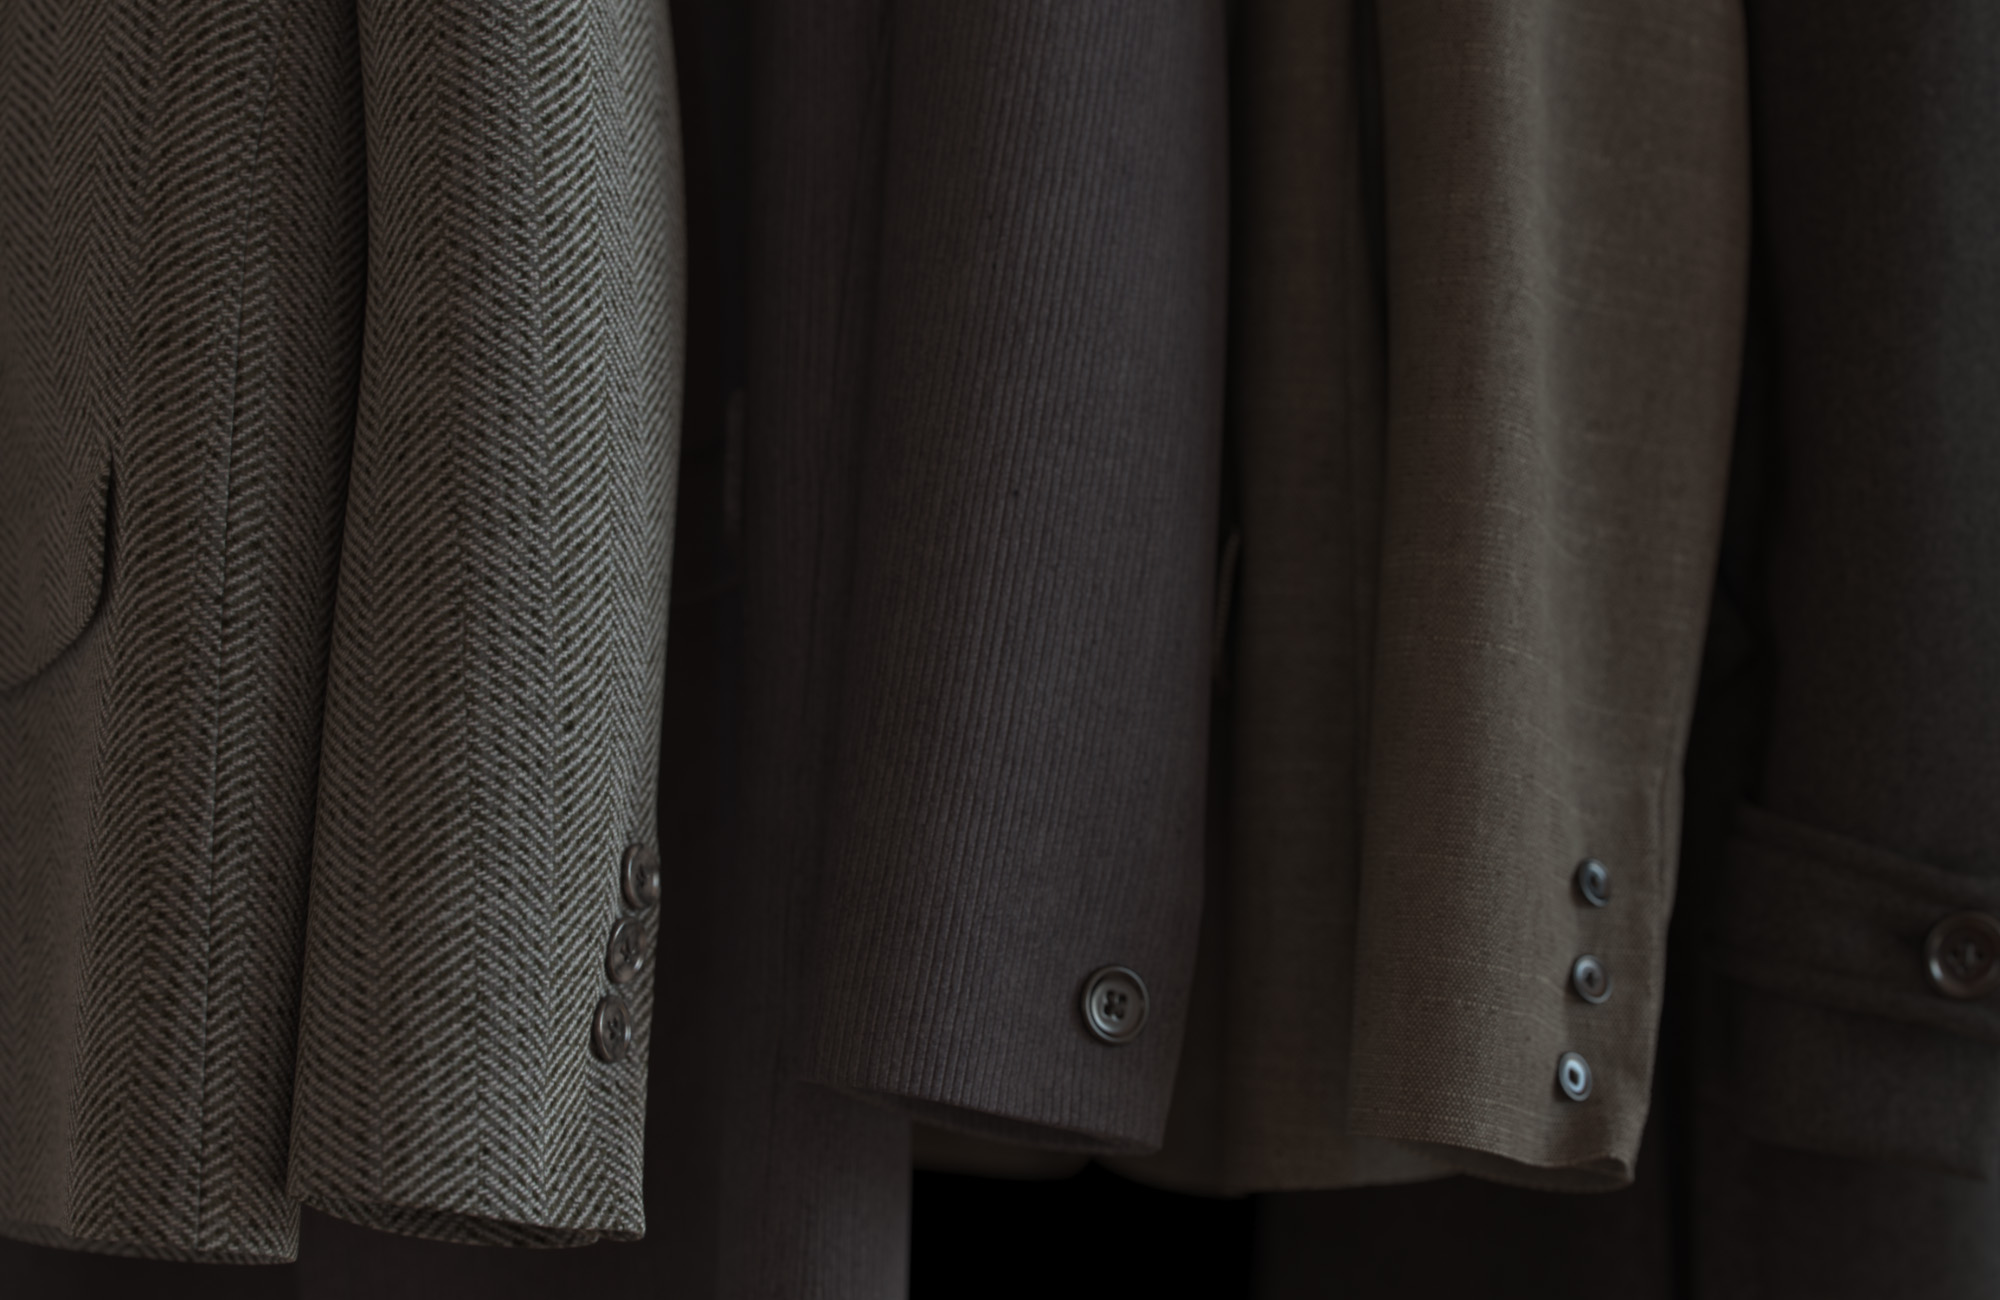
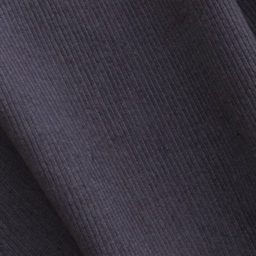
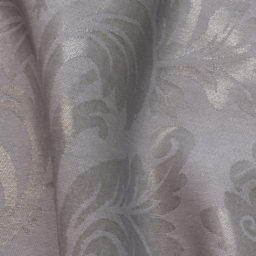
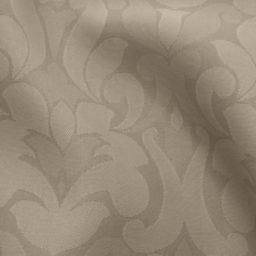
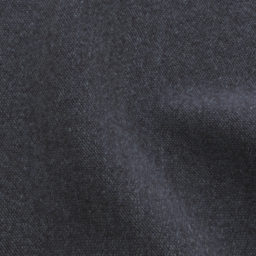
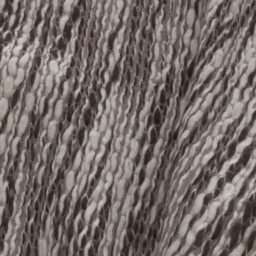
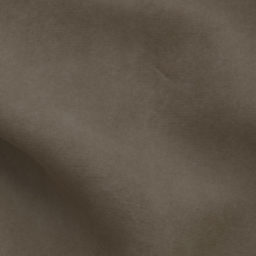
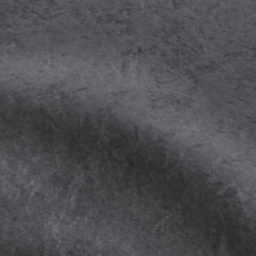
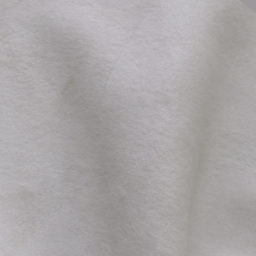
Fabric Textures
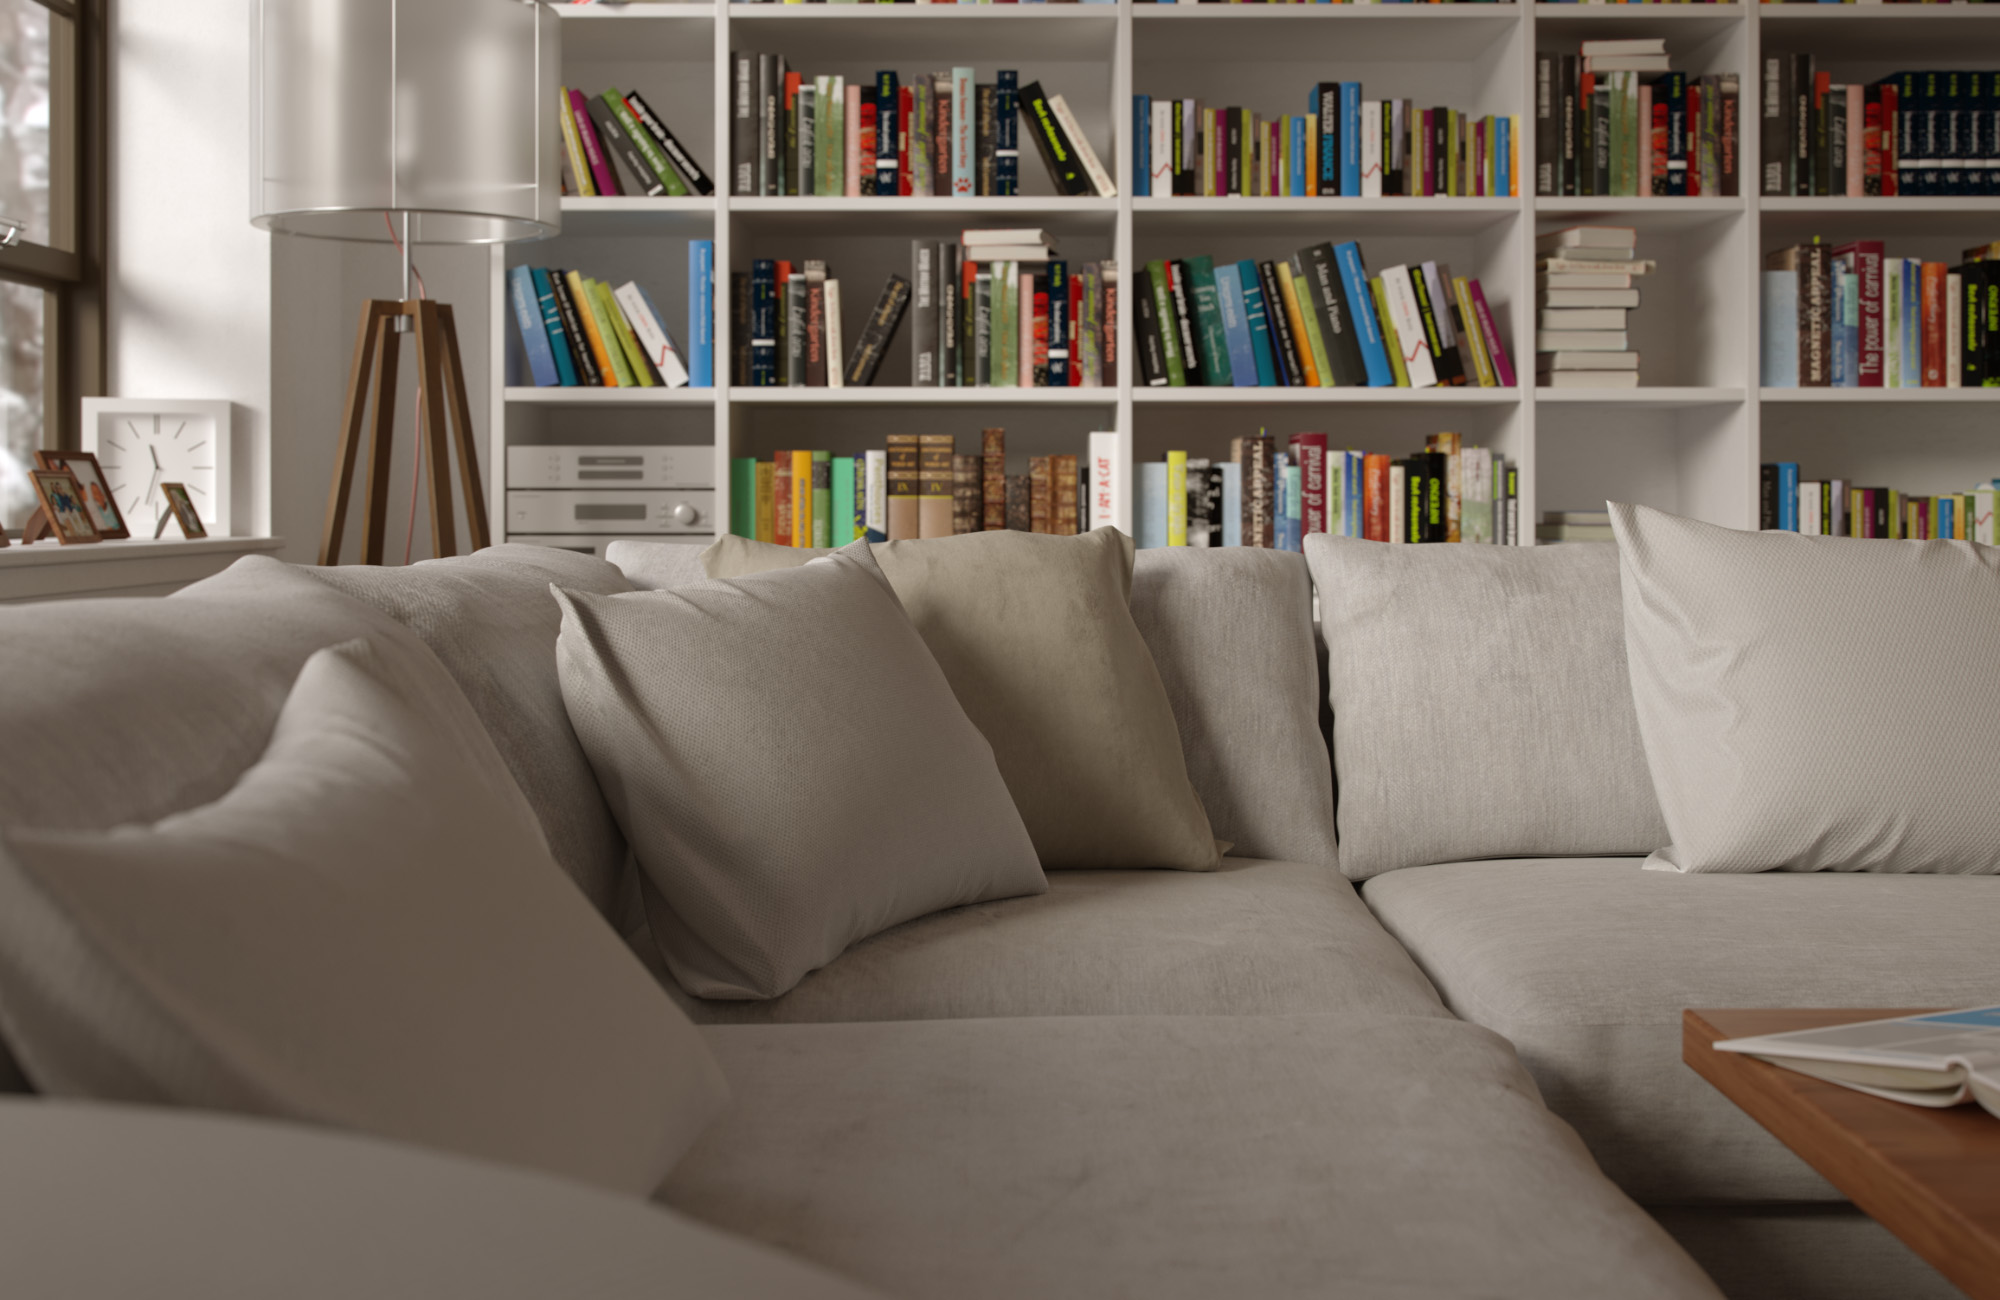
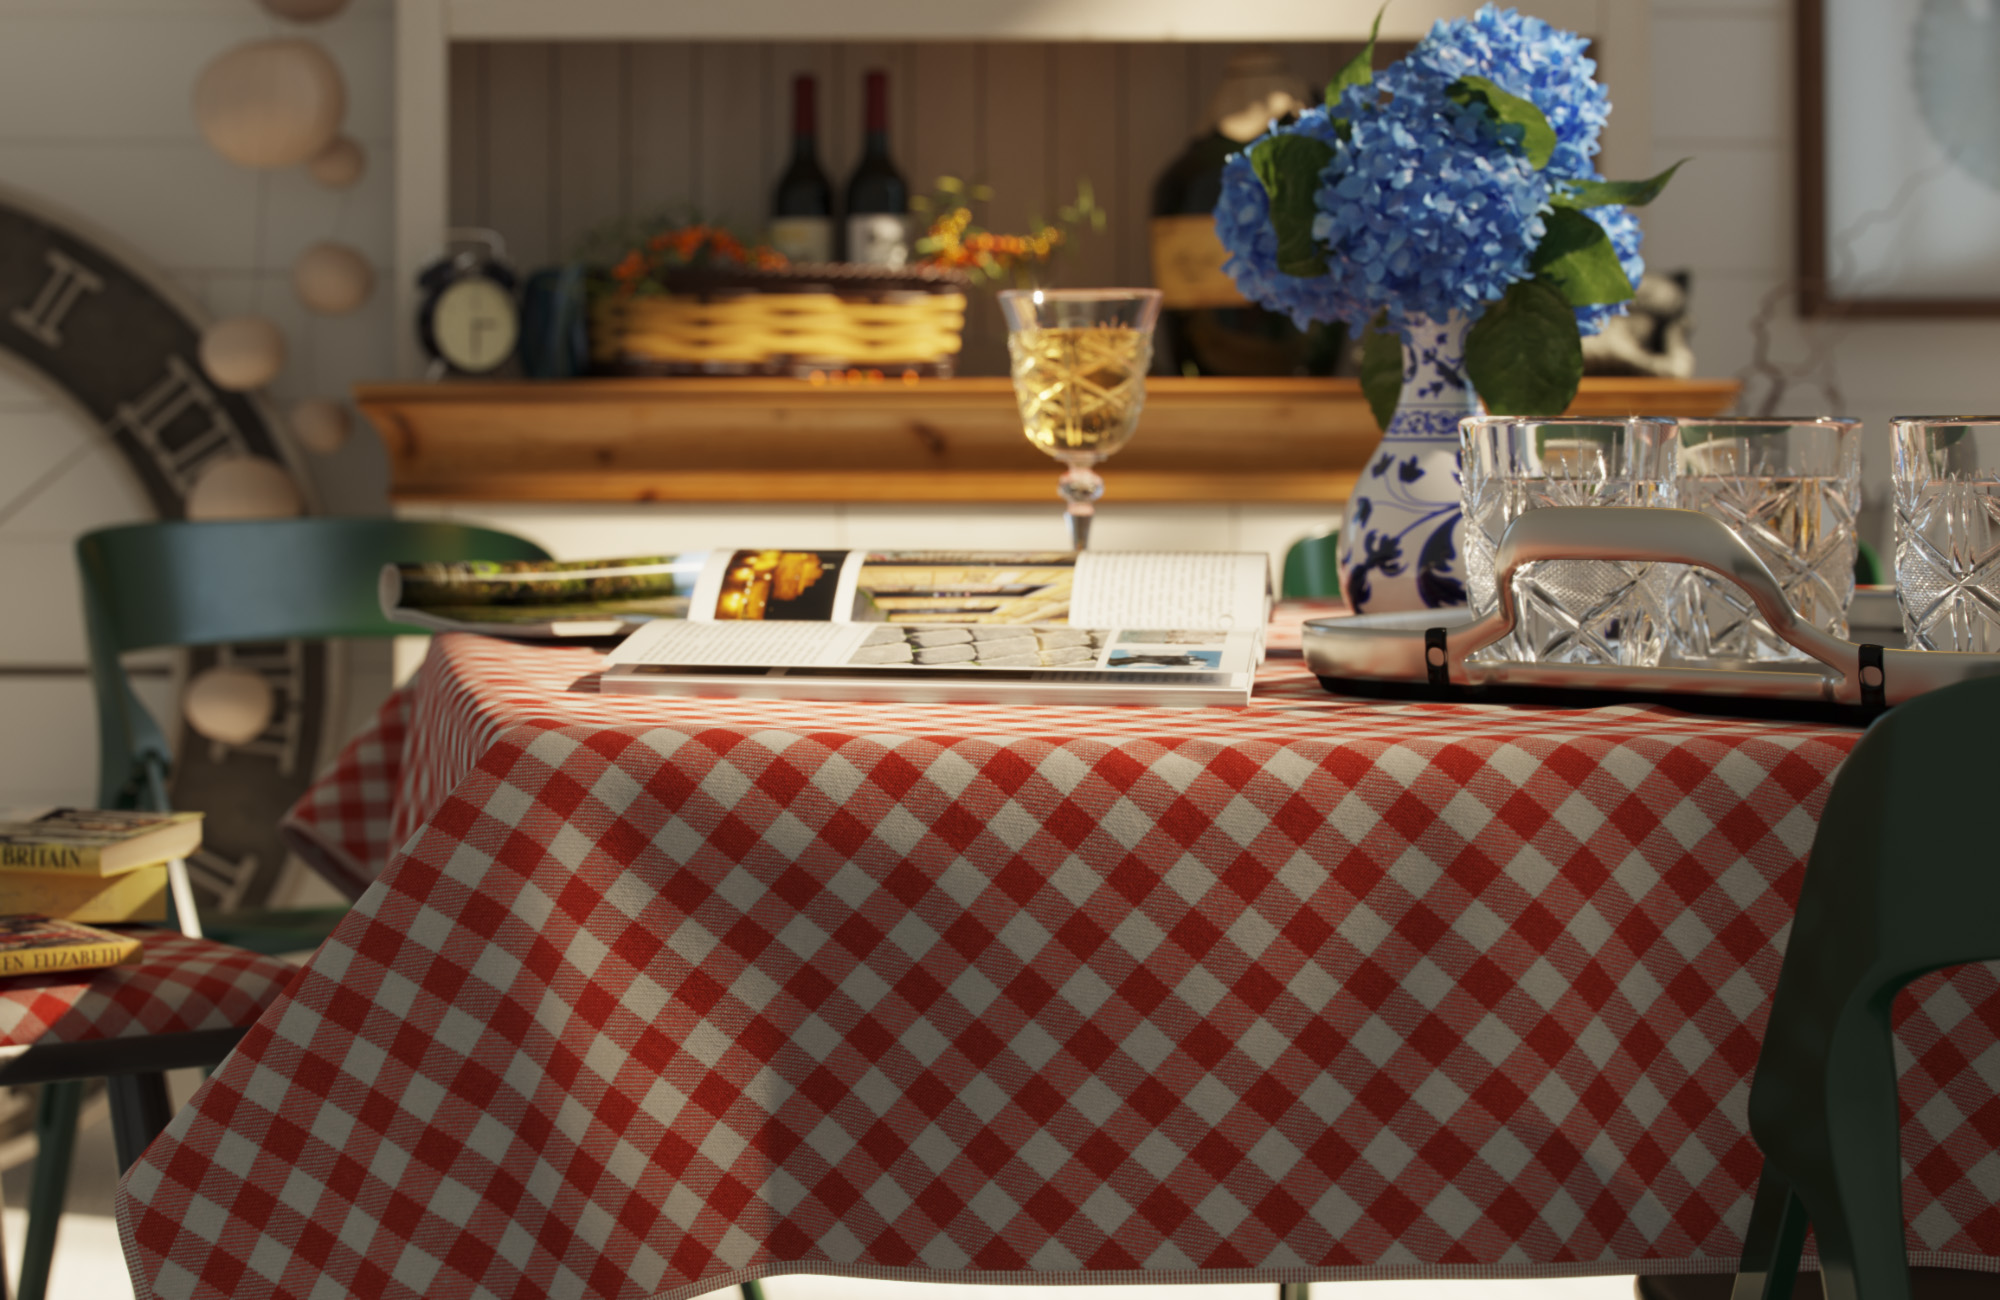
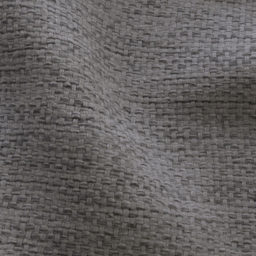
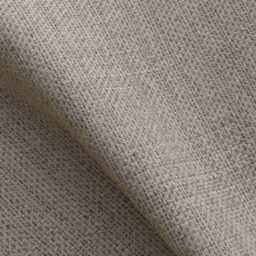
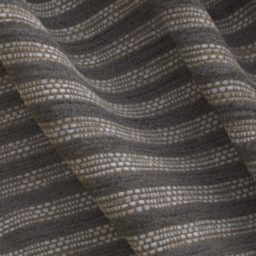
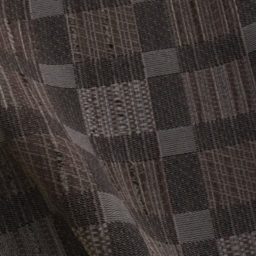
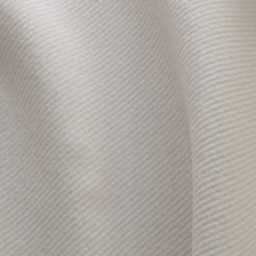
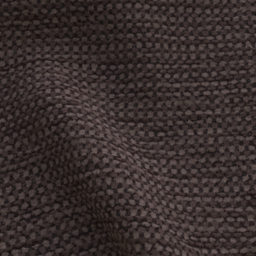
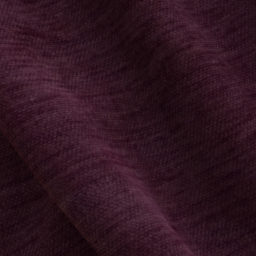
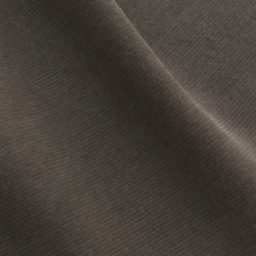
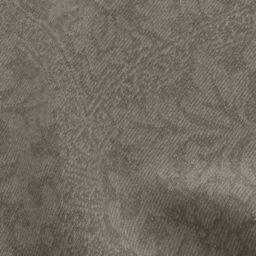
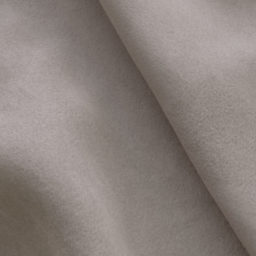
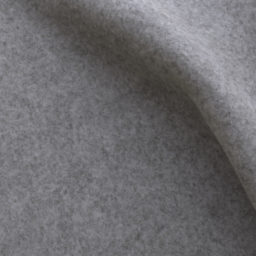
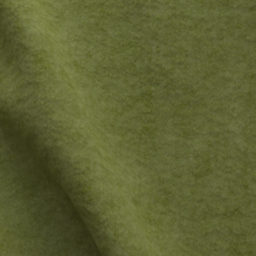
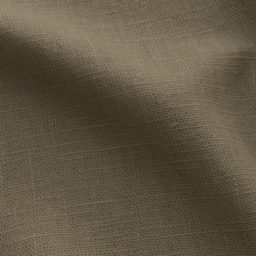
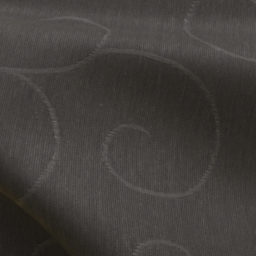
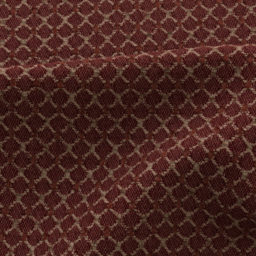
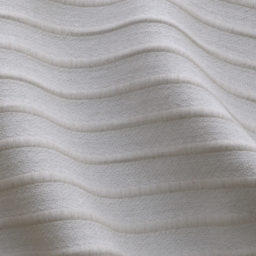
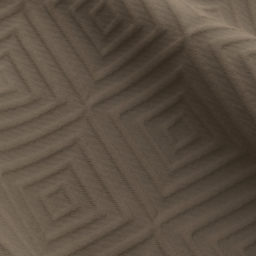
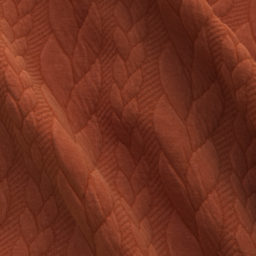
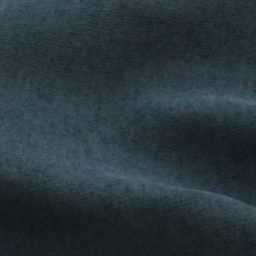
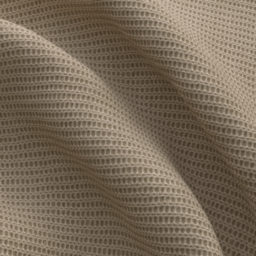
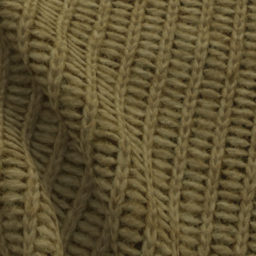
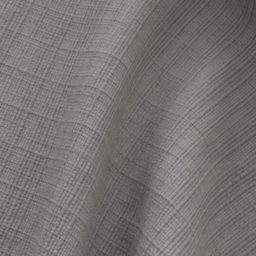
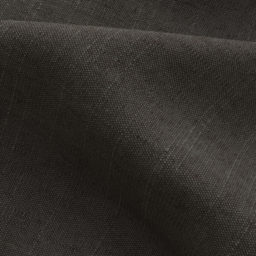
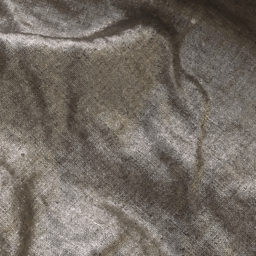
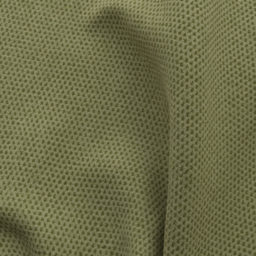
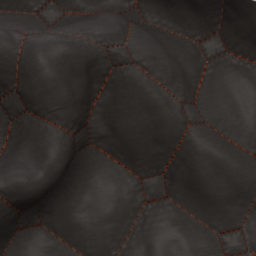
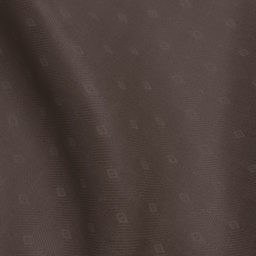
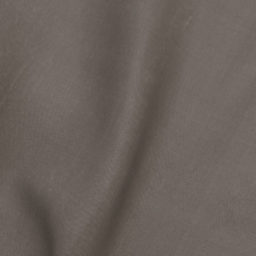
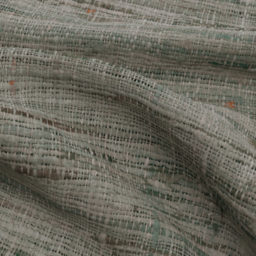
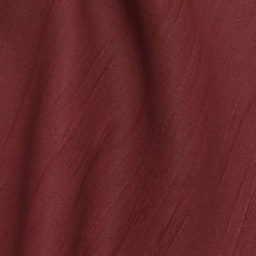
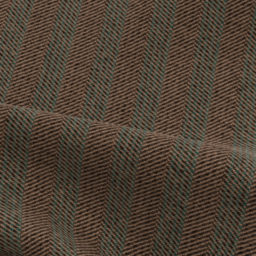
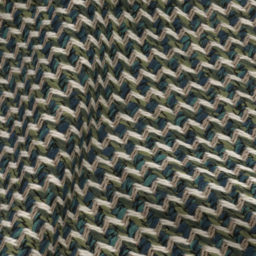
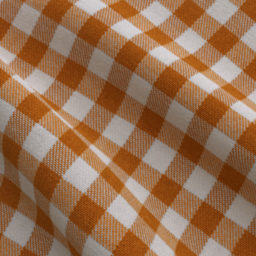
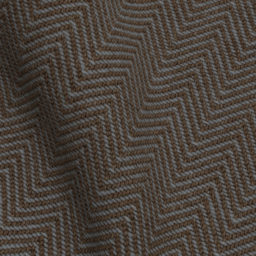
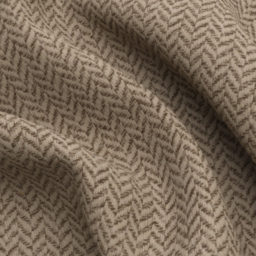
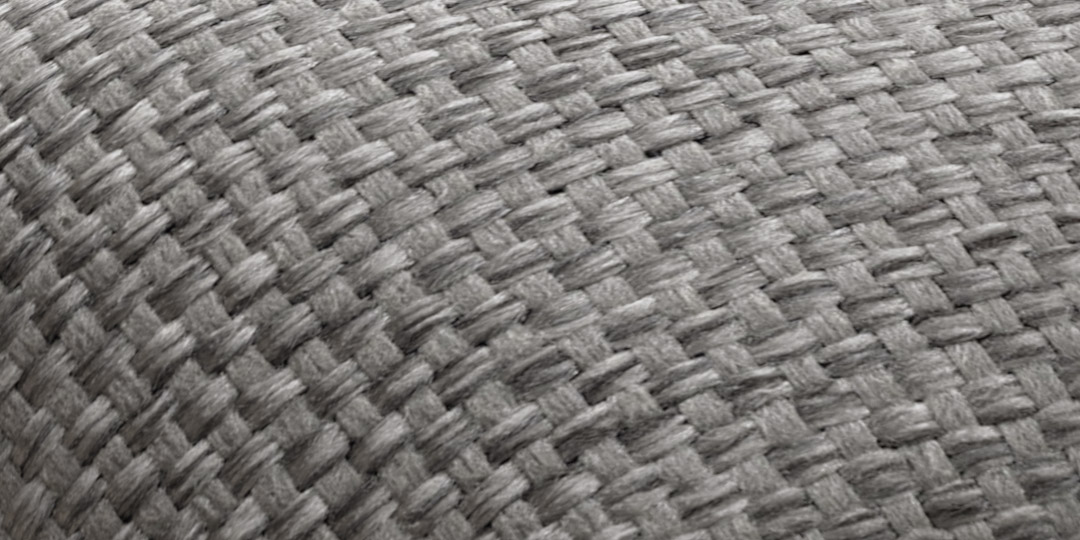
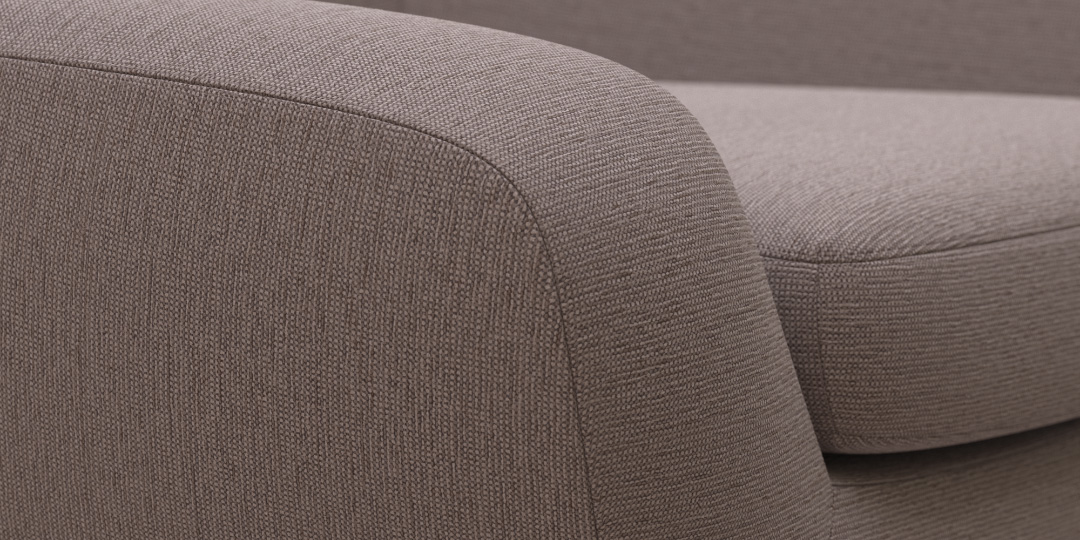
This collection contains textures for 50 different types and styles of heavy fabric. Although we chose fabrics with upholstery and heavy drapery in mind, many of them will be suitable for other applications, such as carpets and even clothing.

The scanning process
Our innovative scanning process was already capable of capturing a broad range of surface characteristics, such as surface normal and reflectivity. Now we have extended it to also capture translucency, as well as opacity – essential to create fabric textures intended to produce photo-realistic render results.

Color Variations
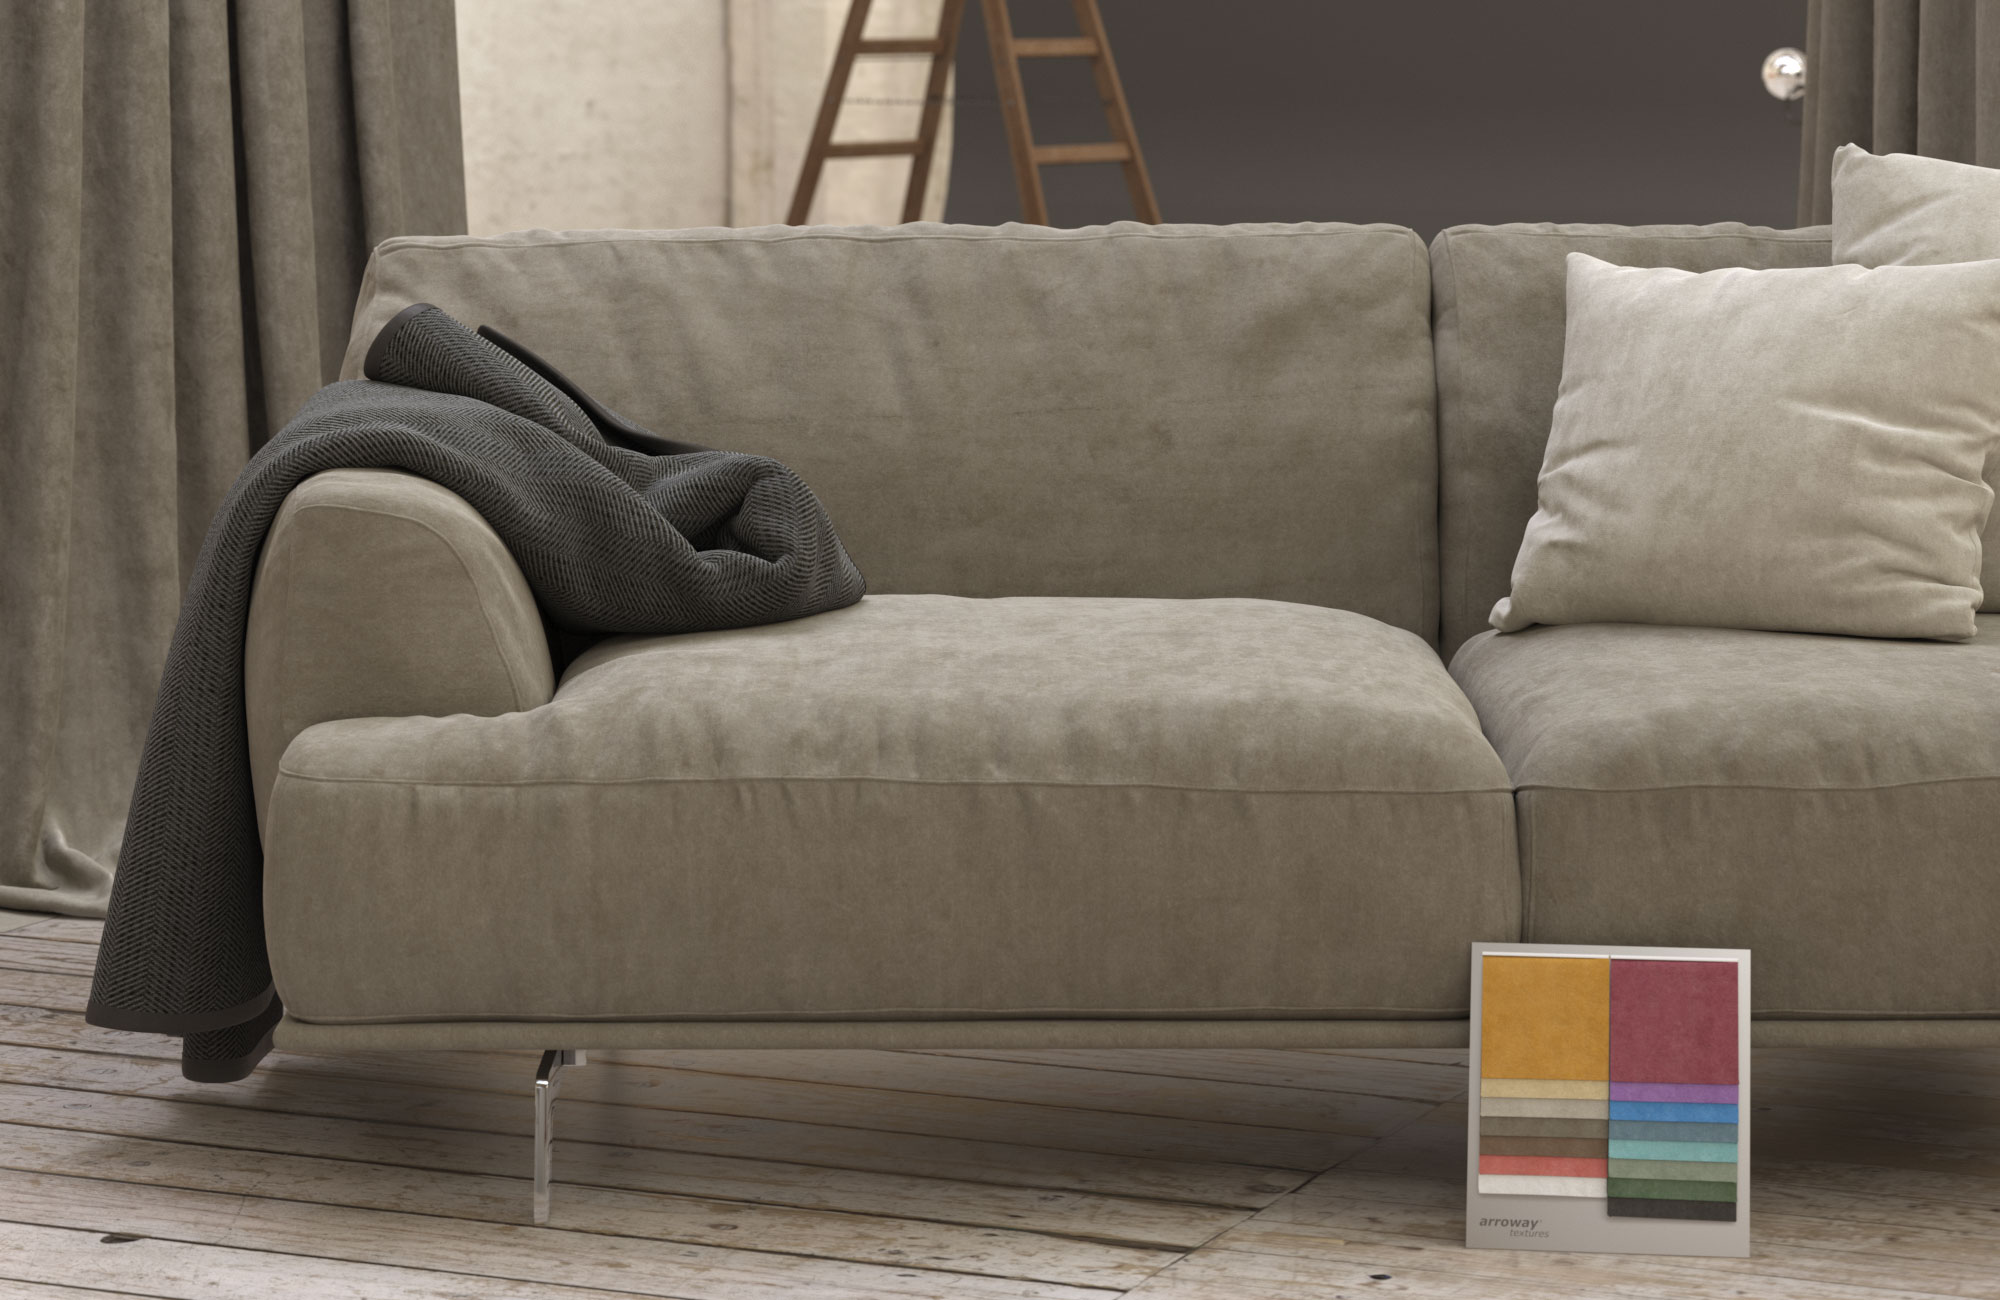
Each fabric texture includes 15 or more carefully selected color variations.
Map Types
Beside a range of color variations, each texture consists of maps containing information to normals, surface height, reflectivity, translucency, opacity – all essential for realistic rendering results. In addition, some materials also include an anisotropy maps.

Translucency & Opacity
To capture the complex translucency/transparency characteristics of fabrics, both, a translucency map as well as an opacity map are included with most textures.

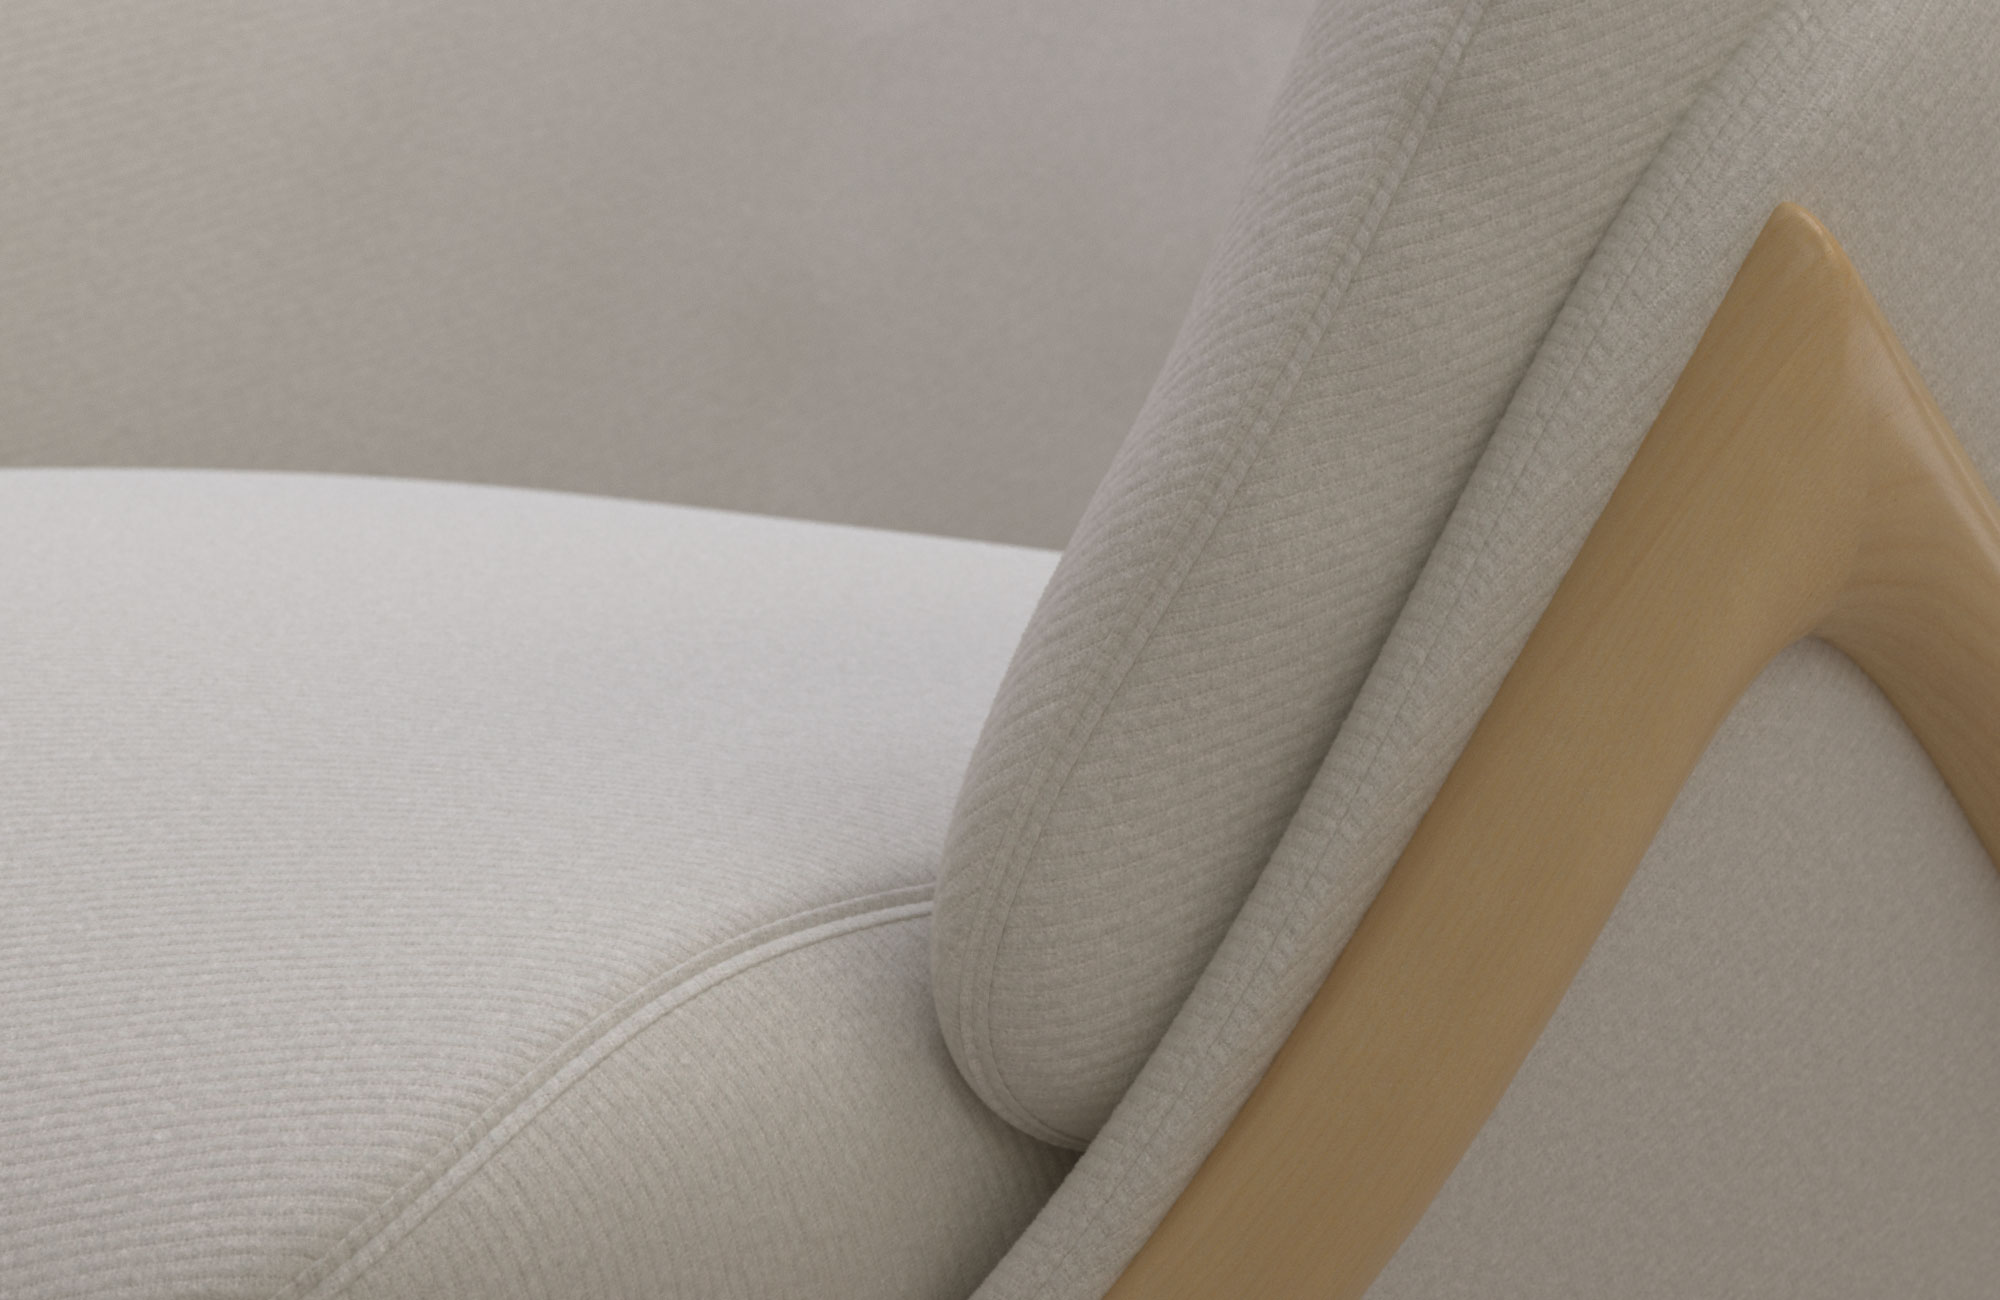
Normal Mapping vs. Displacement
In addition to a normal map, each texture also comes with a bump map that can be used for displacement mapping. There is also a special normal map to be used alongside the displacement map. This map provides the high-frequency detail (below 0.5 mm) that displacement alone cannot reproduce.

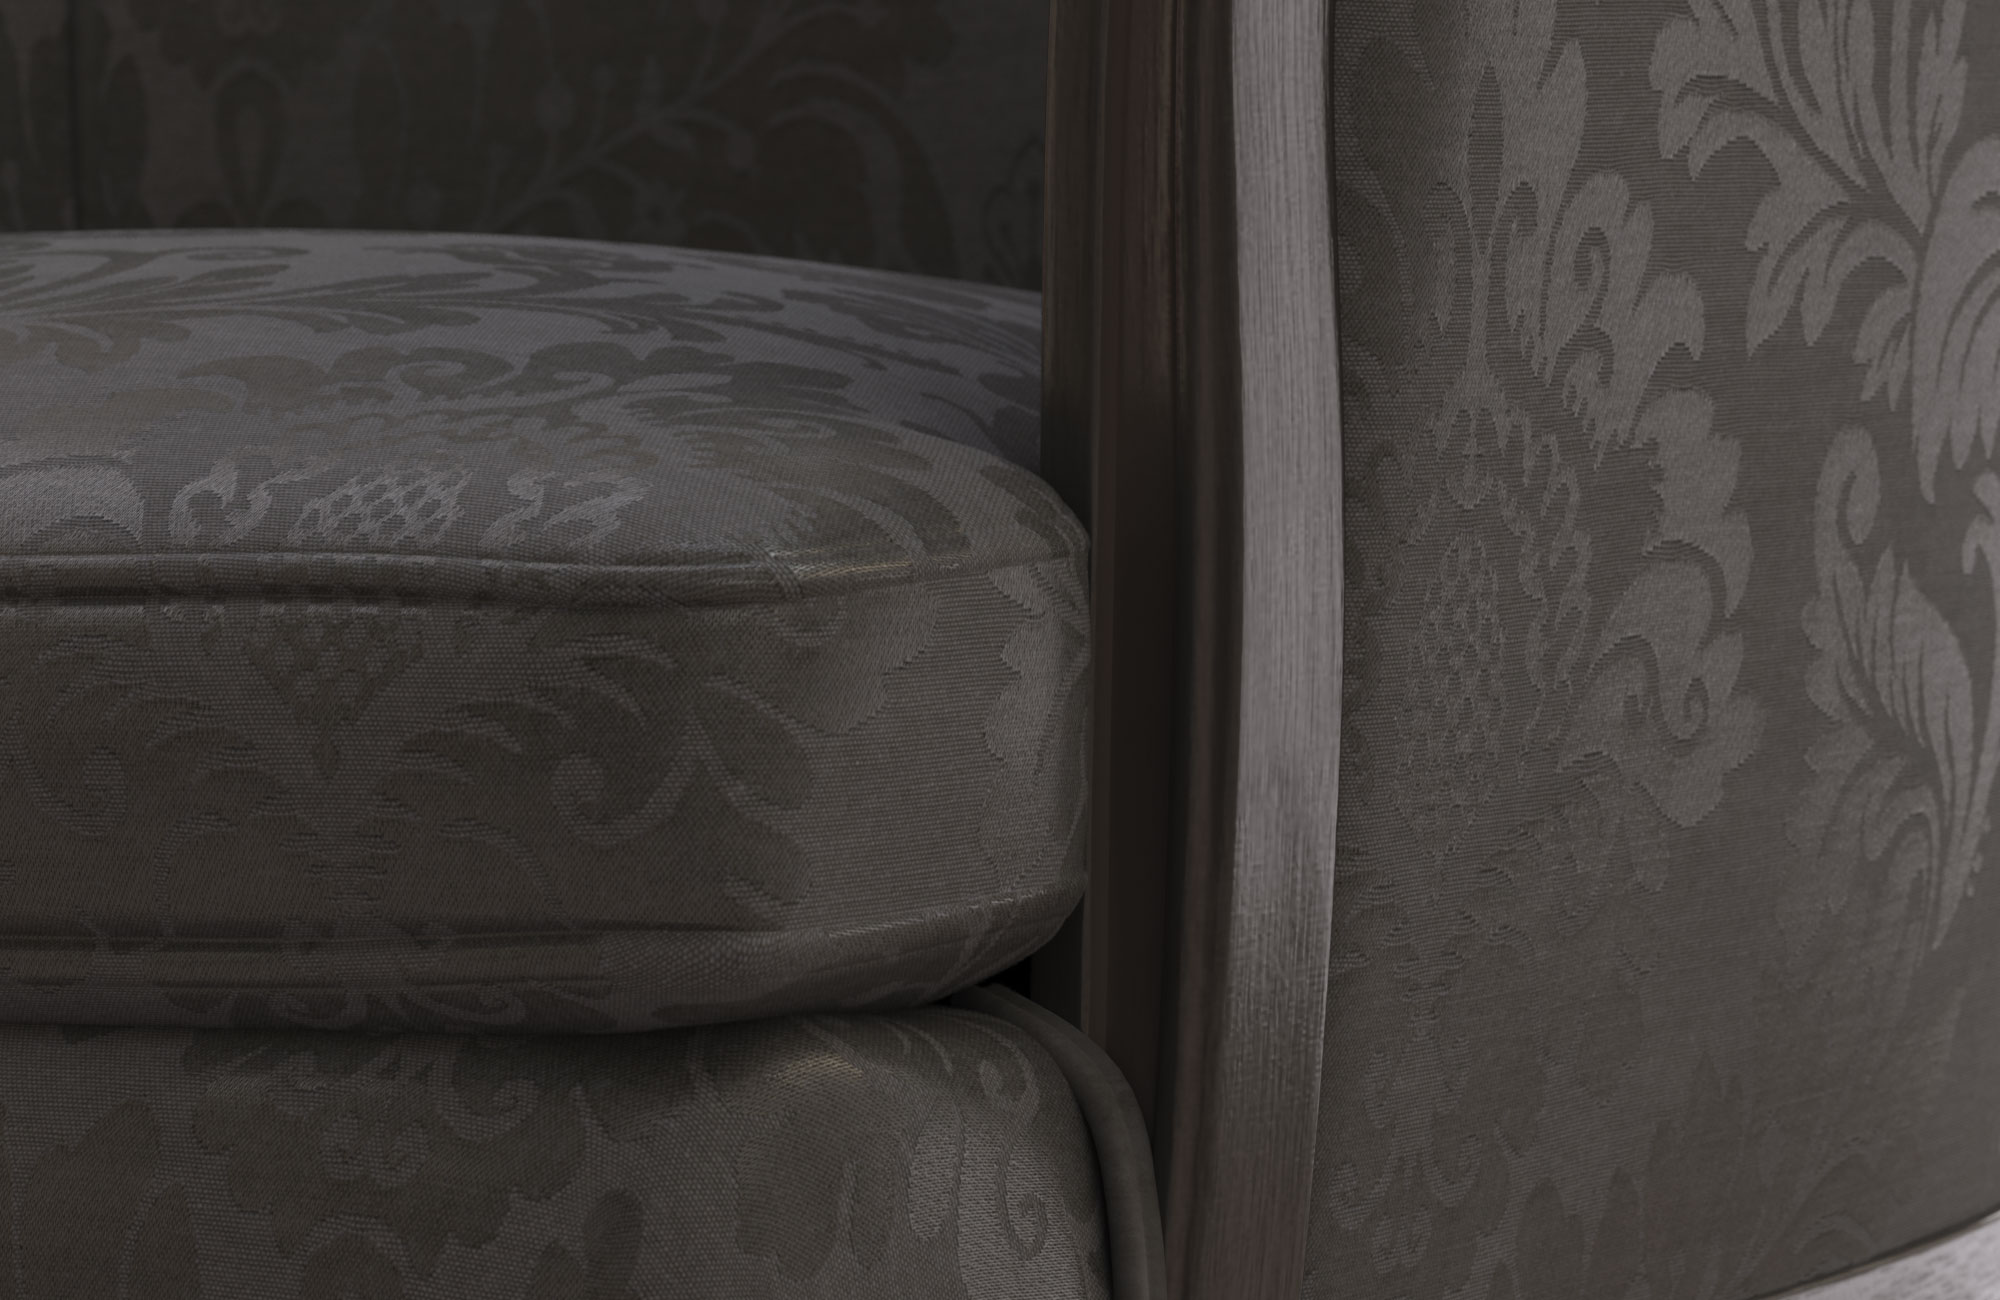
Truly seamless
Specially developed software was used to trace and rectify the weave structure to produce a fiber-accurate match along the seam edges. This results in invisible tiling seams – even when viewed up close.

Ready-to-use Materials
We have included ready-to-use material setups for Corona™ (for 3ds Max™ 2017+ and Cinema 4D™) and VRay™ (for 3ds Max™ 2017+).
There are four different material versions for every texture: Normal mapping with/without translucency, as well as Displacement mapping with/without translucency.
Materials setups for other software following soon! Let us know below which we should prioritize.
How to use
Here some basic pointers on how to effectively use this product.
Texture file management
Best practice is to copy all texture files to a local hard drive to have them at the ready. Use an SSD for faster access speeds. Put map files into appropriate sub-folders, e.g. ‘maps\fabric’.
Tell your rendering software where to look for texture maps. Most offer a configuration dialog where you can add new folders.
Basic material setup
If the software you are using offers a choice between different material types or templates, choose a generic one.
A basic fabric material consists of a diffuse map, a normal map, as well as a specularity map. Assign the diffuse map (_d) as the material’s primary color. Assign the normal map at a strength of 100% (or 1.0) to the appropriate map slot. The slot for the specularity map is often captioned ‘Specularity’, ‘Reflectivity’, ‘Reflection Color’ or something similar. Please consult your software’s documentation to learn more.
It is important to set the materials reflective index (sometimes ‘IOR’ or ‘Nd’) to 1.5, as this is the value for which our specular maps were calibrated. An exception here is fabric-030, which uses a metallic IOR.
Correct gamma settings for maps
When adding texture maps to a material, the correct gamma setting for the map should be set. Please consult the software documentation to learn how this is done.
| Map type | Color space / Gamma setting |
| Diffuse (_d), Specularity (_s), Translucency (_t), Opacity (_o), Anisotropy Strength (_av) | sRGB / Gamma 2.2 (Default Gamma) |
| Normals (_n), Bump (_b) , Anisotropy Angle (_aa) | Linear / Gamma 1.0 (No Gamma) |
Advanced materials
To make use of all included maps, a more advanced material setup will be necessary. Based on the basic material setup, adding translucency and opacity maps should still be pretty straight forward.
But displacement mapping and anisotropy are complex topics and different rendering software tend to handle these very differently. There is no way around reading up on how your software does things.
Displacement
Using mesh displacement for fabric materials might seem excessive at first, but there can be definite benefits to do so, depending on the circumstances.
- Use the correct displacement depth. The recommended value for every texture is stated in our Texture Browser, as well as in the PDF reference guide.
- Use displacement only where appropriate, i.e. where the displacement effect will produce a noticeable difference, e.g. in close-ups.
- Choose an appropriate subdivision setting. For example, a lower triangle size limit of 0.5 mm will produce very detailed results, but will also consume lots of RAM when used on larger areas. Experiment!
- Use the supplied special normal map (_n-disp) to add high-frequency details (below 0.5 mm) that are too small to be efficiently reproduced with displacement alone.
Translucency vs. Opacity
The opacity of a material describes how transparent, or see-through it is. Translucency, on the other hand, describes how permeable the material is to light in general.
Glass, for example, is mostly transparent, while a plant leaf is mostly translucent. Most fabrics combine these two aspects to a certain degree, which is why we offer two different maps*.
* There are a few fabric textures that are entirely opaque or show only translucency. In these cases, the respective maps have been omitted.
Tips & Tricks


Unwrap your UVs!
Properly unwrapped UV coordinates will make a world of difference when it comes to 3D fabrics. Think about how the individual pieces of cloth would be stitched together in the real world when defining the mapping seams.

Vary texture scale
A great aspect of most fabric textures is that you are not bound to their stated original real-world size. You can easily vary the size between 50% and 200% without losing realism.

Use color overlays
Fabric often have pattern designs that are woven-in or printed-on. You can use colored overlays on suitable fabric textures to produce custom designs.

Vary map parameters
The demo renderings, as well as the included materials, represent the original scanned material. While it is a good idea to start off with the default look, varying material parameters like translucency or reflectivity can produce entirely different results.