
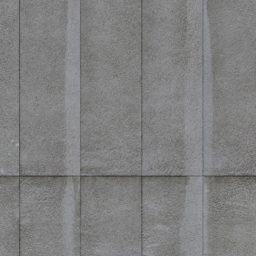
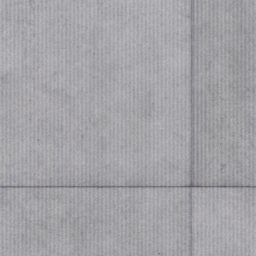
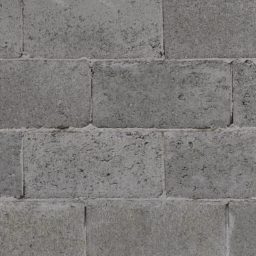
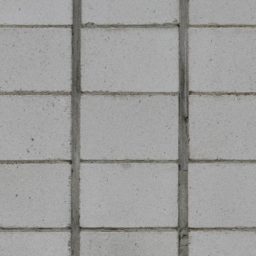
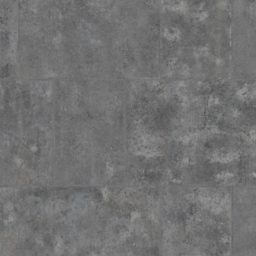
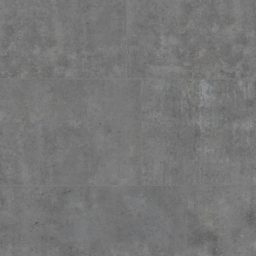
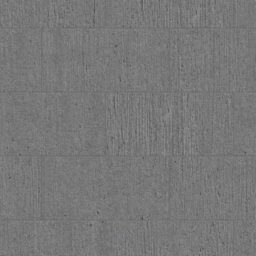
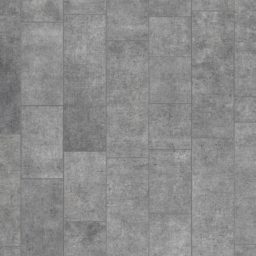
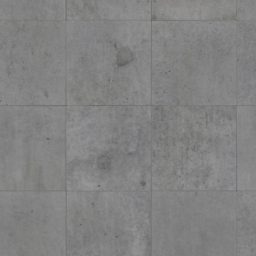
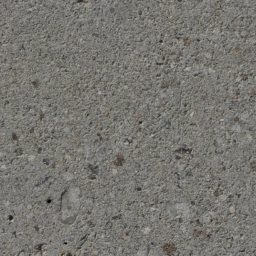
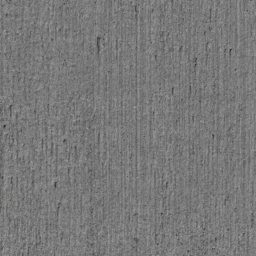
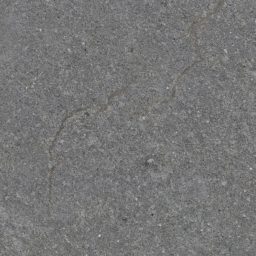
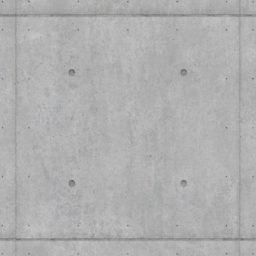
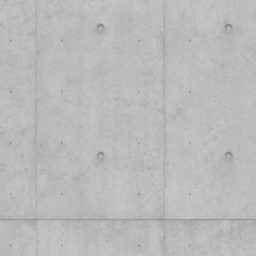
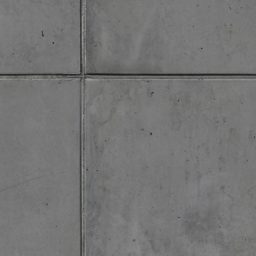
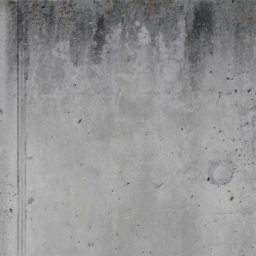
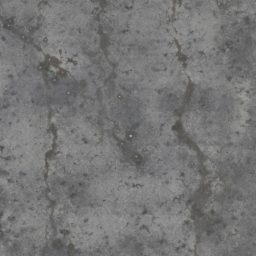
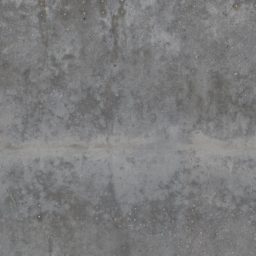
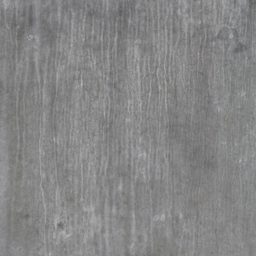
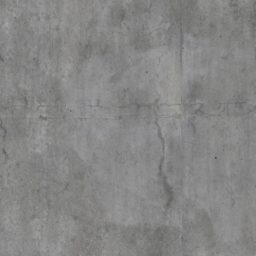
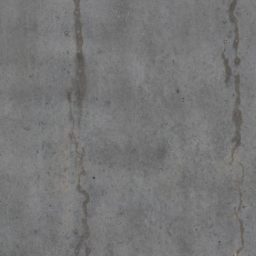
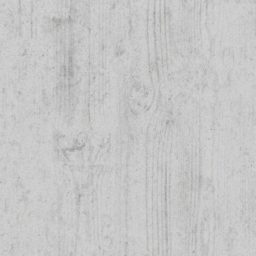
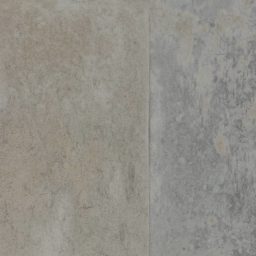
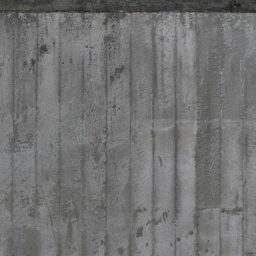
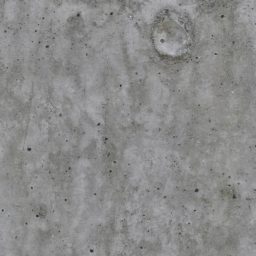
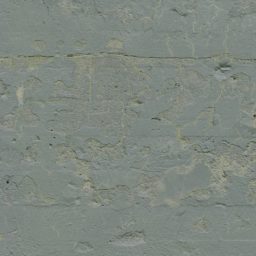
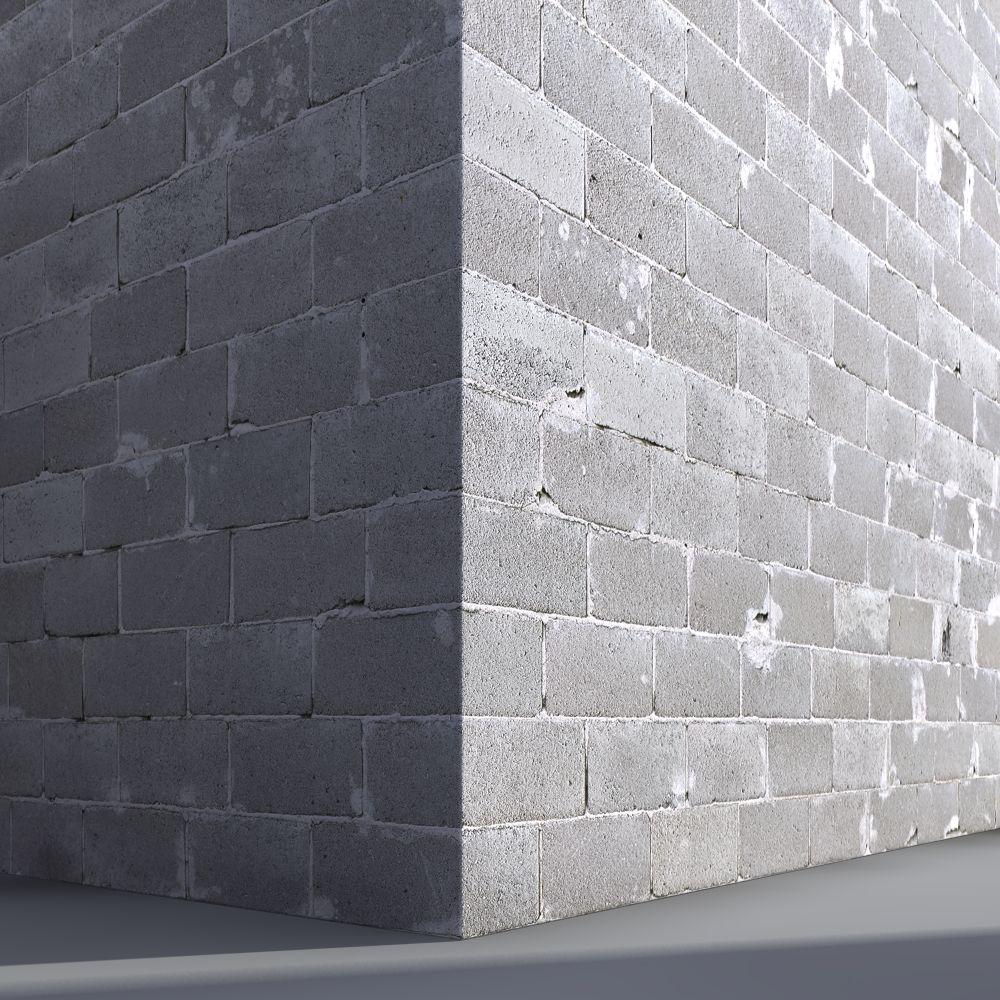
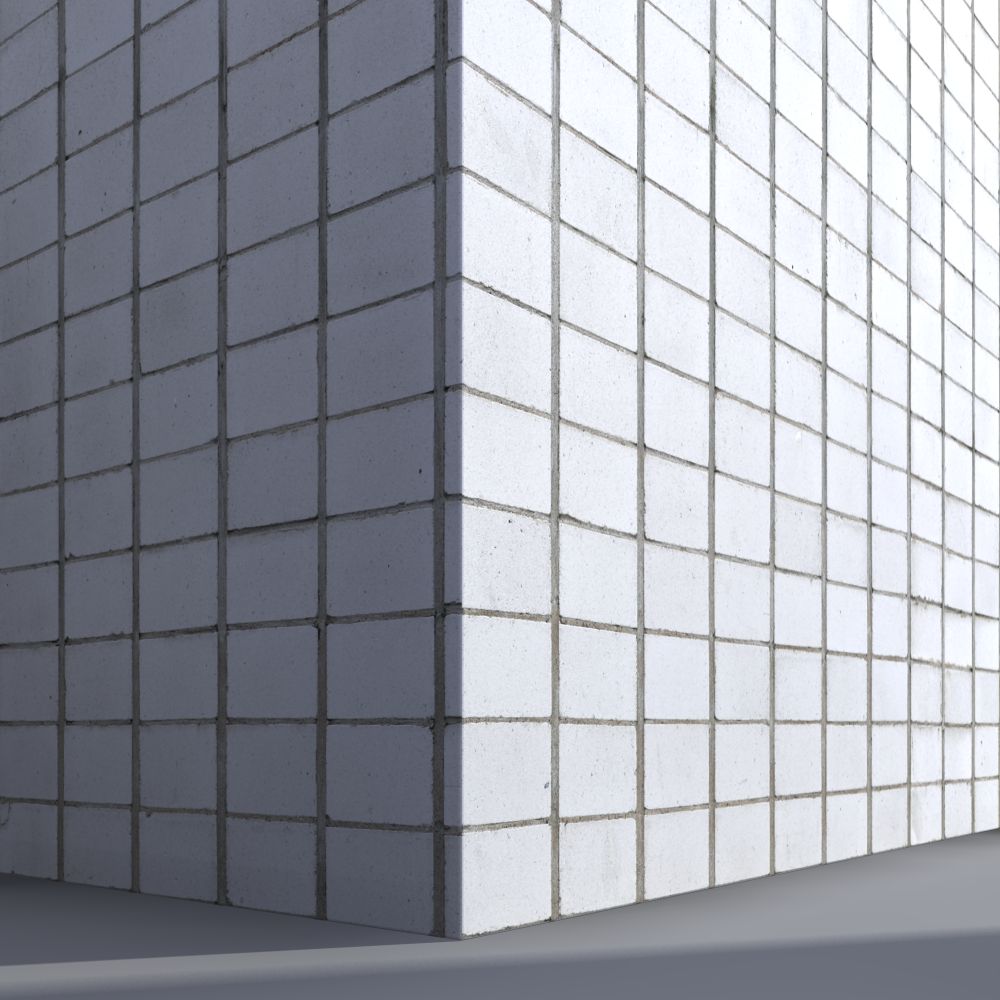
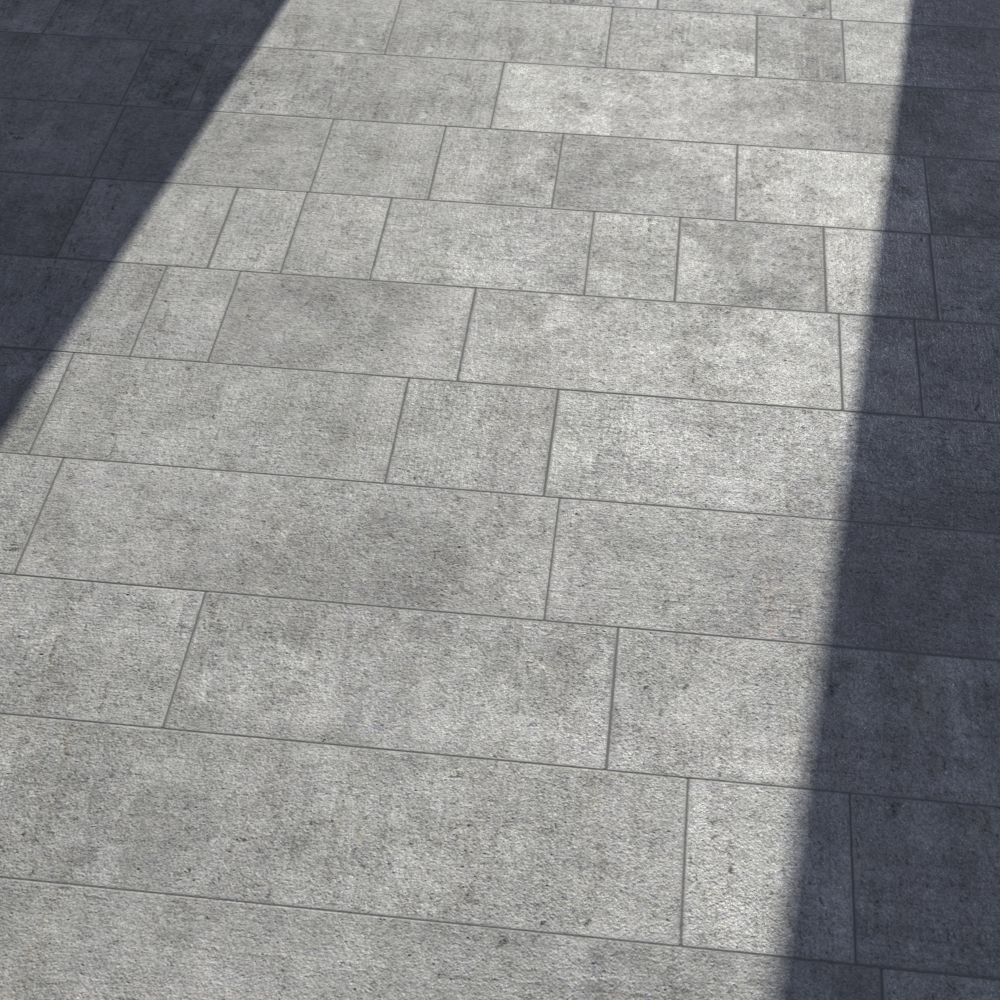
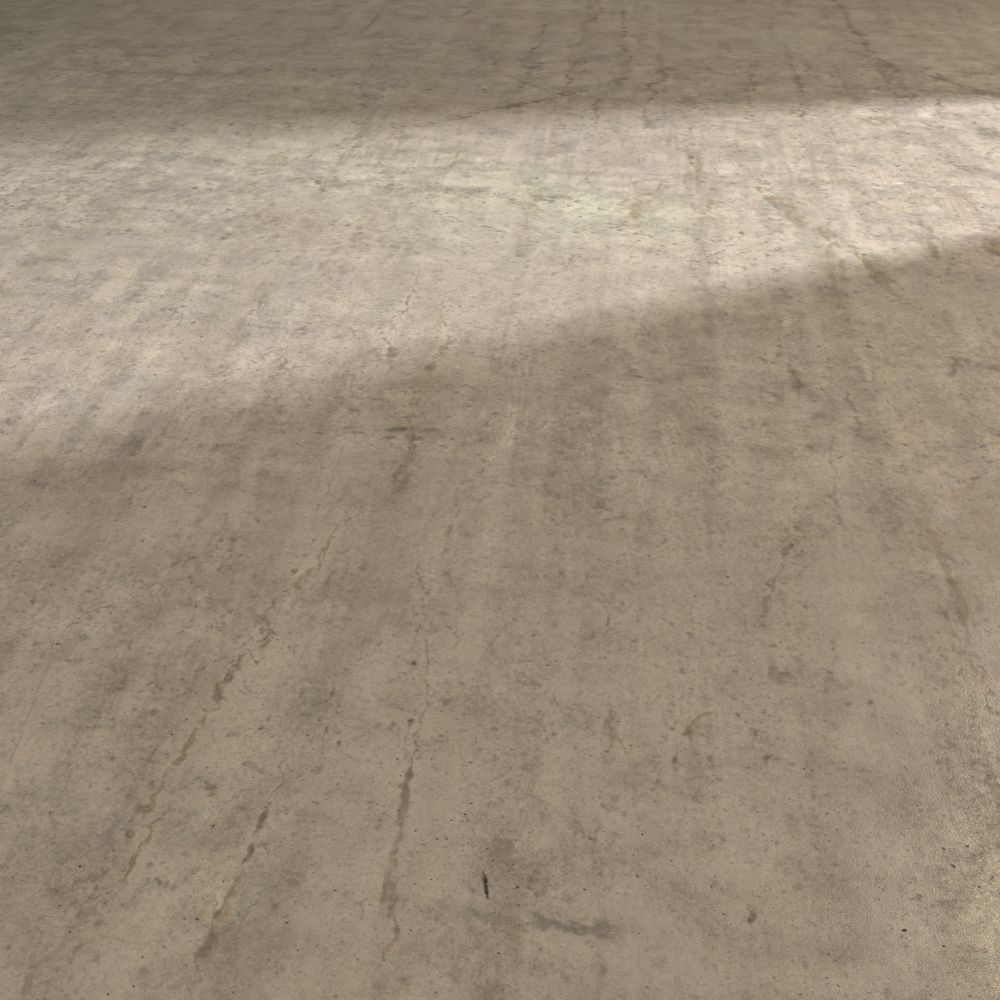
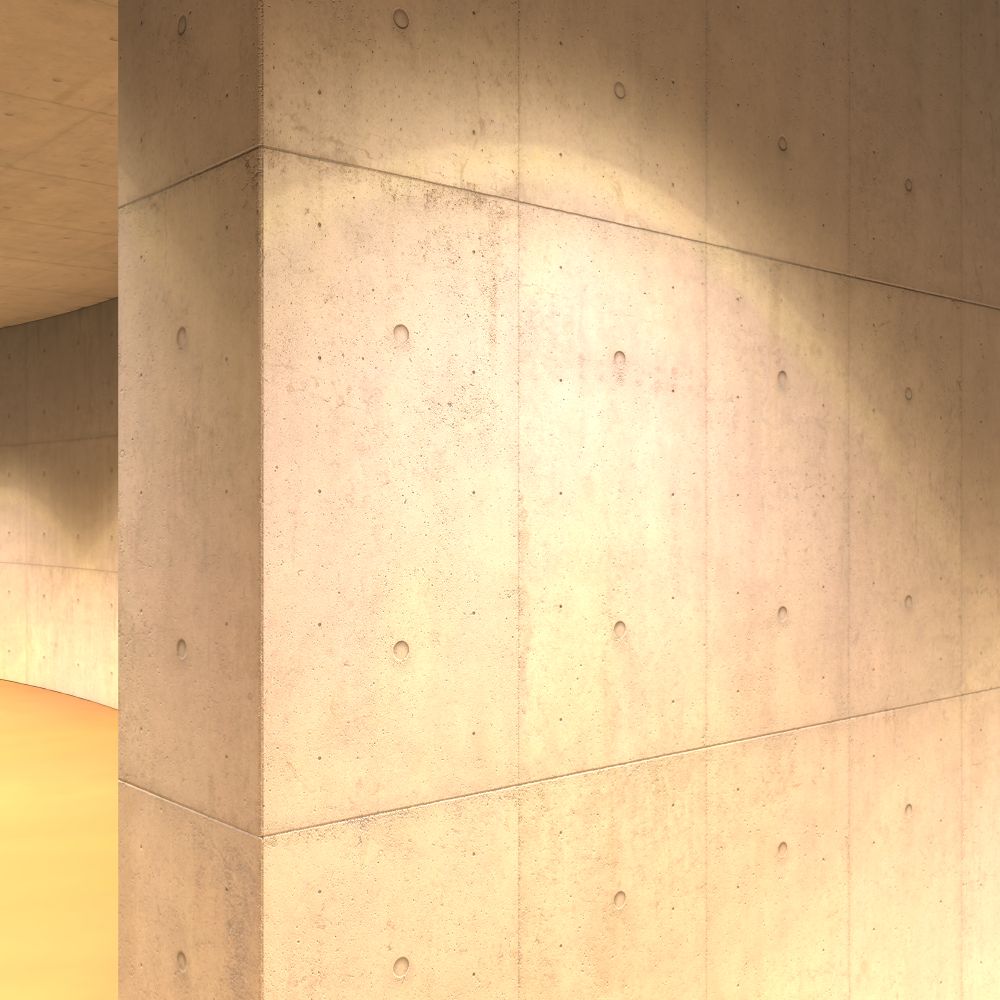
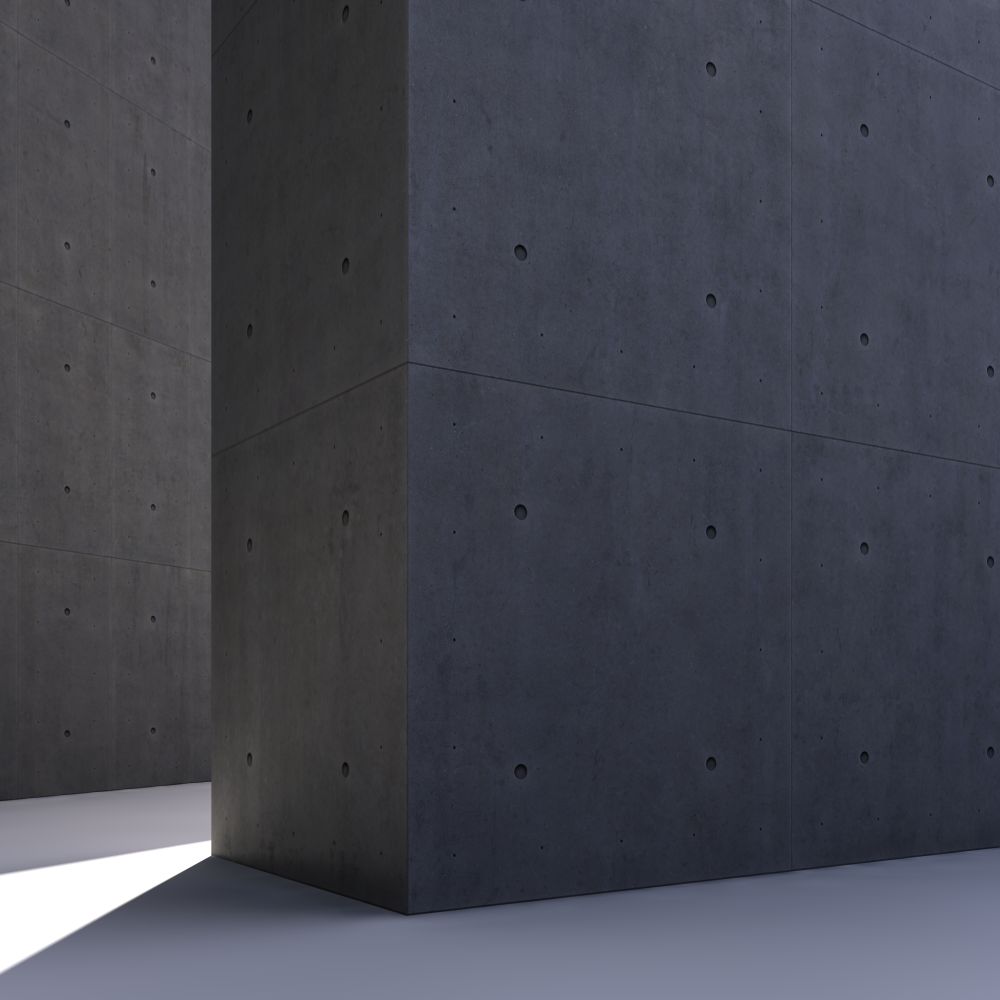
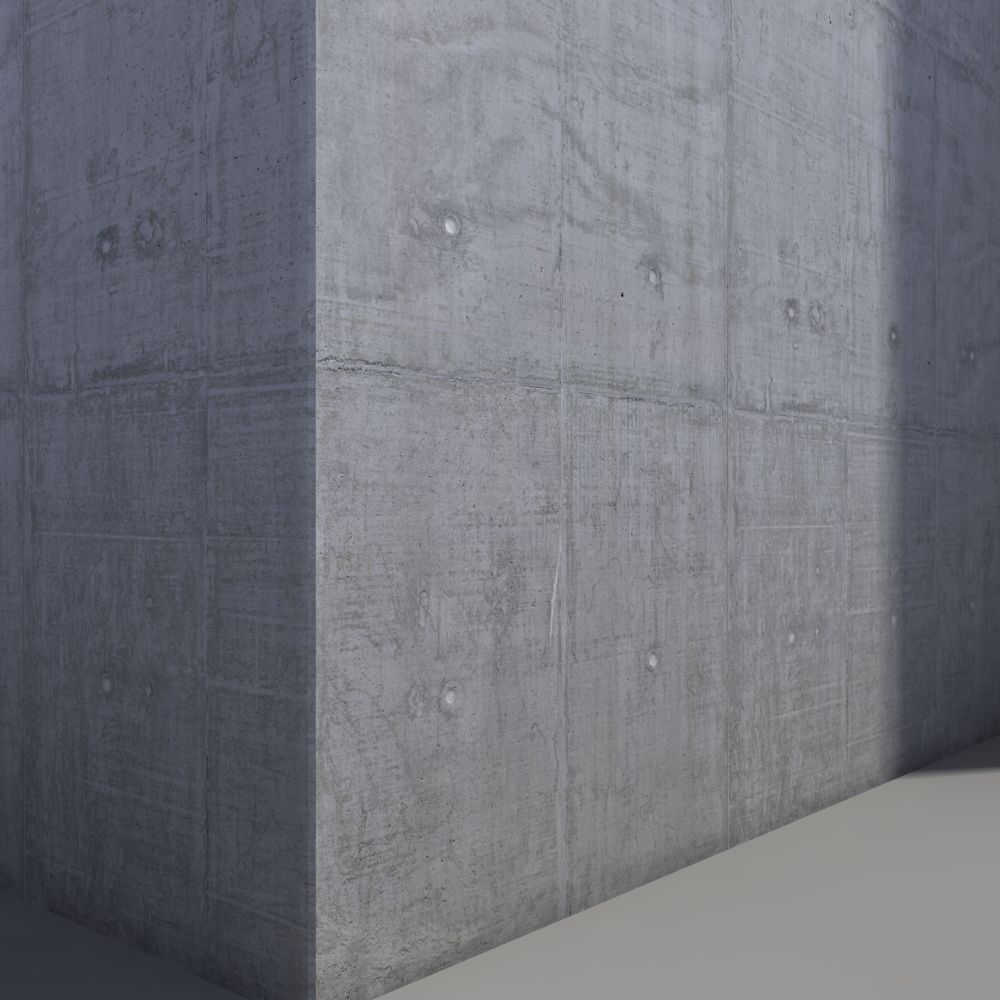
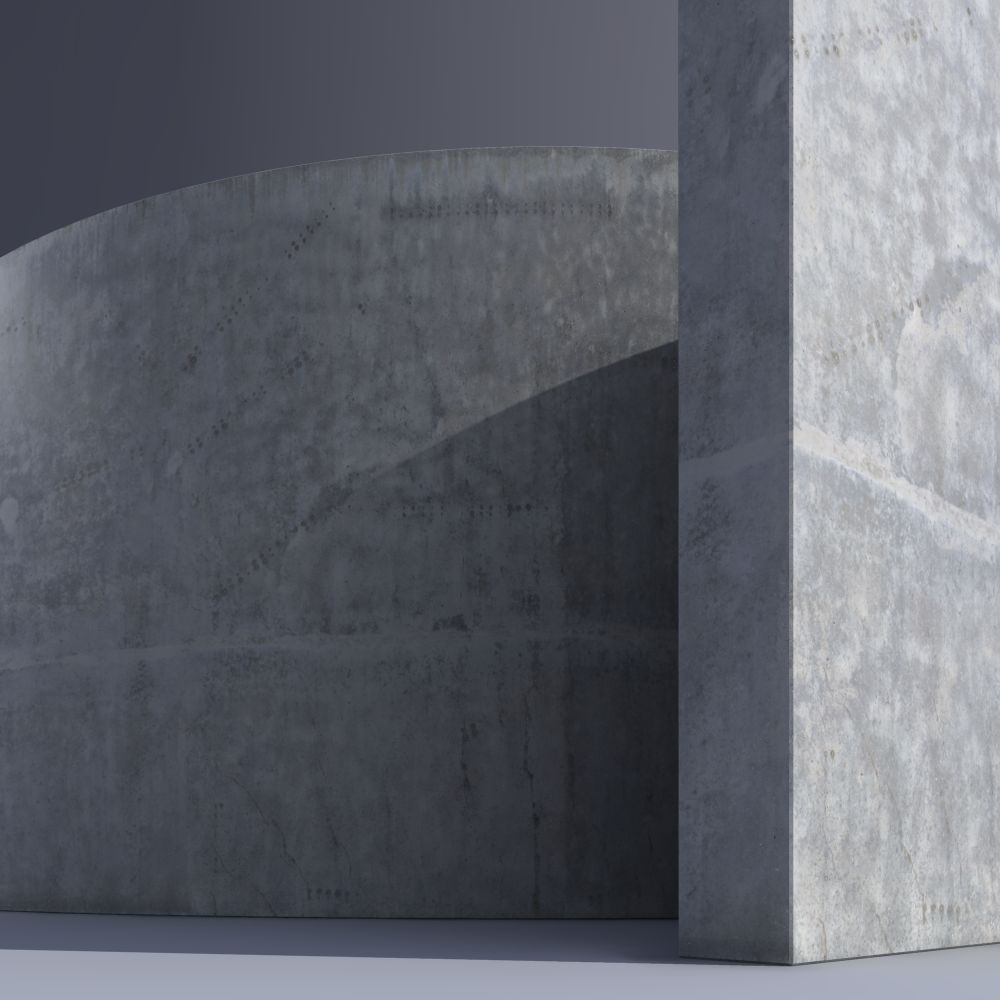
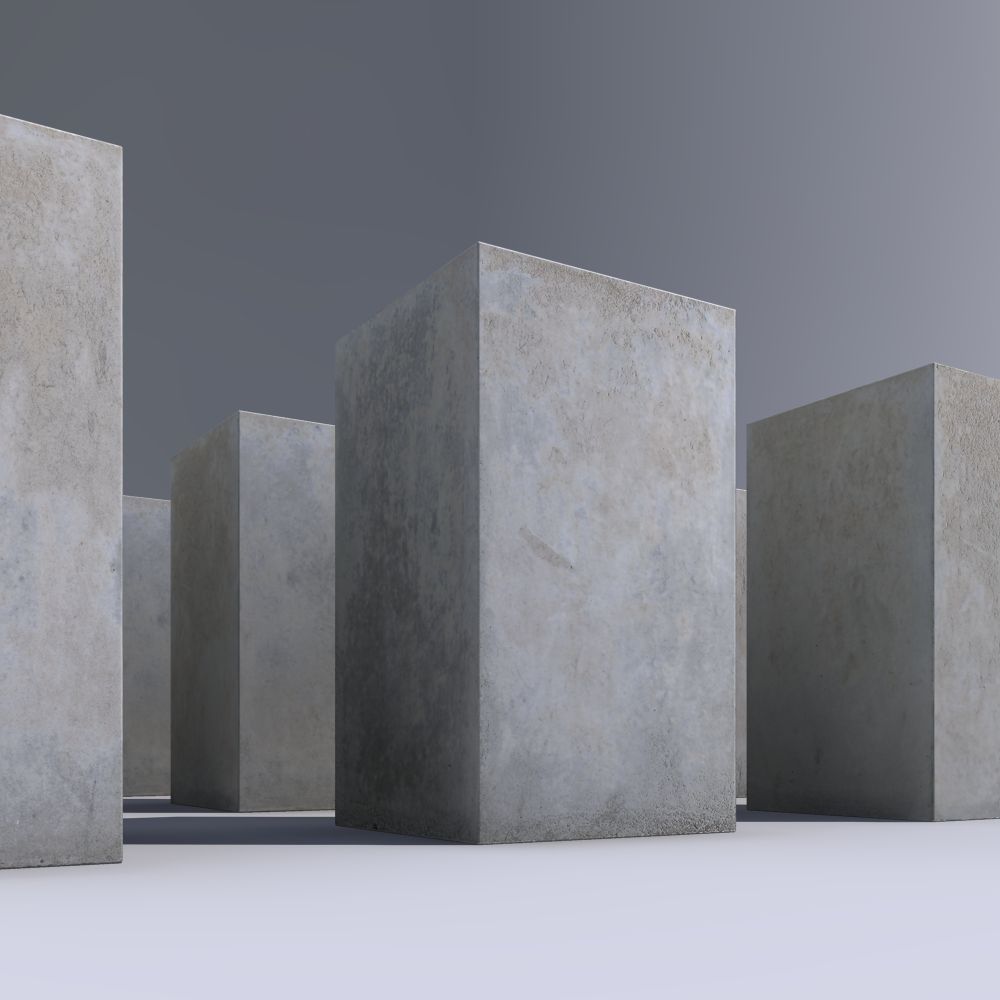
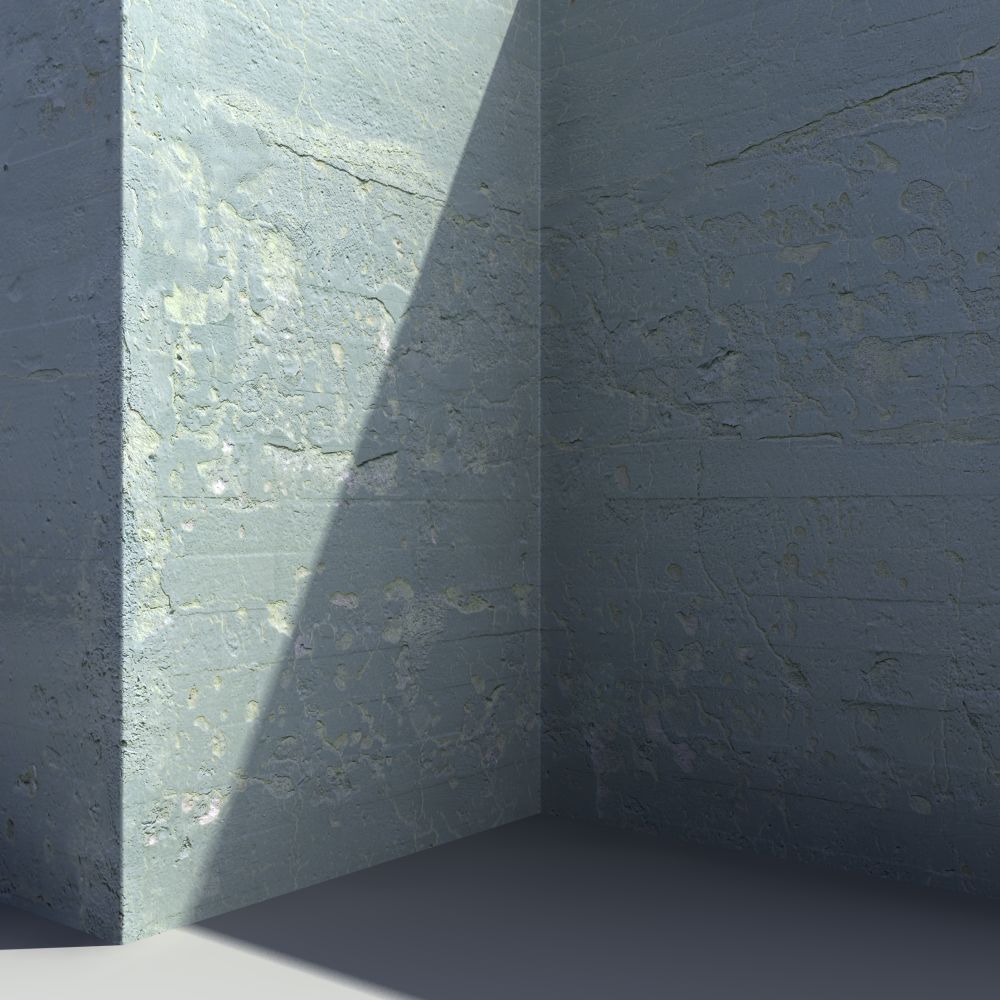
This collection is all about concrete – the marble of the 20th century, as it has derisively been called. Whatever your attitude towards concrete may be, it is undoubtedly still the most important building material of our age.
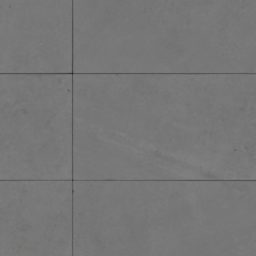
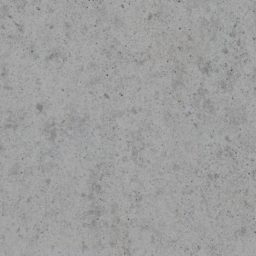
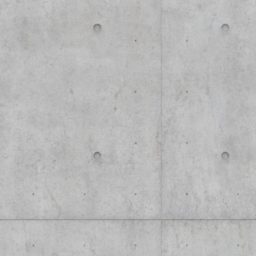
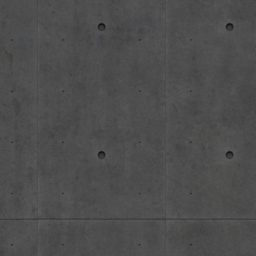
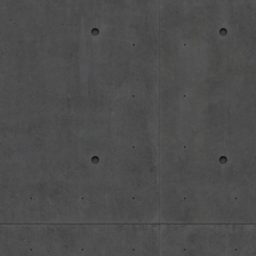
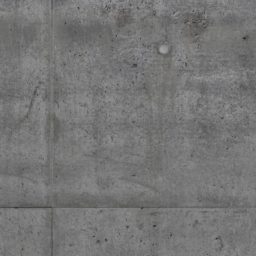
The collection contains 50 multi-layered high-res textures, each consisting of diffuse, bump and specularity map.
Main Features
Textures
50 multy-layered concrete textures
Large Area
25m² on average covered by each texture
Quality
All maps in losslessly compressing PNG format

45,00 €
excl. VAT
- This is a download-only product. No physical media are being shipped.
- Total download size: 4.3 GB
Included Textures


All textures
View all included textures, along with all specifications and accessories. Download a free version of every texture!
Downloads
- Reference Guide – Concrete-1
Reference guide book for Concrete – Volume One, 52 pages.
pdf | 12.7 MB – Download
Specifications
- 50 multi-layered textures
- Area covered on average approx. 25m²; over 1100m² in total
- Map resolution around 36 megapixel (e.g. 6000px x 6000px)
- Each with diffuse, specular and bump map (153 maps total)
- All maps tile perfectly
- All maps come as losslessly compressed PNG files
- Texture reference guide (PDF format)